

Learning how to French braid your own hair means working almost entirely by feel, which is exactly why so many first attempts come out lumpy, loose, or crooked halfway down. You cannot see the back of your head, so your fingers have to learn what your eyes normally do. The good news is that this is a hand-mechanics skill you can build in an afternoon, not some rare talent a lucky few are born with.
This tutorial breaks the process into six clear, repeatable steps, plus the two things almost no other guide covers well: how to braid without a mirror and what to do the moment your braid starts slipping. By the end, you will have one full French braid down your own head and the muscle memory to repeat it without checking a mirror every few seconds. Grab a comb and a hair tie, and start training your fingers for the motion.

What You'll Need to French Braid Your Own Hair
What You'll Need to French Braid Your Own Hair
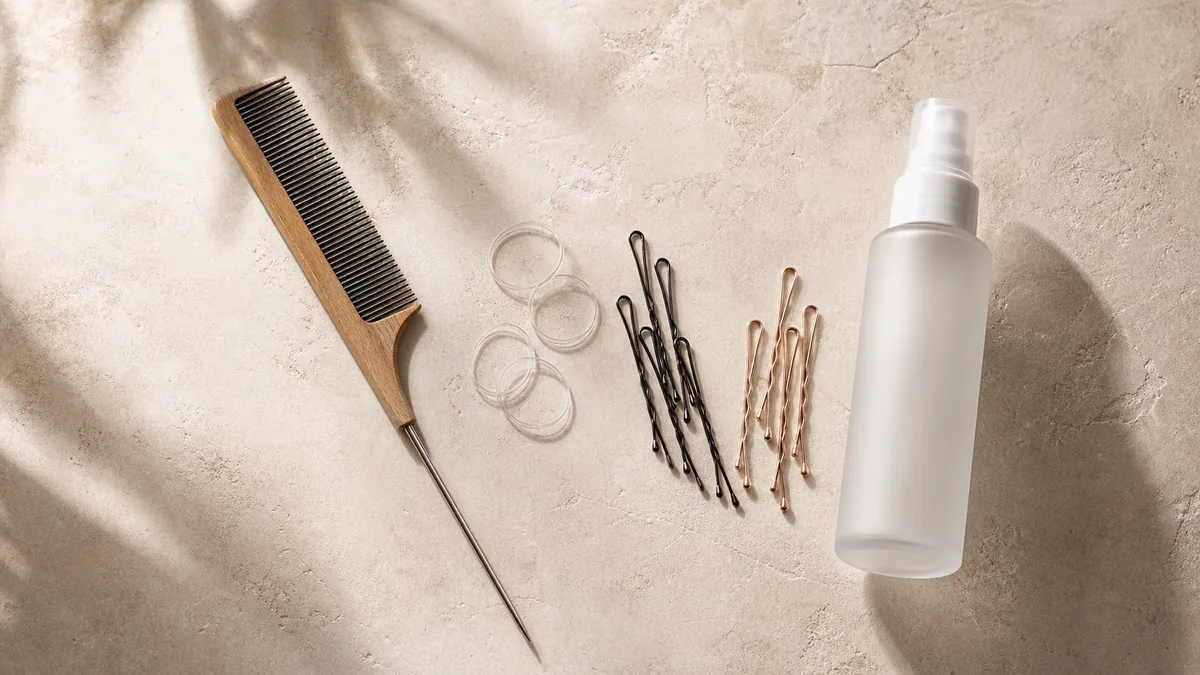
Before you start pulling sections at your crown, gather a few simple tools so you are not stopping mid-braid to dig through a drawer. You want a fine-tooth or rat-tail comb for a clean, straight part, two or three small clear elastics in case your first attempt needs a redo, a handful of bobby pins to tame flyaways once you finish, and a texturizing spray or dry shampoo to give strands some grip. Freshly washed hair is often too slippery to hold a braid well, so a light spritz of texturizing product before you begin makes a real difference, especially through the crown section.
Here is the quick reference most tutorials skip: difficulty is beginner to intermediate, and time is roughly 5 to 15 minutes once you have practiced a handful of times. Be honest with yourself that your very first attempt will likely take twice that long, and that is completely normal. Detangle your hair fully before you start, since trying to braid through knots is where most of the frustration and lumpy sections come from in the first place.
How to French Braid Your Own Hair in 6 Steps
How to French Braid Your Own Hair in 6 Steps
This is the core of the tutorial, and if you only remember one thing about how to French braid your own hair for beginners, remember this: every step is just a small three-strand braid that keeps gaining new hair as it moves down your head. Once that clicks, the rest is muscle memory. Work through each step slowly the first few times, checking your section sizes with your fingers rather than rushing toward the finish.
Step 1: Section your hair at the crown
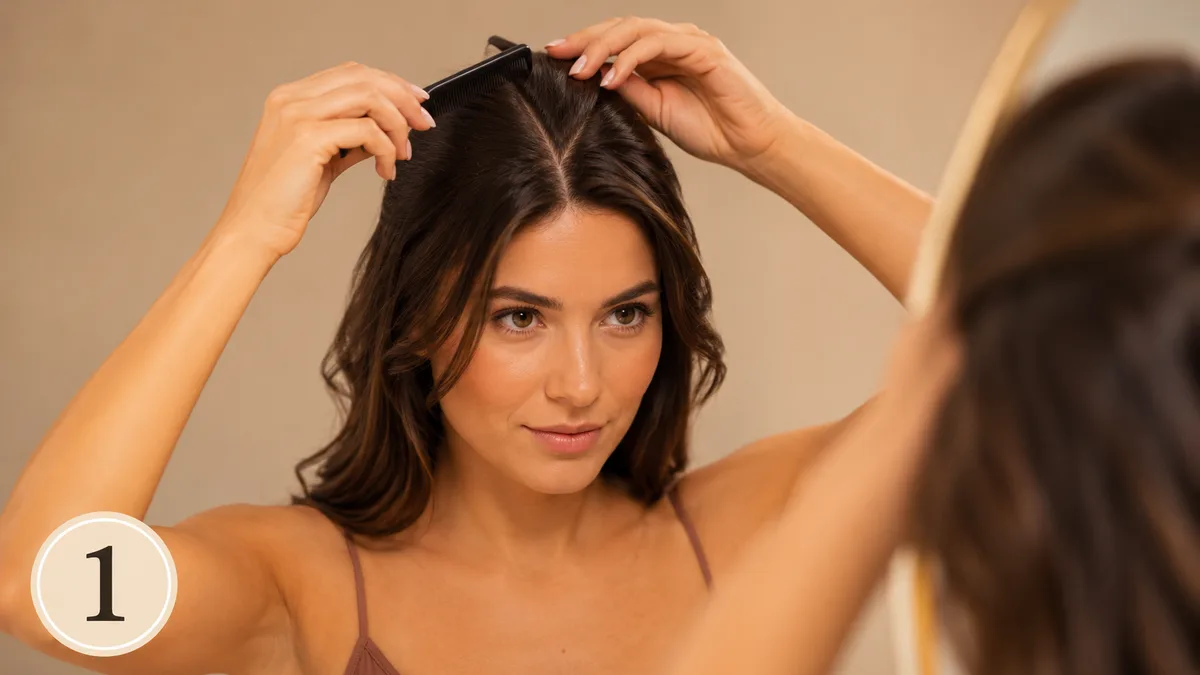
Start by combing a triangular section of hair at the very top of your head, from about an inch behind your hairline to just above each ear. Smooth this section flat with your comb so there are no bumps or loose flyaways working against you before you even begin crossing strands. This triangle becomes the anchor point for your entire braid, so take your time getting it neat rather than grabbing a rushed handful.
Step 2: Split into three even strands
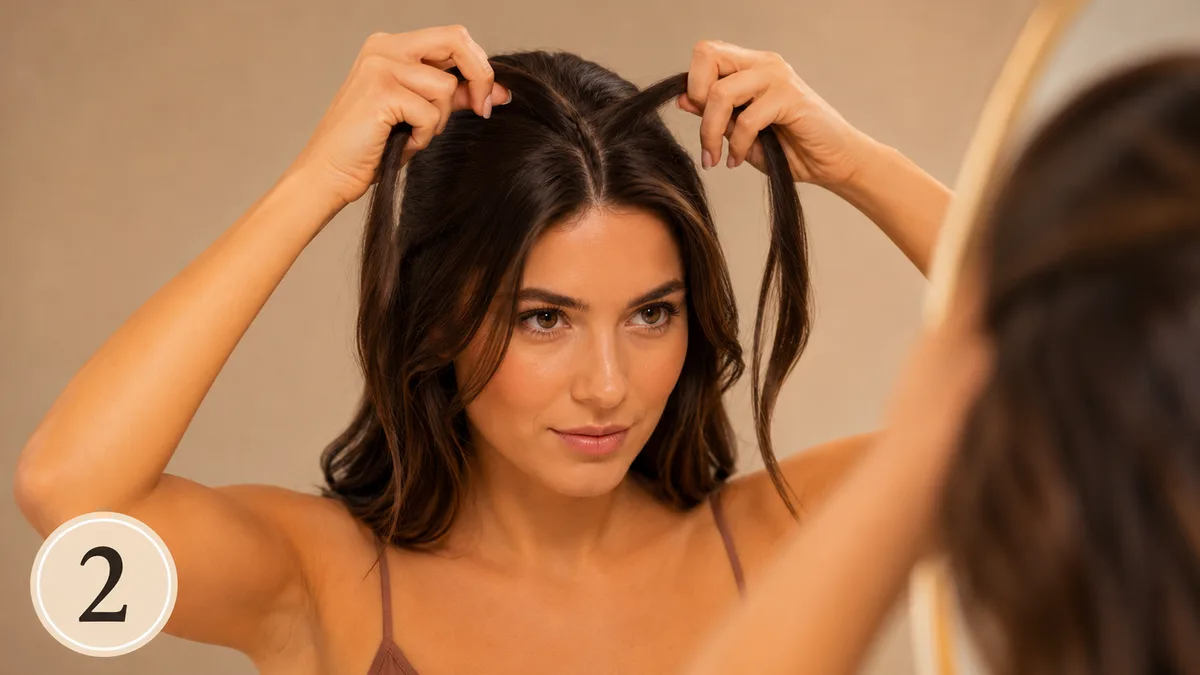
Divide that sectioned triangle into three roughly equal pieces and mentally label them left, center, and right so your instructions stay consistent as you work. Hold the left strand between your left thumb and index finger, the right strand the same way with your right hand, and let the center strand rest between them. Even sections matter more than most tutorials admit, since one strand that is noticeably thicker than the others is the single biggest cause of a lopsided braid.
Step 3: Start the basic cross
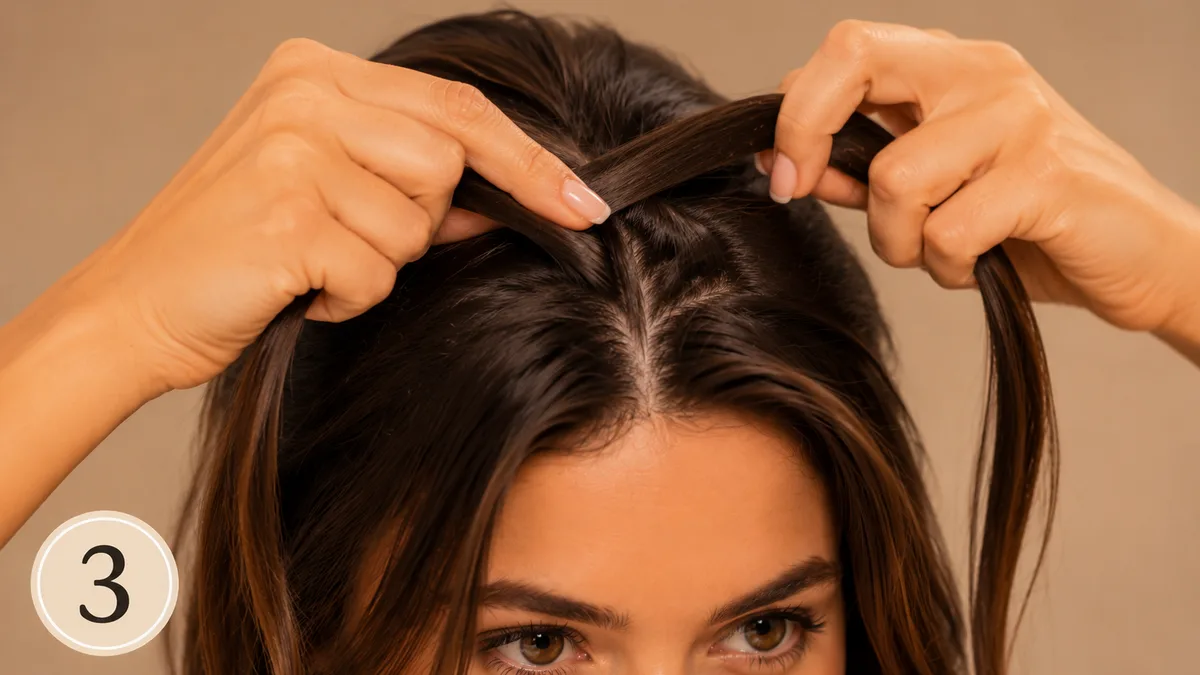
Cross the left strand over the center strand, then cross the right strand over the new center strand, exactly like you would start a regular three-strand braid. Use your index finger to guide each strand as it crosses, keeping your thumb pressed against the strands you are not currently moving so they do not slip loose. Do this cross twice before you add any new hair, just to get the rhythm and tension feeling natural under your fingers.
Step 4: Add hair as you cross
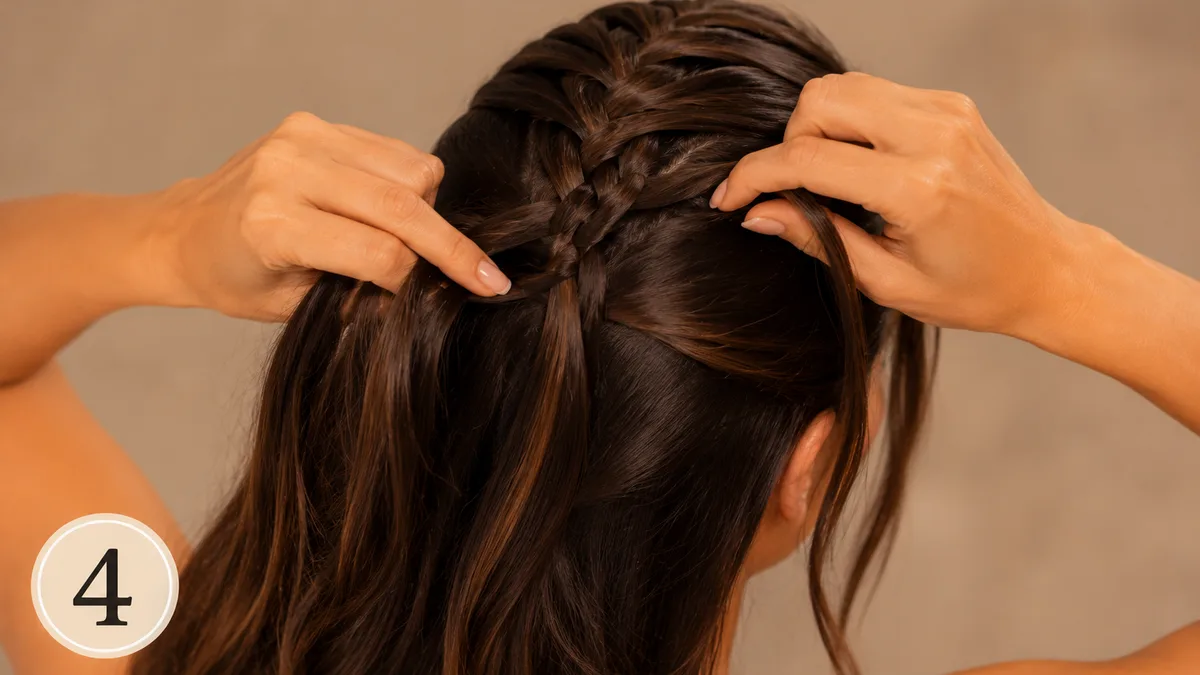
This is the step that actually makes it a French braid, and it is also where most beginners lose the technique because tutorials describe it too vaguely. Before you cross the left strand over the center, use your index finger to pick up a small new piece of hair from along your part line and merge it into the left strand in one smooth motion, then cross as usual. Repeat this on the right side, picking up a matching new piece of hair with the same finger that is about to cross, so the new hair blends in rather than sitting on top in a visible lump.
Step 5: Keep the braid close to the scalp
As you continue crossing and adding, angle each strand slightly downward toward the nape of your neck instead of pulling it straight out to the side. Keep your tension even and moderately firm on every cross, since braids that lie flat and neat come from consistent pressure, not from pulling as tight as possible. A braid that feels puffy or loose usually means your tension eased up partway through, so pause and firm it up rather than pushing on and hoping it evens out.
Step 6: Finish and secure
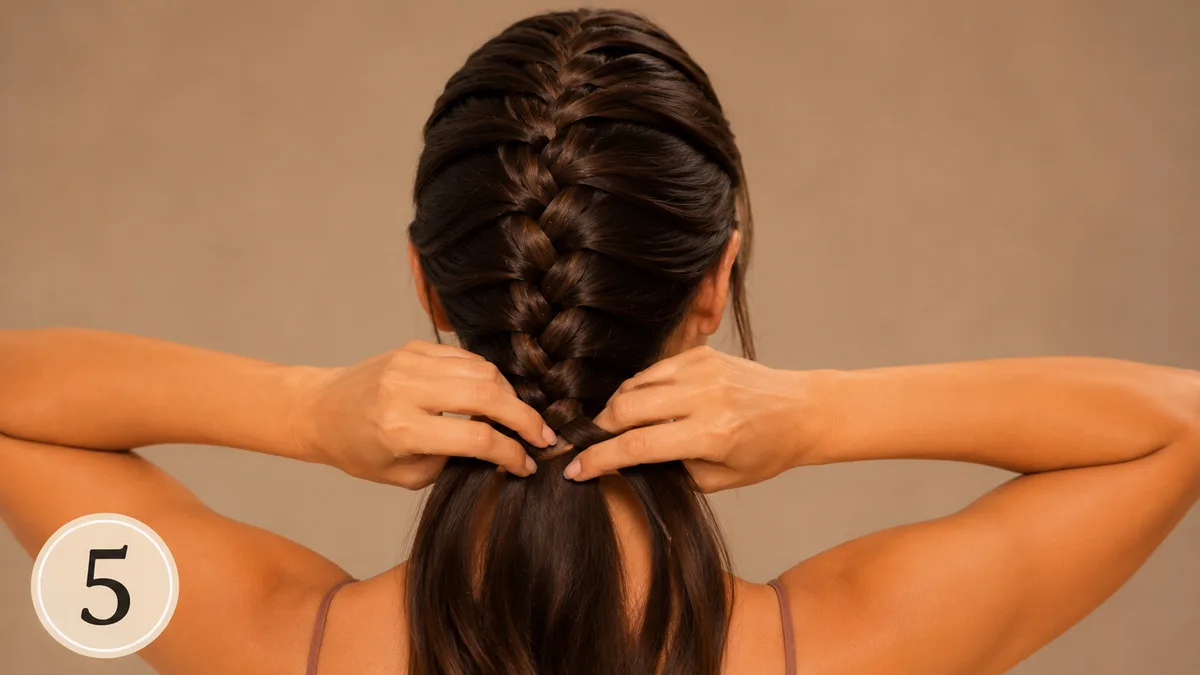
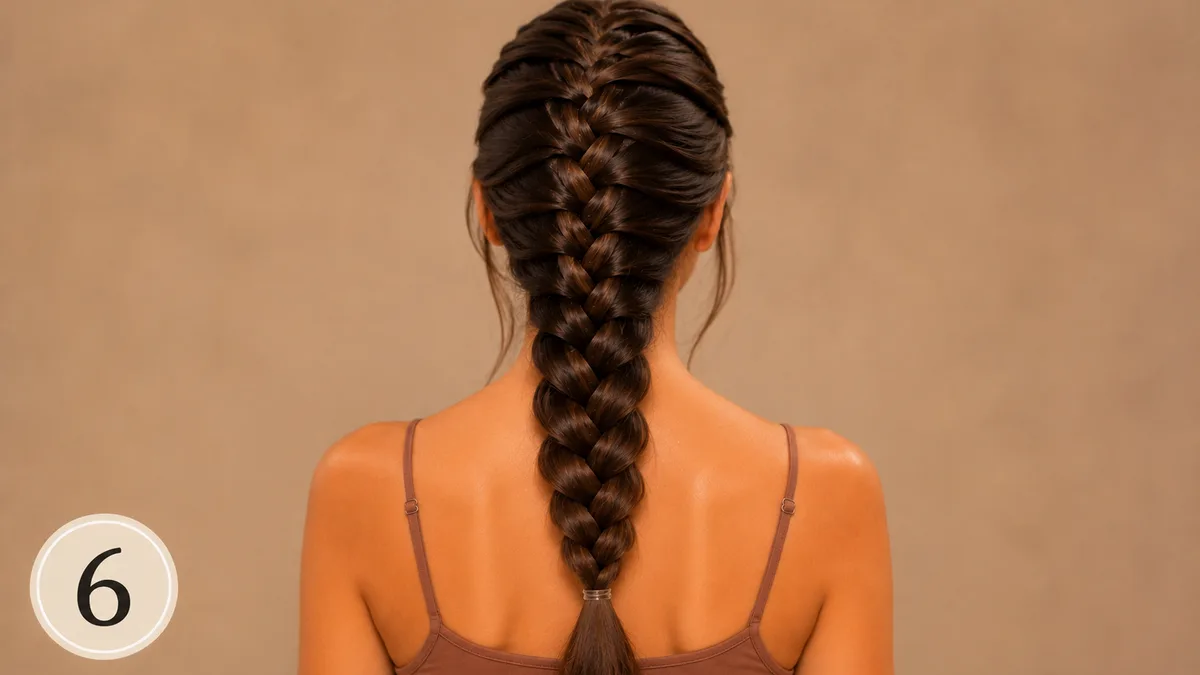
Once you have gathered all the hair from both sides into the braid and reached the nape of your neck, there is no more new hair left to add. Switch to a standard three-strand braid for the remaining length, cross left, center, and right the same way you started, and continue down to your ends. Secure the tail with a small elastic, then gently tug the outer edges of each section with your fingertips if you want a slightly fuller, more relaxed finish.
How to French Braid Without a Mirror
How to French Braid Without a Mirror
When you French braid your own hair without a second mirror propped up behind you, the braid disappears from view within the first minute or two. Keep your elbows lifted and angled slightly forward as you work, since this keeps your hands in your peripheral vision for longer before the braid moves fully out of sight down your back. Your fingers will start recognizing section sizes and tension by touch alone faster than you expect, especially once you have built the motion a few times.
A useful self french braid tip is to practice the cross-and-add motion on a low ponytail first, where you can still see your hands the entire time. Once the crossing and adding feels automatic in that easier position, moving up to a full crown-start braid becomes much less intimidating. Your first two or three attempts at a proper French braid will likely come out a little uneven or slightly off to one side, and that has nothing to do with skill.
Tension and placement smooth out with repetition, not talent. A lopsided second attempt usually just means your fingers are still learning how much tension to hold.
Troubleshooting Common French Braid Mistakes
Troubleshooting Common French Braid Mistakes
Even when you know how to French braid your own hair well, real braids run into real problems, and a quick mid-braid fix beats starting completely over almost every time. If your braid keeps falling apart or loosening as you go, your sections were likely too large or your tension eased up somewhere along the way, so redo just that loose portion rather than unraveling the entire braid. Working section by section to fix a problem spot saves time and keeps the rest of your careful work intact.
Lumpy or uneven sections almost always come down to grabbing hair before combing it smooth first, so run your fingers or a fine-tooth comb through each new piece before merging it into the strand. Keeping your new sections consistent in size, roughly matching the width of your first triangle divided into thirds, prevents the visible bumps that make a braid look messy from a distance. If your hair is too short to reach your nape by the time you run out of hair to add, simply stop the French portion higher up and finish with a small regular braid, or secure the ends into a low bun with bobby pins instead.
One safety note worth taking seriously: if your braid feels tight or uncomfortable at the scalp, ease your tension immediately rather than pushing through it. Hairstyles that pull too tight for too long can strain your hairline over time, a risk the American Academy of Dermatology links directly to traction alopecia from repeated tight styling. A braid should always feel snug and secure, never painful, which is the difference between a braid that lasts all day comfortably and one that leaves your hairline sore by evening.
Once this six-step motion feels natural, it becomes the base for a lot of other looks worth trying, from protective box braid guide to a full braid hairstyle roundup roundup if you want more inspiration for your next wash day. The same crossing motion also carries over almost directly into a fishtail braid tutorial or a dutch braid styles guide, and if you would rather ease in first, our beginner braid ideas roundup has five lower-commitment options.
Learning how to French braid your own hair is a skill you build with your hands over a few tries. Give yourself some grace on the first couple of attempts, and come back to practice again before your next wash day. You have the steps now. The next braid just takes repetition.
Once you are comfortable with the classic three-strand technique, branch out: try a fishtail braid guide for a different texture, or a raised dutch braid ideas roundup for an inverted look.


Your email address will not be published. Required fields are marked *