

Cutting off months or years of relaxed, heat-damaged, or transitioning hair in one sitting is a huge decision. Most big chop hair guides either rush you through the cut or leave you staring in the mirror with a head full of curls and no idea what to do next. This big chop guide for beginners closes that gap: deciding if you're ready, prepping the day of, cutting at home or in a stylist's chair, and styling your TWA with confidence from week one.
If you've been saving before-and-after photos for weeks and still feel unsure, you're exactly who this guide is for. Skip the vague "just be patient" advice. By the end, you'll know whether the big chop is right for you, how to prepare, and what your hair actually needs at every stage of growth.
What Is the Big Chop?
What Is the Big Chop?
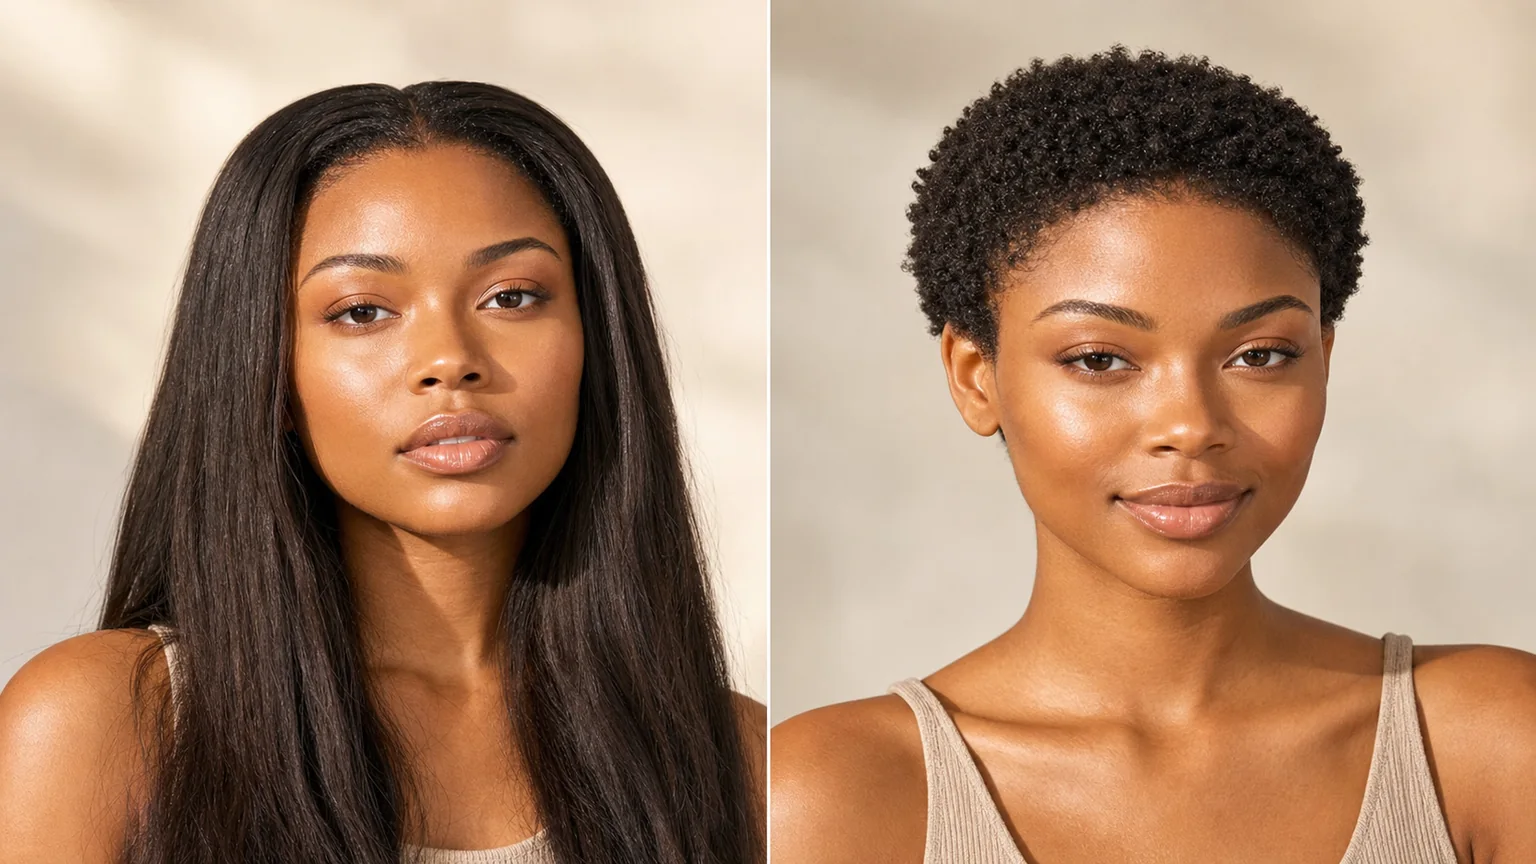
The big chop means cutting off all your relaxed, heat-damaged, or transitioning ends in a single haircut so your natural texture starts fresh from the root. Unlike a gradual trim schedule, it's a one-time event: you sit down with longer, chemically treated or heat-damaged hair, and you stand up with a short, natural style called a TWA, short for teeny weeny afro. It's the fastest way to get back to 100 percent natural hair.
This differs from transitioning, which means growing out your natural roots for months or years while slowly trimming away the damaged ends. Transitioning gives you more length to work with, but you're managing two textures on one head, which makes detangling harder. The big chop skips that in-between phase and gets you to one consistent texture right away.
This guide covers the entire journey in order: figuring out if you're ready, prepping beforehand, choosing between DIY and a stylist, the step-by-step cut, and a full growth-and-care roadmap. For short cuts to browse before you commit to a length, our guide to short haircuts for every face shape is a good place to start.
Is the Big Chop Right for You?
Is the Big Chop Right for You?
Most guides ask three vague questions and call it a readiness check. Here's what actually determines it: your lifestyle, your hair goals, and your emotional comfort with the change.
Lifestyle Fit. Think honestly about your job, your social calendar, and anything coming up that you can't undo. A TWA is professional and polished when styled well, but a big event in the next few weeks might be a reason to wait a month, not to cancel the chop.
Hair Goals. Be honest about how much time you want to spend on your hair each morning. A wash-and-go TWA takes under 10 minutes and suits anyone who wants minimal daily effort. If you're excited to learn finger-coiling or new protective styles as your hair grows, you have more flexibility.
Emotional Readiness. The most common fear is regret. Here's the honest answer: hair grows roughly half an inch per month for most people, a TWA is temporary by definition, and within 3 to 6 months you'll have noticeably more length and versatility. You are not stuck with one look for long.
If face shape is part of your hesitation, our roundup of short cuts for every face shape breaks down which short styles suit oval, round, square, and heart face shapes.

How to Prepare Before the Big Chop
How to Prepare Before the Big Chop
Good prep makes the difference between a smooth cutting day and a chaotic one. Take "before" photos from the front, sides, and back in good lighting, both for reference and for looking back on later. If you're cutting it yourself, also photograph your hair pulled straight down so you can see your true length.
Deep condition and detangle completely 1 to 2 days ahead, since tangled hair is harder to section evenly and can lead to uneven cutting. Decide in advance whether you want a true TWA, cut close to a half inch or less, or a slightly longer, pixie-like chop, since this affects how you section your hair during the cut.
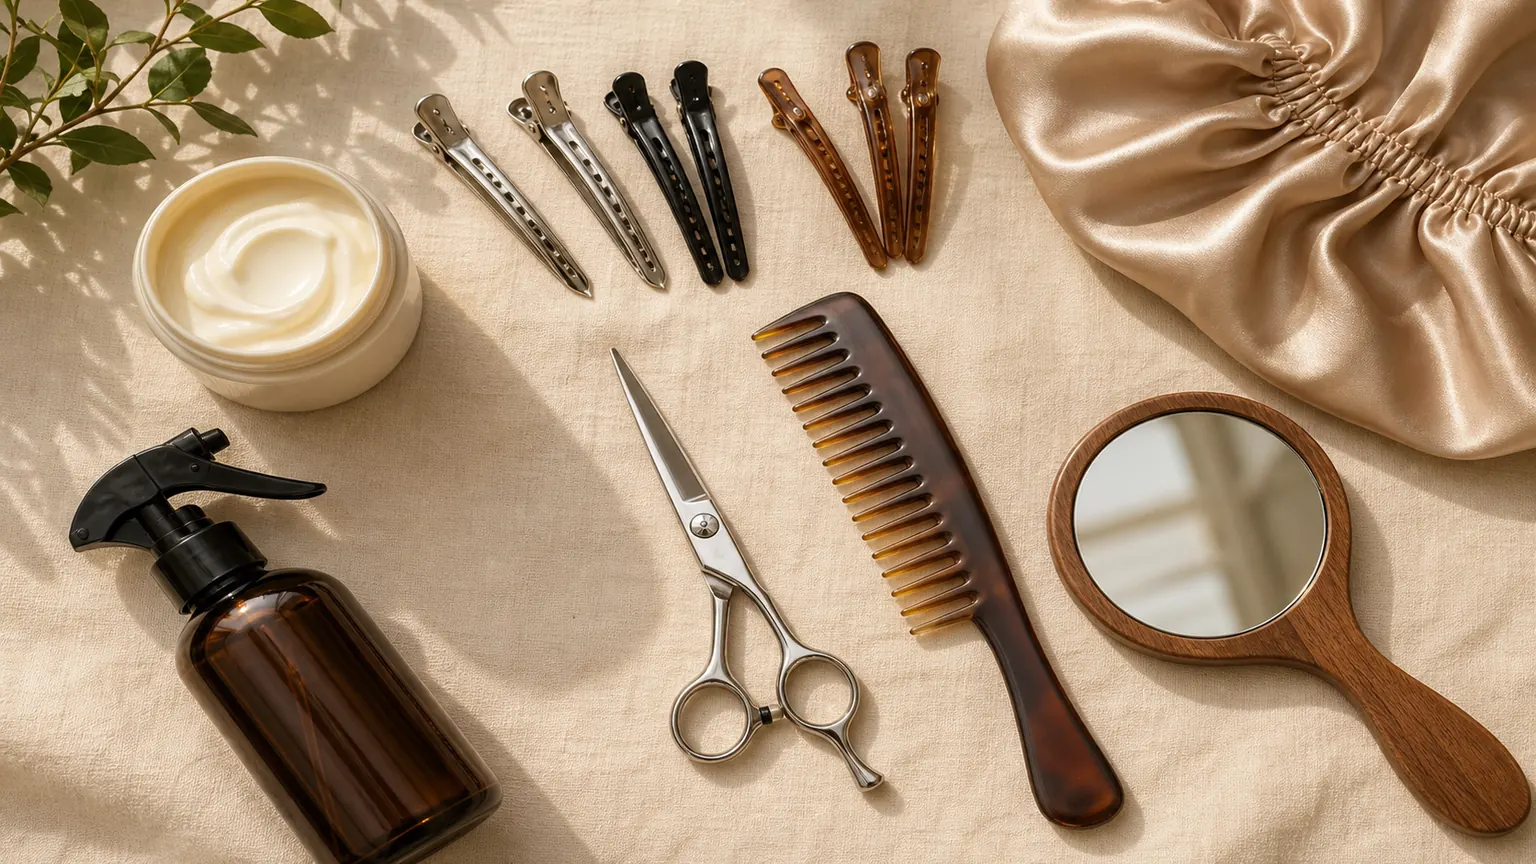
Have your tools ready: sectioning clips or hair ties, a spray bottle for damp sections, a wide-tooth comb, a hand mirror for checking the back and sides, and good natural lighting. If you're cutting at home, buy proper hair-cutting shears rather than kitchen scissors, since dull blades leave rough, uneven ends.
DIY vs. Professional Stylist: Which Should You Choose?
DIY vs. Professional Stylist: Which Should You Choose?
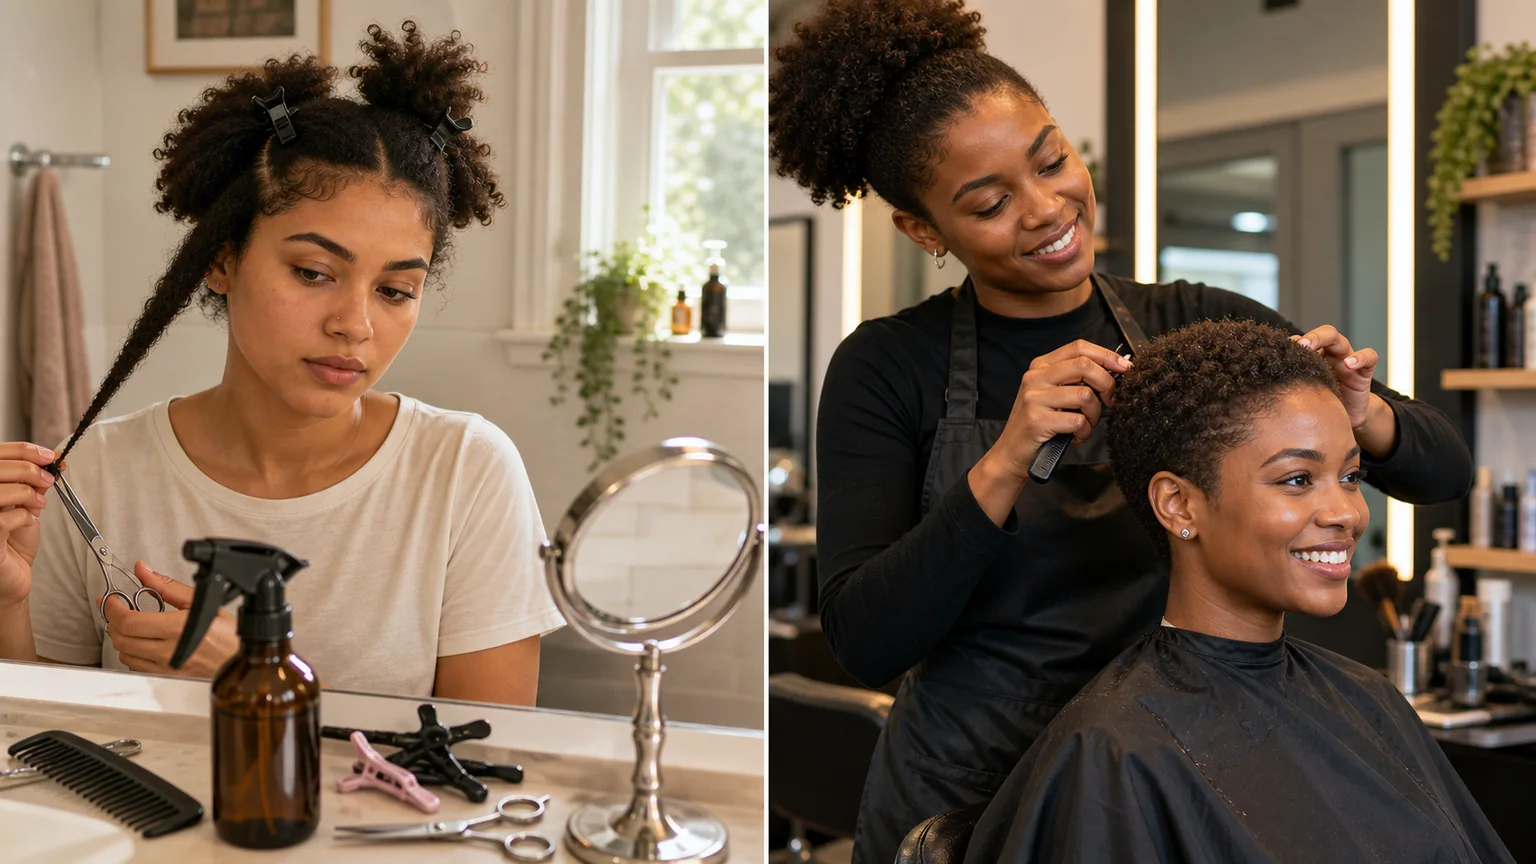
Cost and Time. A DIY big chop costs close to nothing beyond a decent pair of shears ($10 to $25, lasting for years) and takes 20 to 30 minutes once you're sectioned. A professional big chop at a salon experienced with natural hair typically runs $40 to over $100 and takes 30 to 60 minutes, including a consultation.
Risk and Outcome. Cutting your own hair carries real risk of unevenness around the crown and back, where you can't see well even with two mirrors. A stylist can taper around your ears and neckline and catch spots you'd miss. At very short TWA lengths, though, small unevenness blends in far more easily than it would on longer hair, which is exactly why DIY works so well here.
Our Honest Recommendation: if you're going for a true TWA at a half inch or shorter, DIY is a reasonable, popular choice. If you want a longer pixie-length chop, shaping around your face, or you're nervous about cutting your own hair, pay a stylist for a clean result. Either way, bring your before photos and ask for an "even out and shape my big chop" — a clear, specific request.
How to Do the Big Chop at Home (Step-by-Step)
How to Do the Big Chop at Home (Step-by-Step)
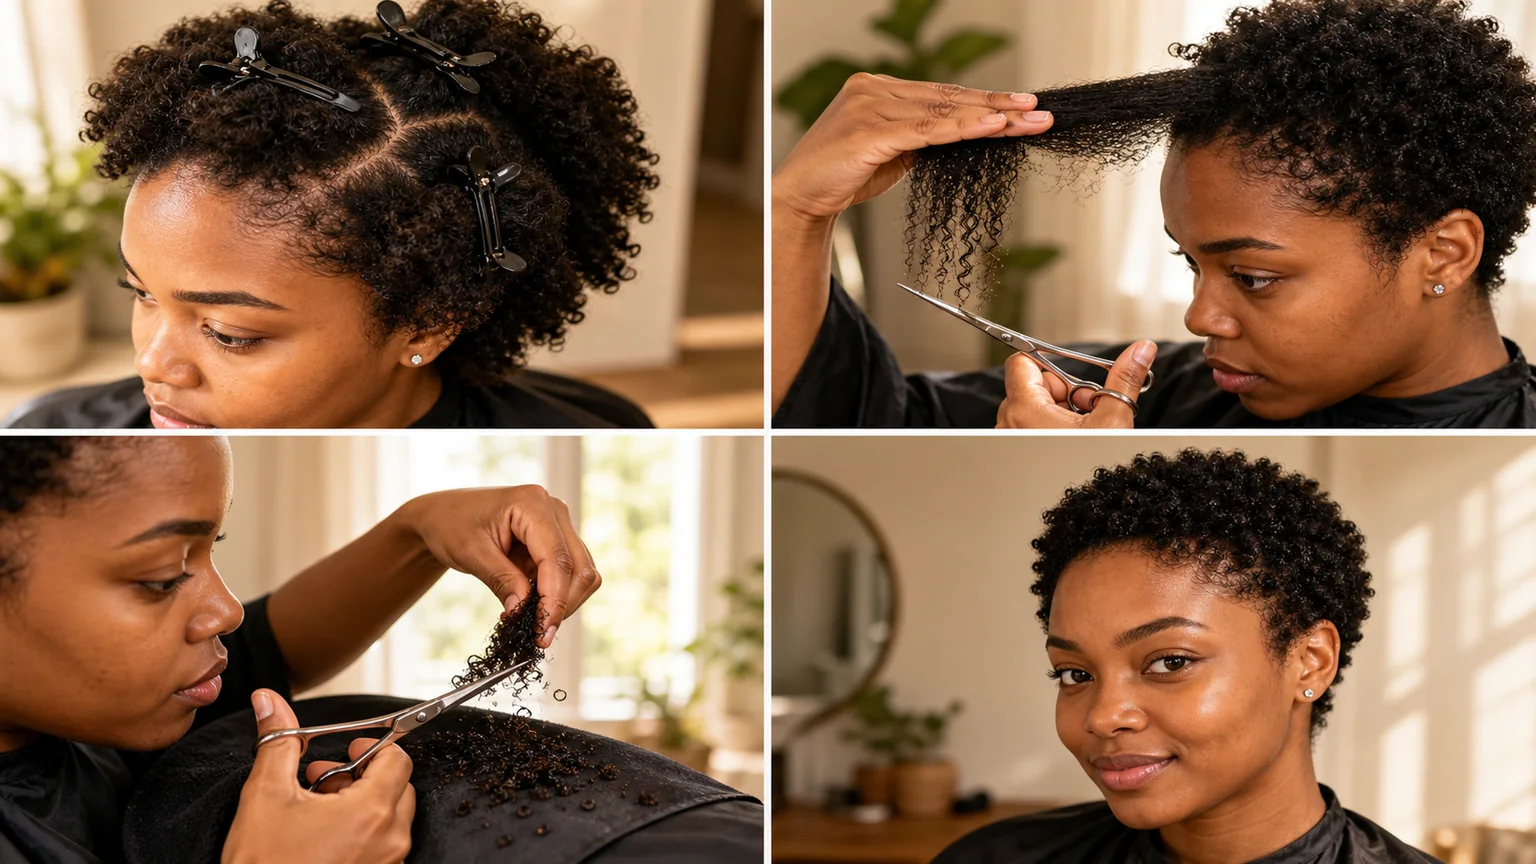
Work slowly and check your progress often. You can always cut more off, but you can't put length back.
- Detangle completely while dry. Wet detangling at this stage can hide how much length you're actually removing.
- Section your hair into 4 to 6 parts. Divide into front, back, and both sides at minimum, and clip each section out of the way except the one you're cutting.
- Cut each section straight across first. Hold it straight out from your head and cut to your target length in one clean line, not choppy small snips.
- Save the crown and nape for last, using your hand mirror and a second mirror behind you to check progress.
- Cut close to the root gradually if you want a true TWA. Go slightly longer than your target on the first pass, check evenness in natural light, then go back over longer-looking sections.
- Check symmetry in natural daylight, not bathroom lighting, since artificial light hides unevenness that's obvious the moment you step outside.
Always use proper hair-cutting shears, since kitchen scissors leave split, ragged ends. Cut small sections at a time for more control and less risk of a dramatic mistake. If you finish with a few uneven spots, a quick $20 to $30 cleanup visit with a stylist is a smart next step, not a sign you did it wrong.
Styling Your TWA by Texture (4A, 4B, 4C, and Mixed Textures)
Styling Your TWA by Texture (4A, 4B, 4C, and Mixed Textures)
Your curl pattern changes what products and techniques work best on your TWA. Here's what to try, starting the same week as your chop.
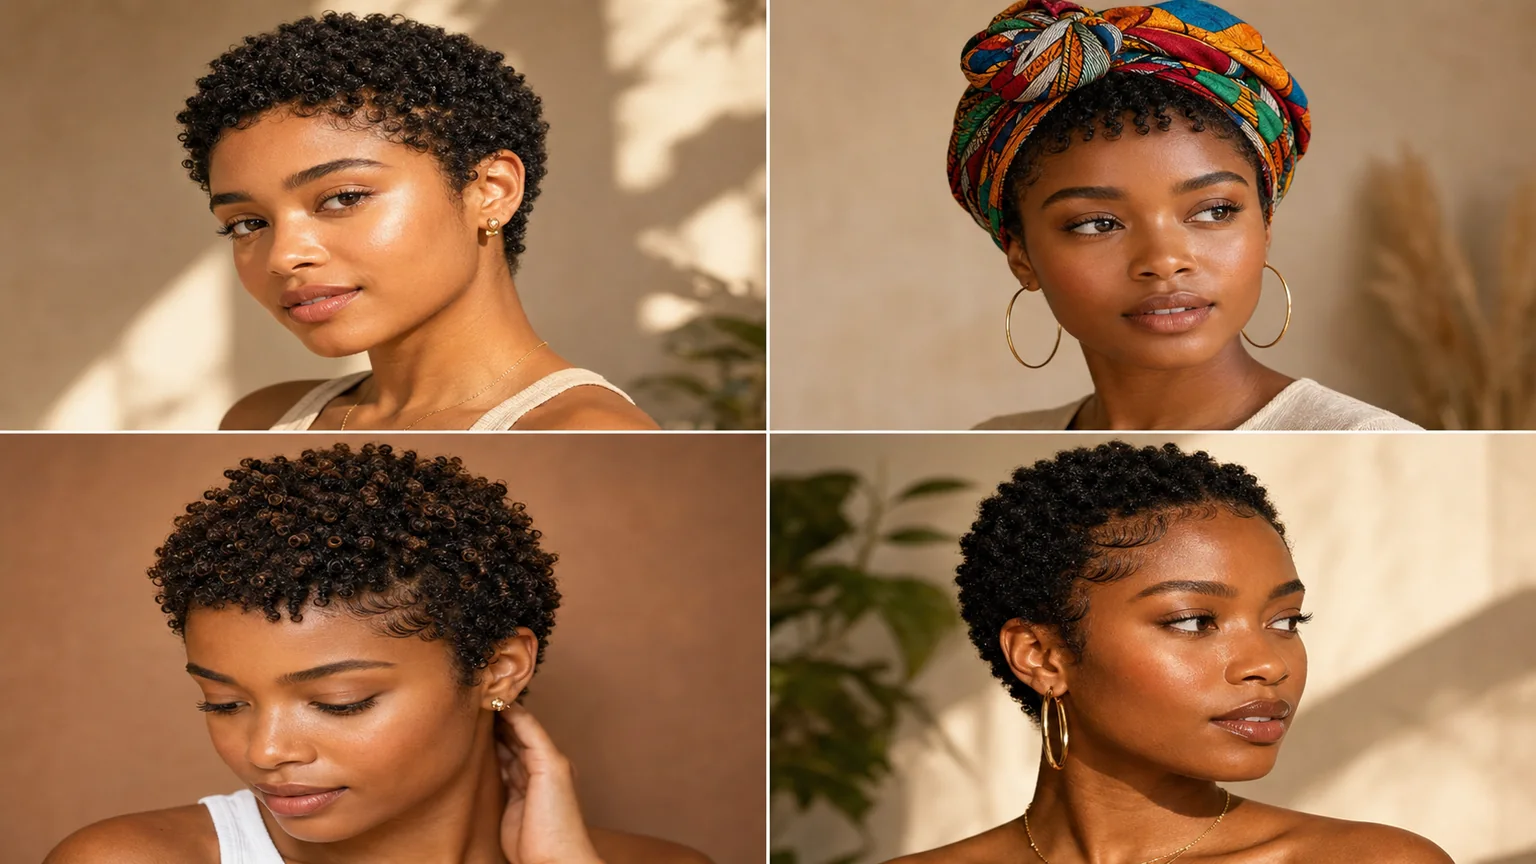
4A Texture holds a springy, defined curl pattern best with a lightweight curl cream rather than a heavy gel. Apply to damp hair, scrunch gently, and air dry or diffuse on low heat. A simple wash-and-go rotation, cream plus a light oil on day two or three, works well here.
4B Texture has a more zigzag pattern, so it benefits from a leave-in conditioner followed by a light oil to seal in moisture before styling. Finger-coil small sections while damp, then let it air dry fully; disturbing 4B curls too early creates frizz instead of shape.
4C Texture often has the tightest curl pattern and most shrinkage, which is completely normal right after the chop. A light gel applied to soaking wet hair, combined with finger-coiling, gives the most defined, longest-lasting shape. A twist-out using a light butter or cream adds stretch and definition even at this short length.
Mixed Textures are common, since most heads vary in curl pattern across the crown, sides, and nape. Layer products by section instead of using one all over: a richer cream on tighter sections, a lighter cream or gel on looser ones.
Beyond products, a silk or satin headwrap in a bold print elevates a simple wash-and-go while protecting your ends. Edge styling with a soft-bristle brush and a small amount of edge control defines your hairline without looking overdone. Gold hoops, a wide headband, or a patterned scarf tied at the nape turn a basic TWA into a finished look in under a minute. Most women find daily TWA styling takes 5 to 15 minutes once they land on a routine for their texture.
For more inspiration, browse our cool short haircuts for summer roundup, or if your curls are on the looser side, our guide to easy hairstyles for naturally curly hair has ideas that translate well to a growing TWA.
Big Chop Hair Care Routine and Growth Timeline
Big Chop Hair Care Routine and Growth Timeline
Your care needs right after the chop are simpler than most routines make them sound, and growth follows a fairly predictable arc even though the exact pace varies.
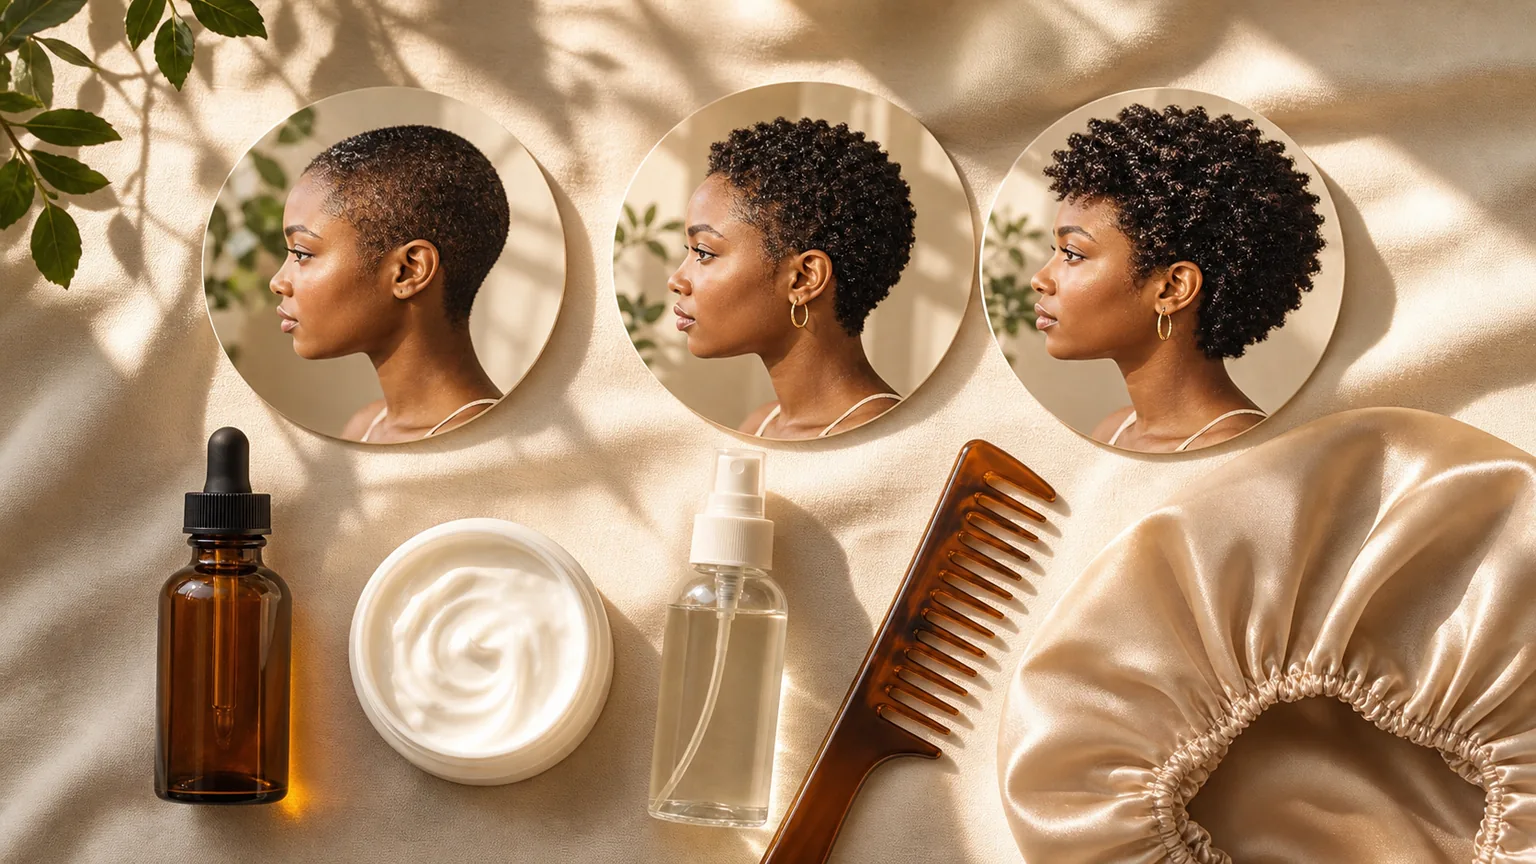
Basic Routine. Moisturize and seal daily or every other day with a lightweight leave-in followed by a small amount of oil, since short hair loses moisture faster than longer hair. Keep manipulation low in these early weeks. Sleep on a satin or silk pillowcase, or wear a satin bonnet, since cotton pulls moisture and creates friction. As your hair grows past the first couple of months, watch your protein-moisture balance and add an occasional protein treatment if curls start feeling limp or overly soft.
Month-by-Month Timeline. In month one, you're in true TWA territory, typically under an inch of growth, and wash-and-go styles are your fastest option. By months three to six, most people see an inch and a half to two and a half inches of growth, and finger-coils and twist-outs start holding shape much better — this is also a good stretch to try protective braid styles to give your ends a break while you grow. Around month six and beyond, many women have enough length for small twists, finger coils, or even pixie-length styling ideas that last several days, though this varies by individual growth rate. These numbers are general averages, not guarantees.
What You Actually Need at the TWA Stage: a lightweight leave-in for daily moisture, a curl cream or light gel for your texture, a light oil for sealing, and a satin scarf or bonnet for nighttime protection. That's enough for the first few months. For a broader list of products as your TWA grows, our guide to best styling products for short hair rounds up options across textures and budgets.
The American Academy of Dermatology Association's hair care guidance notes that minimizing heat styling and harsh manipulation helps protect hair health, which lines up with the low-manipulation approach that suits a fresh TWA.
Big Chop Mistakes to Avoid
Big Chop Mistakes to Avoid
Cutting in Dim Lighting or Without Sectioning. This is the single biggest cause of uneven results. Bathroom lighting hides unevenness that becomes obvious the second you step outside. Section your hair before cutting and check your progress in natural daylight.
Skipping a Moisture Routine Right After the Cut. Short strands dry out faster without the length that helps longer hair retain moisture. Start your leave-in and sealing oil routine from day one.
Comparing Your TWA to Someone Else's Texture or Timeline. Curl pattern, density, and growth speed differ for everyone. Your TWA is going to look like your hair, not someone else's, and that's the point of finally seeing your natural texture.

Your Big Chop Guide for Beginners: Final Thoughts
Your Big Chop Guide for Beginners: Final Thoughts
The big chop feels enormous the night before and surprisingly freeing the moment it's done. You now have a real roadmap: how to know you're ready, how to prep, how to choose between DIY and a stylist, exactly how to cut it, and how to care for and style your TWA by texture through every stage of growth. However your curls grow in, they're yours to style with confidence, one wash-and-go or headwrap at a time.
Save this guide to Pinterest so you can come back to the growth timeline and styling tips as your hair grows month by month. When you're ready for more short-hair inspiration, browse our face-shape-friendly short cuts and summer-ready short styles galleries for your next look.



Your email address will not be published. Required fields are marked *