

Dutch braid hairstyles have a funny reputation. They look like something only a salon stylist could pull off, yet the Dutch braid is actually one of the easiest braids to master at home once you understand the under-cross motion. It also happens to be one of the most versatile: the same basic technique can carry you from a rushed Monday commute to a Saturday wedding without changing a single tool in your kit.
That versatility is exactly why this guide is organized differently than the usual braid gallery. Instead of scrolling through 25 random photos with no context, you will find these dutch braid hairstyles grouped by the moment you are dressing for: work and school, weddings and formal events, the gym, festivals, and easy everyday wear. Every single style below also tells you which hair length and texture it suits best, how long it takes to create, how much upkeep it needs, and exactly what to say if you would rather have a stylist do it for you.
Before you dive into the gallery, it helps to get grounded in the basics. A quick refresher on what makes a Dutch braid different from a French braid, plus a simple four-step primer, means you never have to leave this page to look up a separate tutorial. If you want the full braided-style universe beyond just Dutch braids, our braided styles hub roundup is a great next stop once you have found your favorite look here.
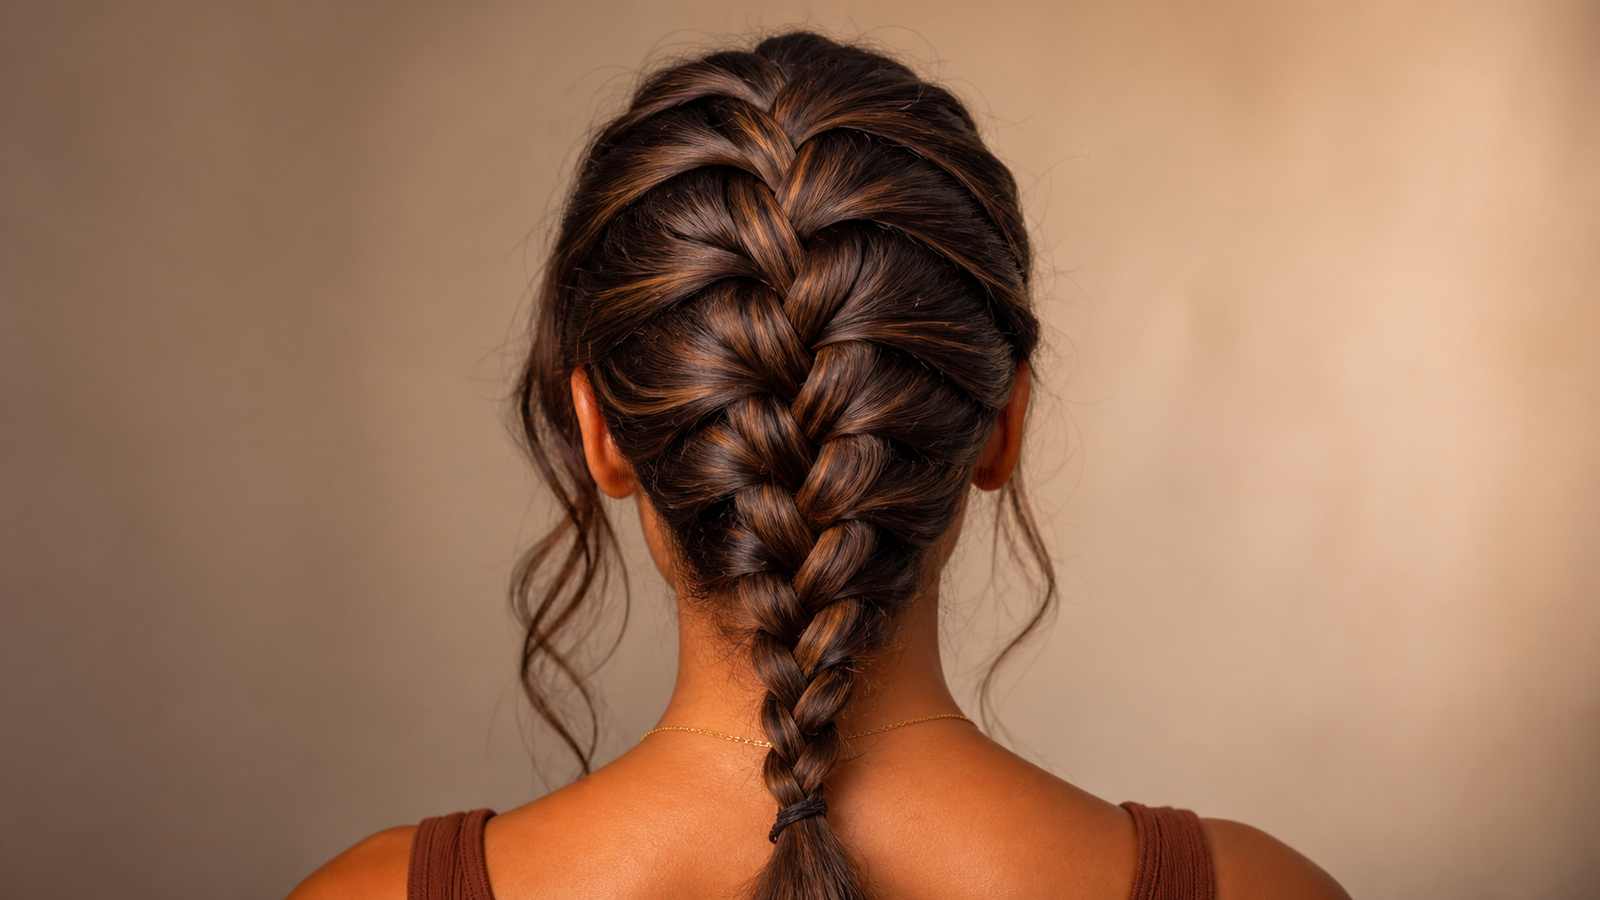
What Is a Dutch Braid? (Dutch Braid vs. French Braid)
What Is a Dutch Braid? (Dutch Braid vs. French Braid)
A Dutch braid is created by crossing the outer strands under the middle strand instead of over it, which is the opposite motion of a classic braid. That single difference is what makes a Dutch braid sit raised and three-dimensional on top of the hair rather than lying flat against the scalp. It is often called an "inverted" or "reverse" French braid for exactly this reason, so if you have seen either term used online, know that they all describe the same technique.
A French braid, by comparison, crosses strands over the top, which pulls the braid flat and gives it a smoother, more sleek finish. Both styles are about equally hard for a beginner to pick up, but many people find the Dutch braid a little easier to follow because the raised strands stay more visible as you work, so you can see your part and your progress in a mirror. If you want a full side-by-side technique walkthrough for the flatter version, our french braid tutorial breaks down the over-cross motion step by step.
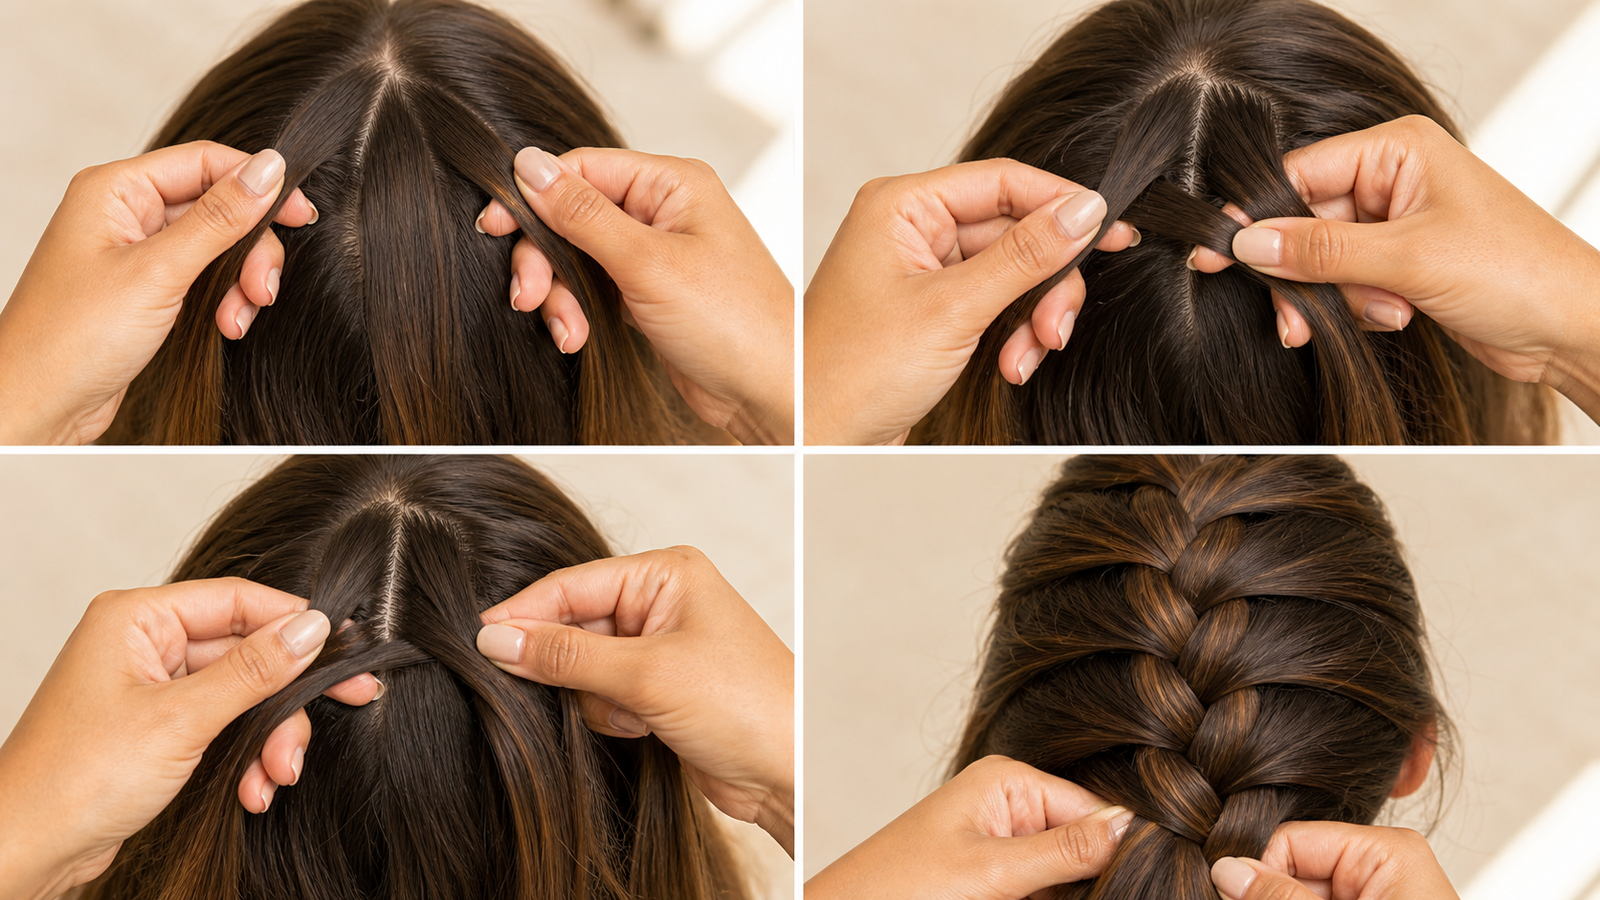
How to Dutch Braid in 4 Simple Steps
How to Dutch Braid in 4 Simple Steps
You do not need salon training to get a clean, raised Dutch braid at home, and most people feel comfortable with the motion after just a few practice tries. Start by sectioning a small piece of hair at your crown into three even strands, the same starting point you would use for any braid. From there, the technique is simple to repeat down the length of your hair, and the four steps below cover everything you need.
- Section a small piece of hair at the crown into three equal strands, holding them the way you would for any basic braid.
- Cross the outer strands under the middle strand instead of over it, which is the single motion that defines a Dutch braid and gives it that raised look.
- As you cross under on each side, pick up a small new piece of hair from that side of the head and add it into the strand before crossing again.
- Continue this under-cross-and-pick-up pattern all the way to the nape of your neck, or keep going into a standard three-strand braid down the rest of your length, then secure the end with a small elastic.
Two small adjustments solve almost every beginner frustration with this braid. If flyaways are your issue, smooth a light gel or run an edge brush over dry hair before you start, since second-day hair with a little natural oil in it grips better and holds the shape longer through the day than freshly washed hair. If you have layers or shorter pieces that keep slipping loose, simply pin those sections flat against your head as you braid past them, and they will blend into the finished look instead of popping out by midday.
Dutch Braid Hairstyles for Work and School
Dutch Braid Hairstyles for Work and School
This first group is built for hair that needs to look polished for eight or more hours without a single touch-up, which makes it the go-to bucket for backpacks, laptop bags, and long days at a desk. Every style here favors low effort and high hold over anything fussy, since nobody wants to redo their hair between meetings or classes. Below are five dutch braid hairstyles that hold their shape from the morning commute through the evening one.
Classic dutch braid ponytail
This is the simplest entry in the entire roundup and the easiest starting point if you are new to Dutch braiding: one centered braid running from the crown into a low or high ponytail. It works best on medium-to-long, straight-to-wavy hair, takes about five to seven minutes once you are comfortable with the technique, and holds up for a full day with virtually no maintenance. Ask your stylist for a single centered Dutch braid finished into a ponytail if you want the salon version of this exact look.
Side dutch braid
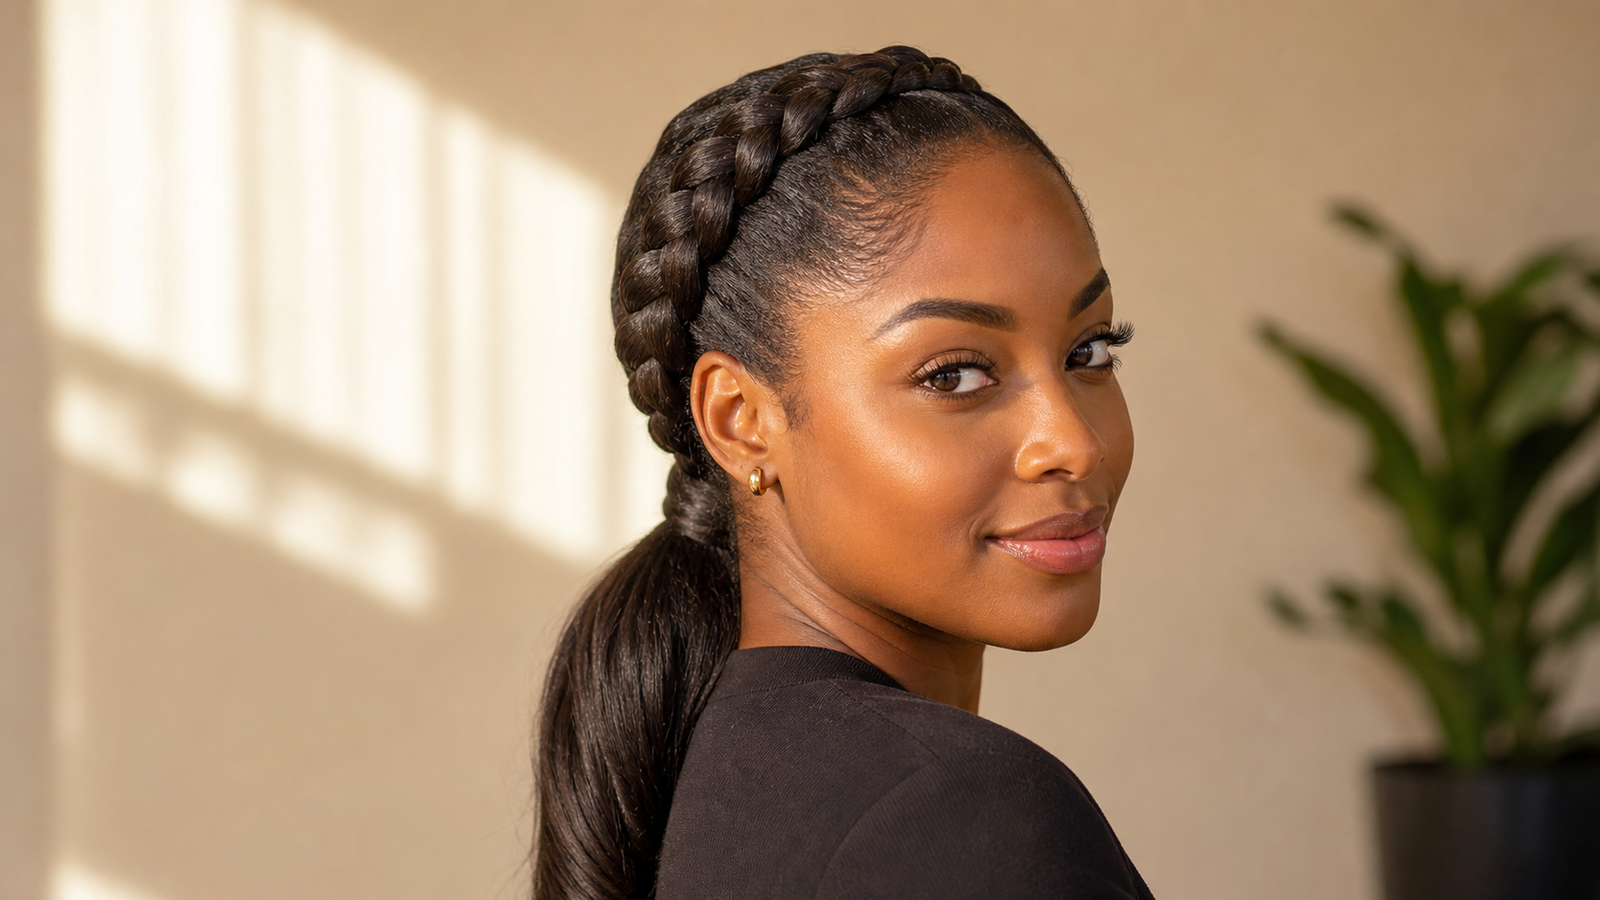
Shifting the braid to one side instead of centering it changes the whole feel of the style while keeping the same five-minute effort level, and it works on shoulder-length hair and up in almost any texture. Because the braid pulls the eye diagonally across the face, this particular style tends to flatter round and heart face shapes especially well. It needs almost no upkeep once it is in, making it one of the most efficient dutch braid looks for a packed school or work schedule.
Double dutch braid pigtails
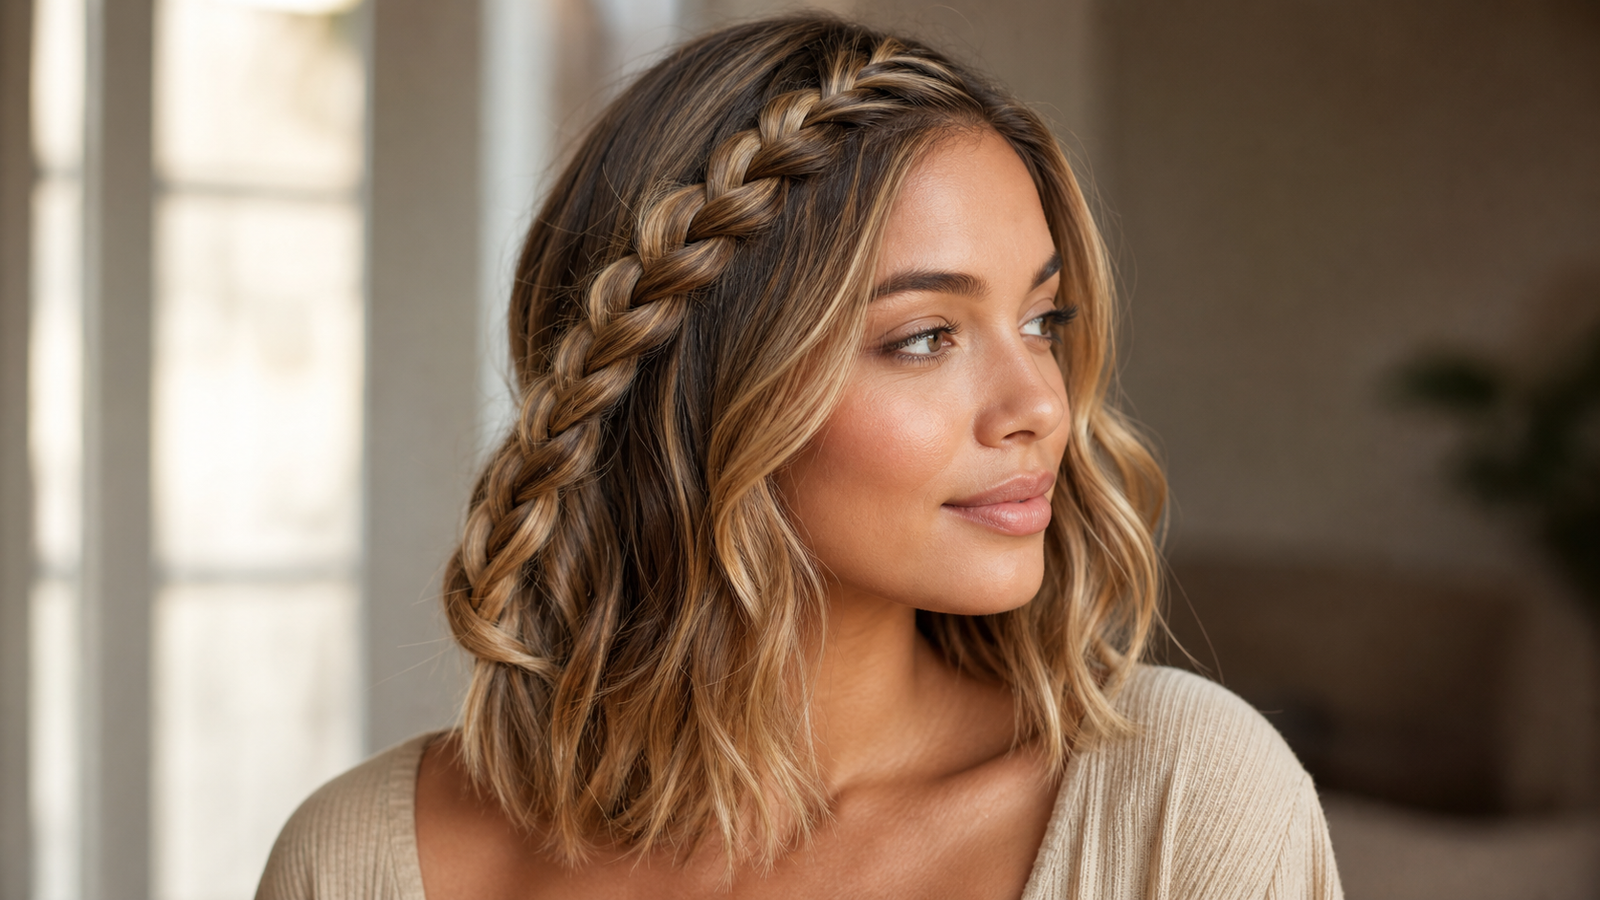
Two braids instead of one is a smart trick specifically for fine or thin hair, since splitting your hair into two sections and braiding each one adds visible volume and texture that a single braid cannot. Plan on eight to ten minutes for this one, and expect medium maintenance since flyaways along the part tend to need a quick re-tuck by midday. Ask your stylist for double Dutch braids with a slightly loosened weave through the crown if you want extra fullness built in from the start.
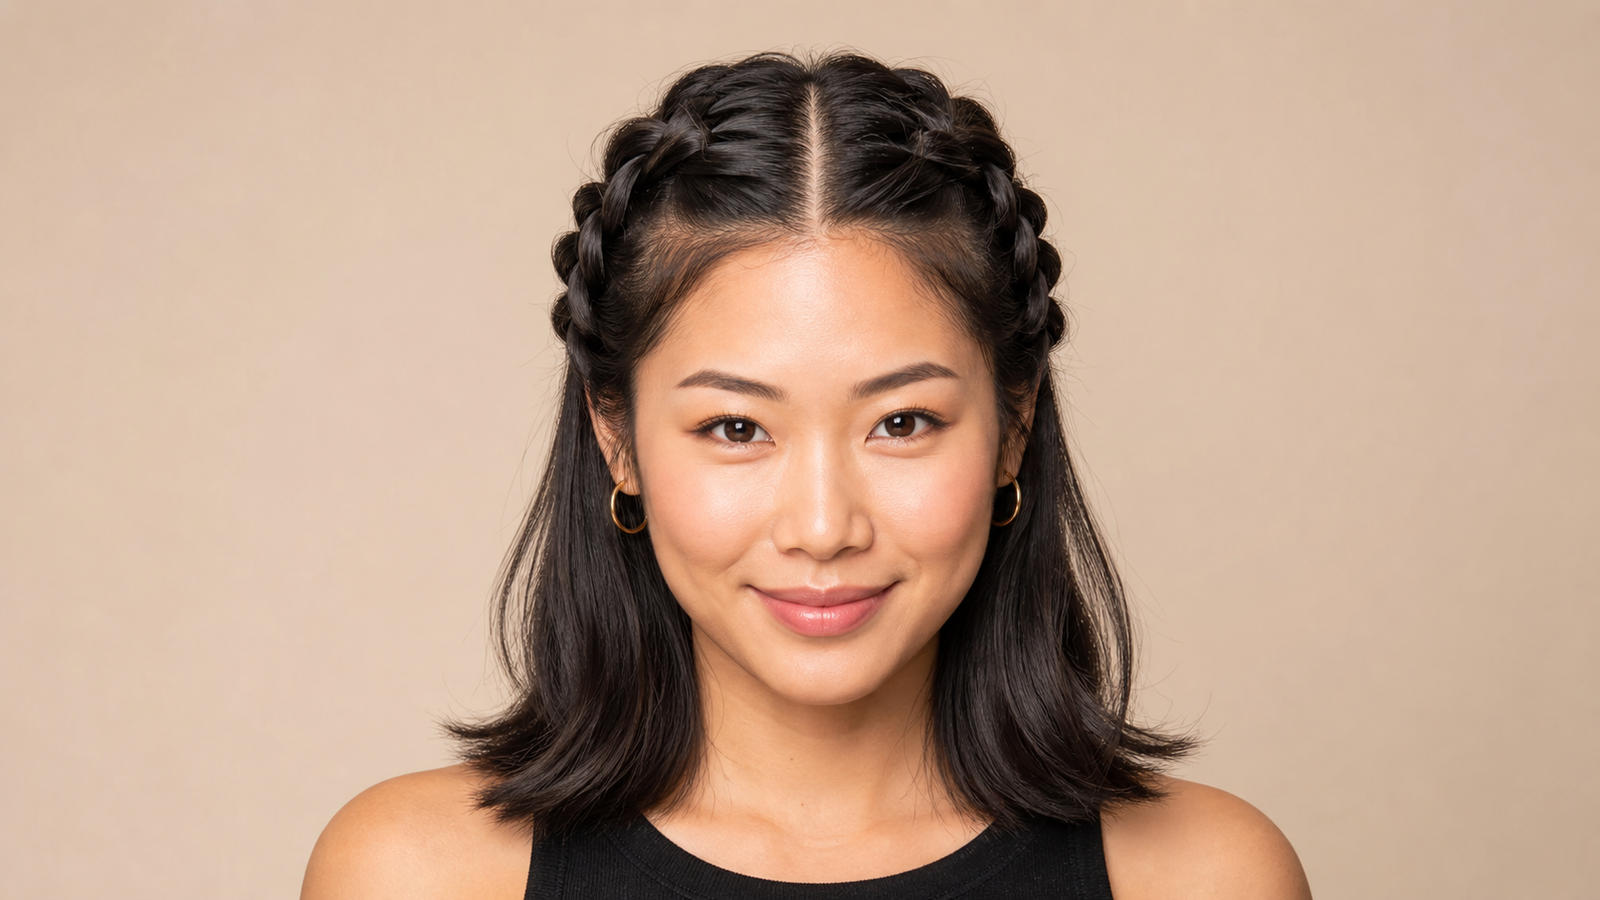
Dutch braid bun
This style takes the classic braid and coils it into a bun at the nape, which makes it especially good for long hair or hair with extensions that need somewhere secure to go. It takes about ten minutes start to finish and, once pinned, holds through an entire workday with low maintenance. Ask your stylist for a Dutch braid finished into a low, pinned bun if you want a version polished enough for a client meeting or a full school day.
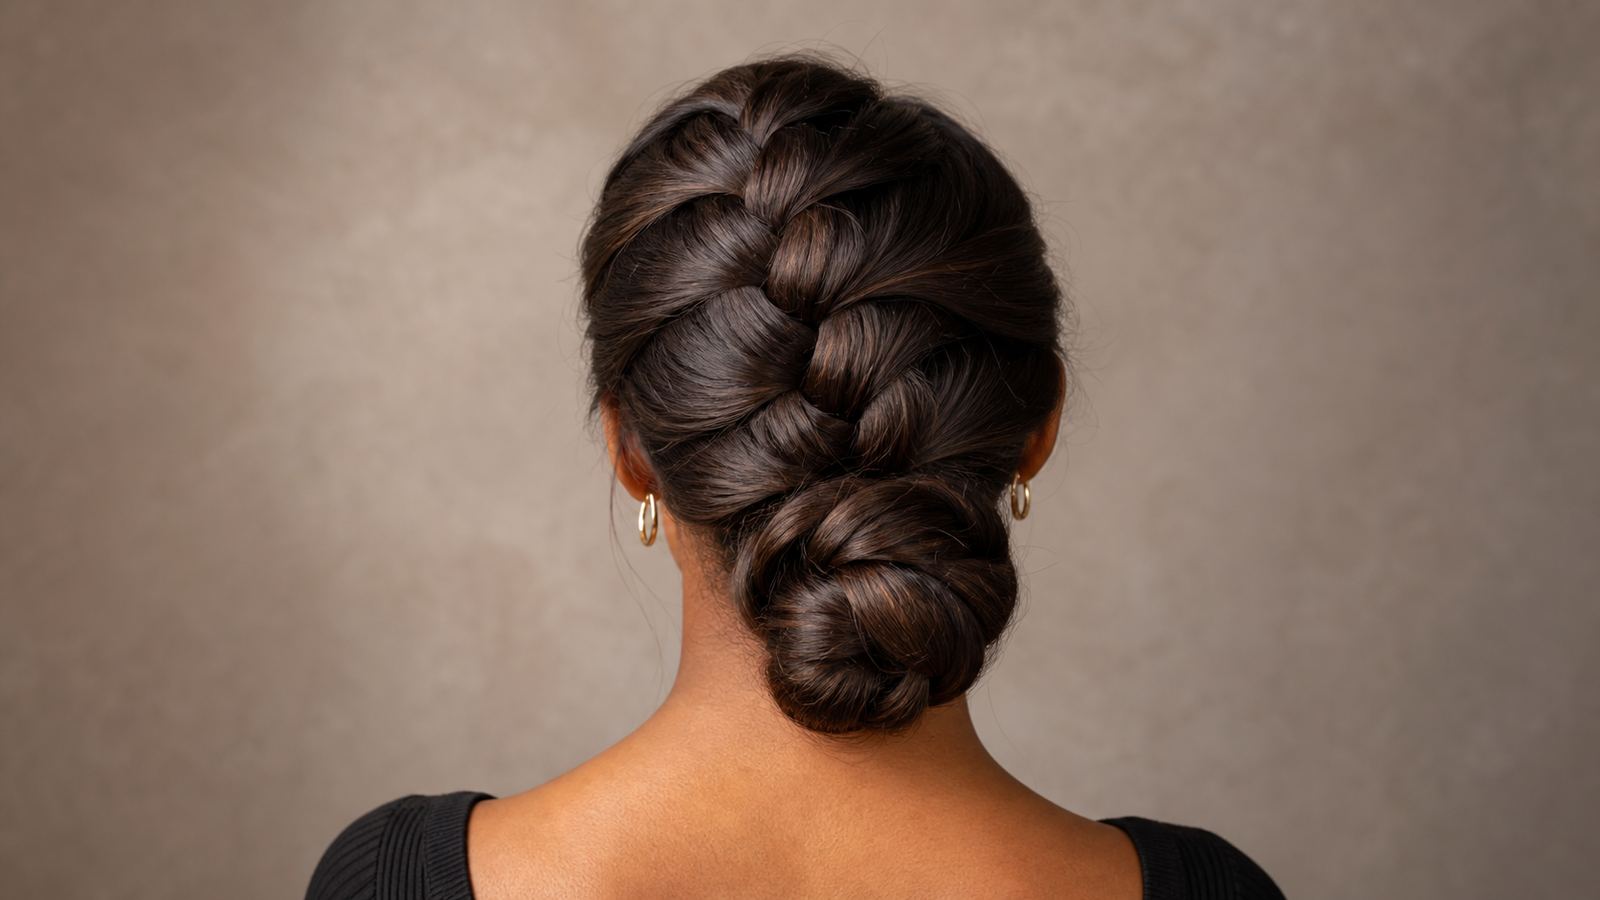
Half-up dutch braid
For anyone with curly or coily hair who wants definition on top while letting natural curls stay loose underneath, this half-up style is one of the fastest and most forgiving options in the whole guide. It takes roughly five minutes, requires low maintenance, and lets your natural texture do most of the visual work below the braided section. Ask your stylist for a single Dutch braid across the crown left loose at the halfway point if you want this exact half-up, half-down balance.
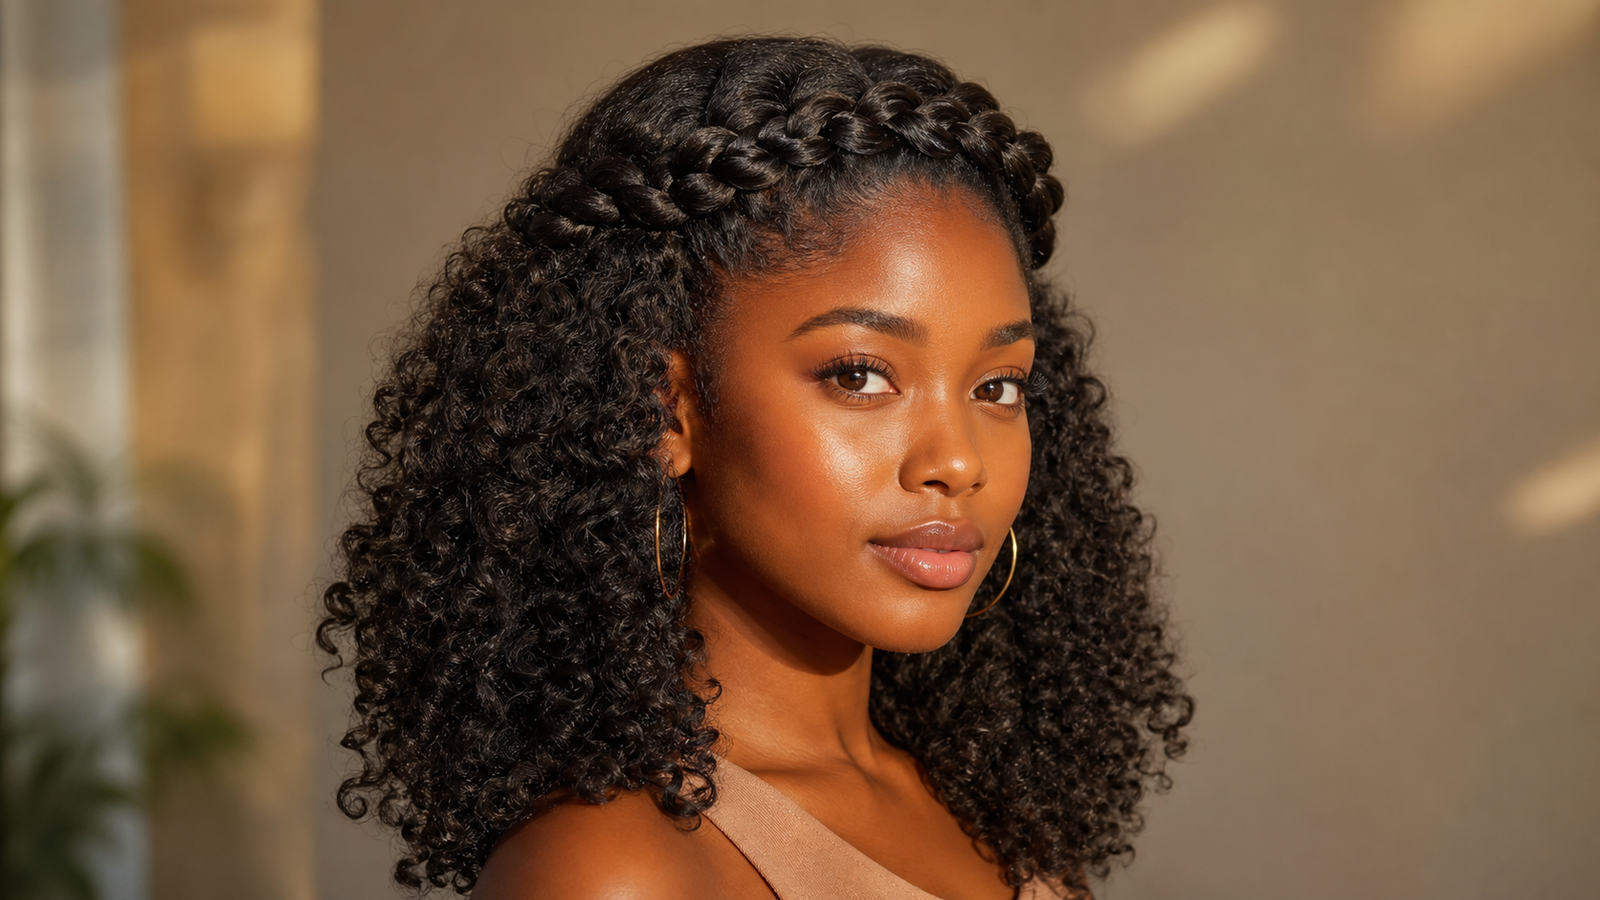
Dutch Braid Hairstyles for Weddings and Formal Events
Dutch Braid Hairstyles for Weddings and Formal Events
Formal dutch braid hairstyles need to look intentional and elevated without requiring an actual updo appointment, and that gap is what this section fills. These five styles all read as "done up" the moment you walk into a room, yet every one of them is achievable at home with a bit of extra patience and some bobby pins. Several of these also come with a face-shape note, since a braid that flatters an oval face is not automatically the most flattering choice for a square or heart-shaped one.
Dutch braid crown
A Dutch braid crown wraps one or two braids around the head like a halo, and it works especially well on medium-to-long hair with some natural body to it. Budget about fifteen minutes for this one, since wrapping and pinning the braid neatly takes more care than a straight-down style, and expect medium maintenance as small pieces may shift over a long event. This crown shape flatters round and oval faces especially well, and it pairs nicely with a few soft, face-framing pieces left loose at the temples.
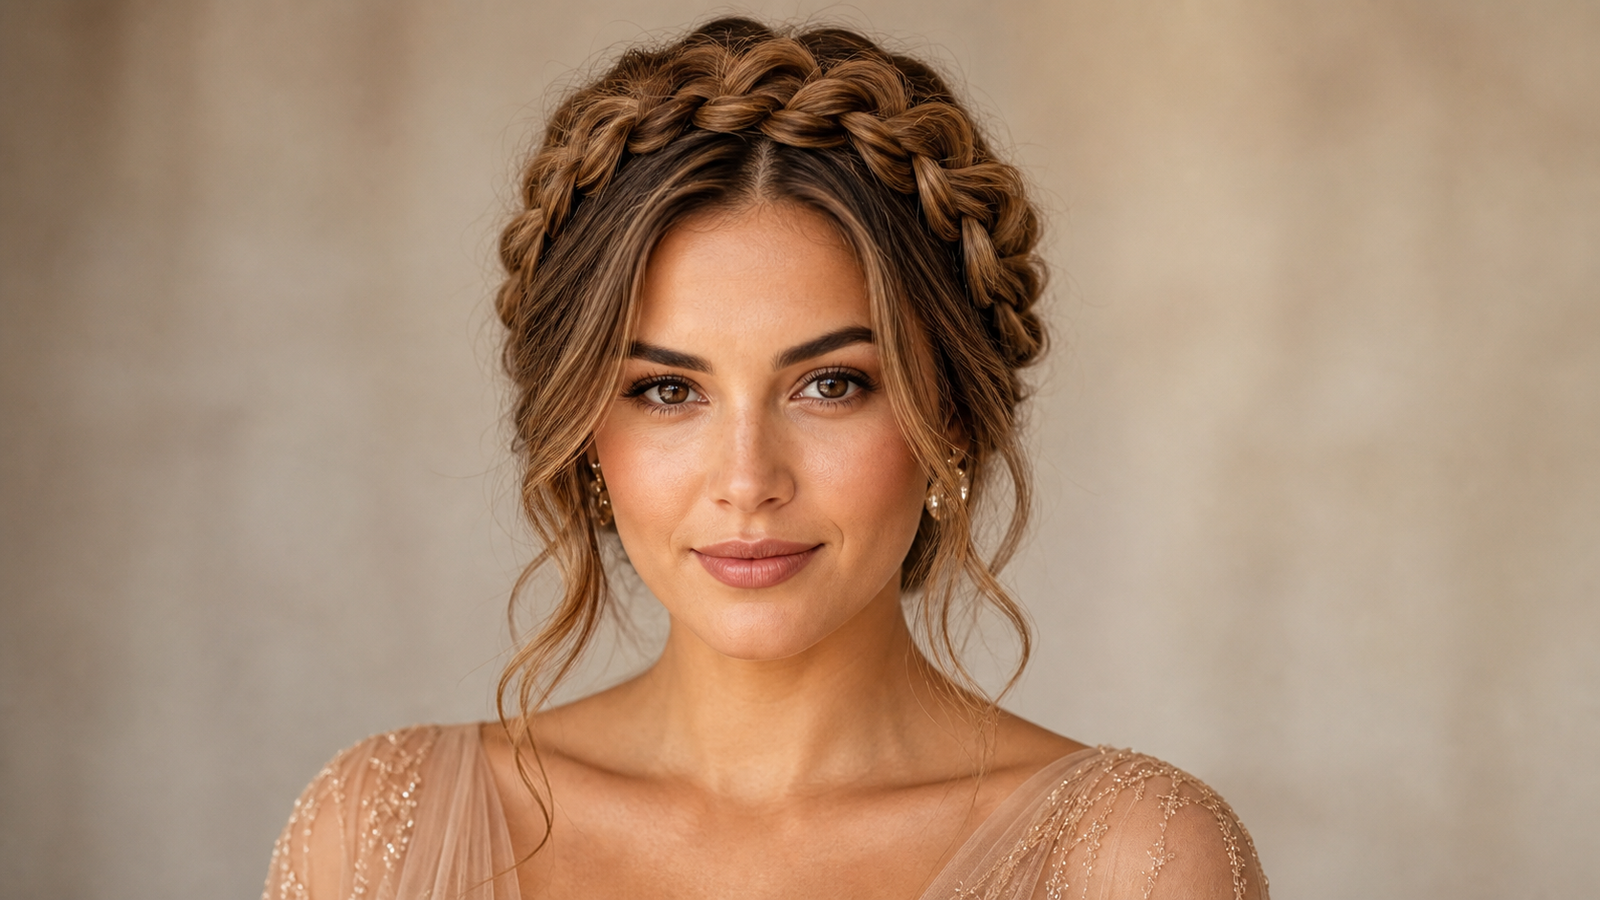
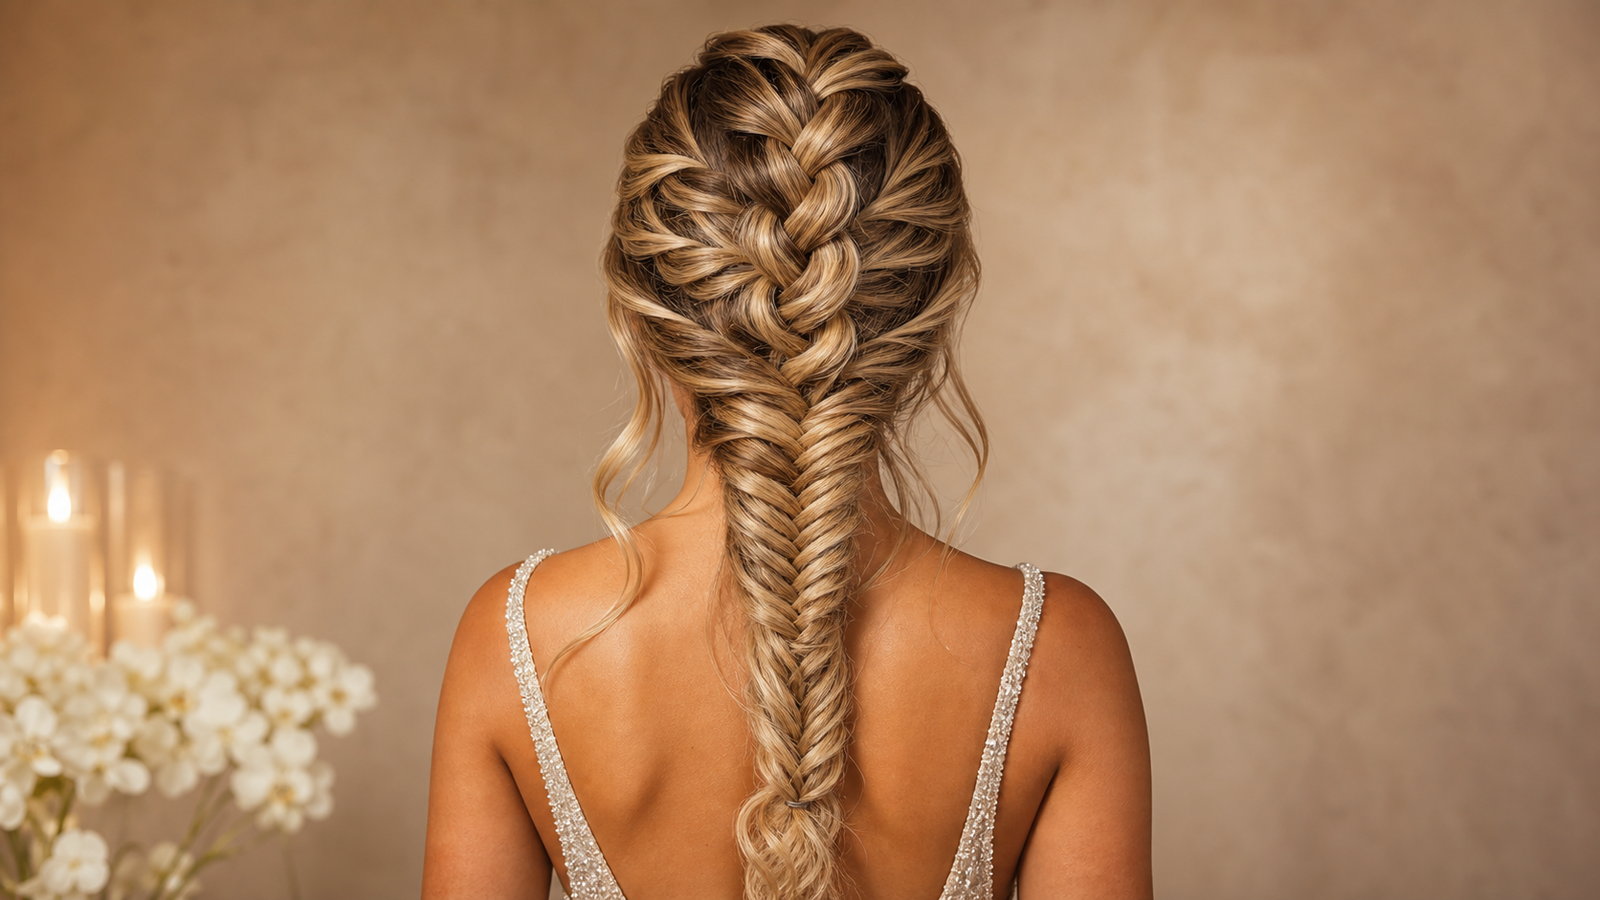
Dutch fishtail combo updo
Combining a Dutch braid section with a fishtail finish gives you a more detailed, bridal-party-ready look that reads as far more complex than it is to create. It works best on long, layered hair, takes about fifteen to twenty minutes, and sits in the medium-to-high maintenance range since the fishtail portion benefits from a light hairspray touch-up as the evening goes on. Ask your stylist for a Dutch braid transitioning into a fishtail braid at the crown if you want to describe this exact combination.
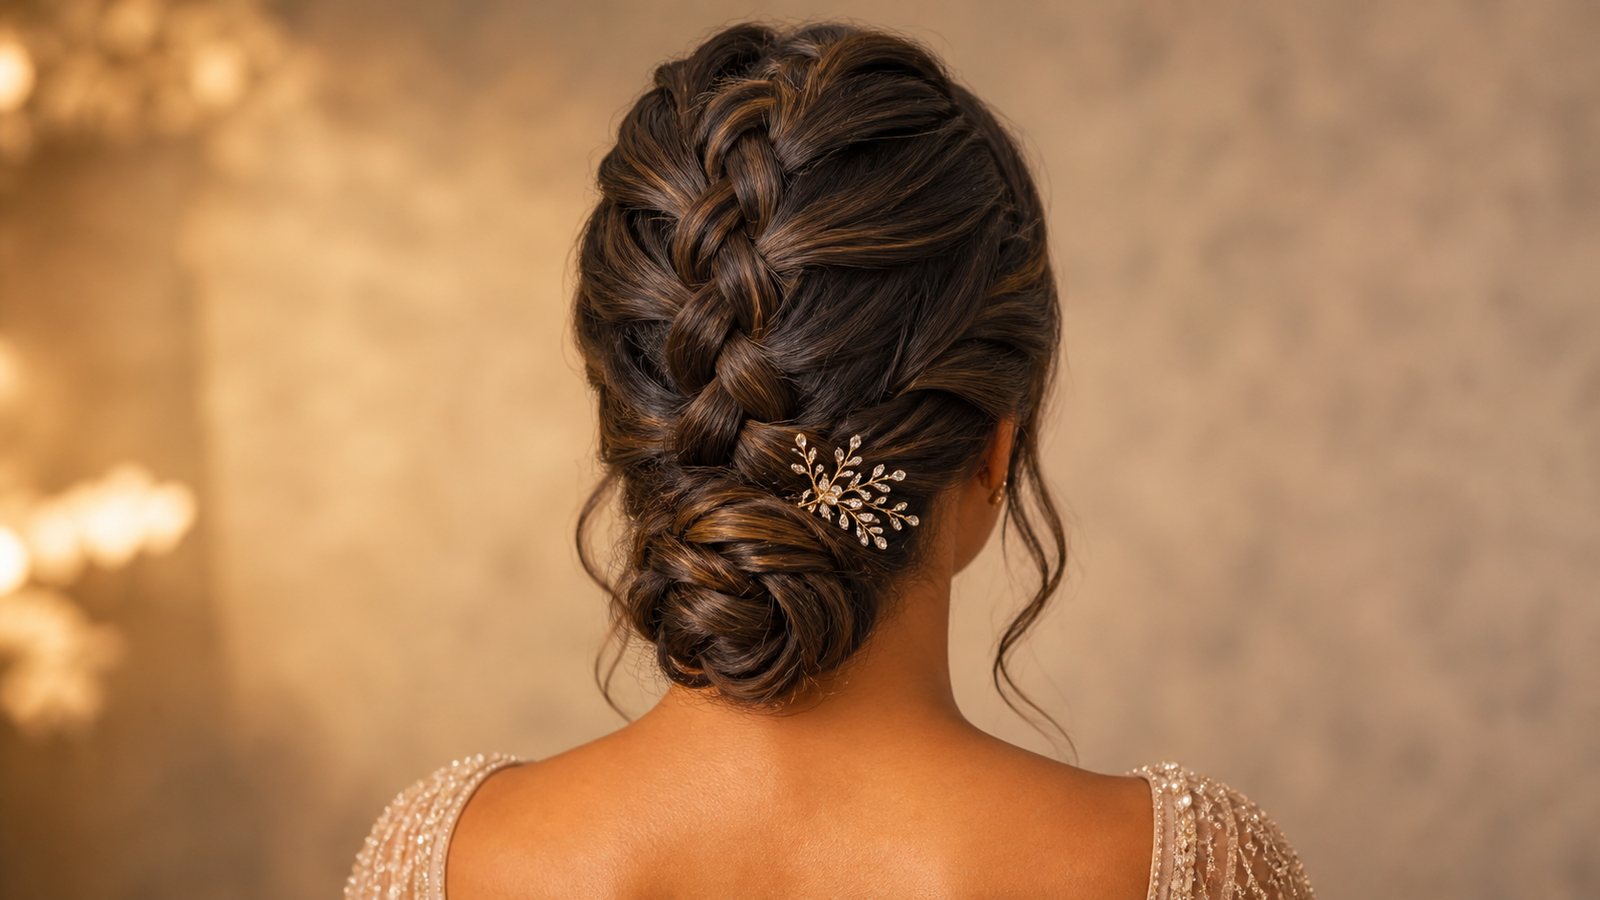
Dutch braid low bun with accessories
This one leans into simplicity dressed up with the right finishing touches: a low, pinned bun built from a single Dutch braid, elevated with a delicate hairpin or clip. It suits fine-to-medium hair particularly well, takes about ten minutes to put together, and needs very little maintenance once everything is pinned in place. Ask your stylist for a Dutch braid finished into a low bun with room for a decorative pin if you already have an accessory picked out.
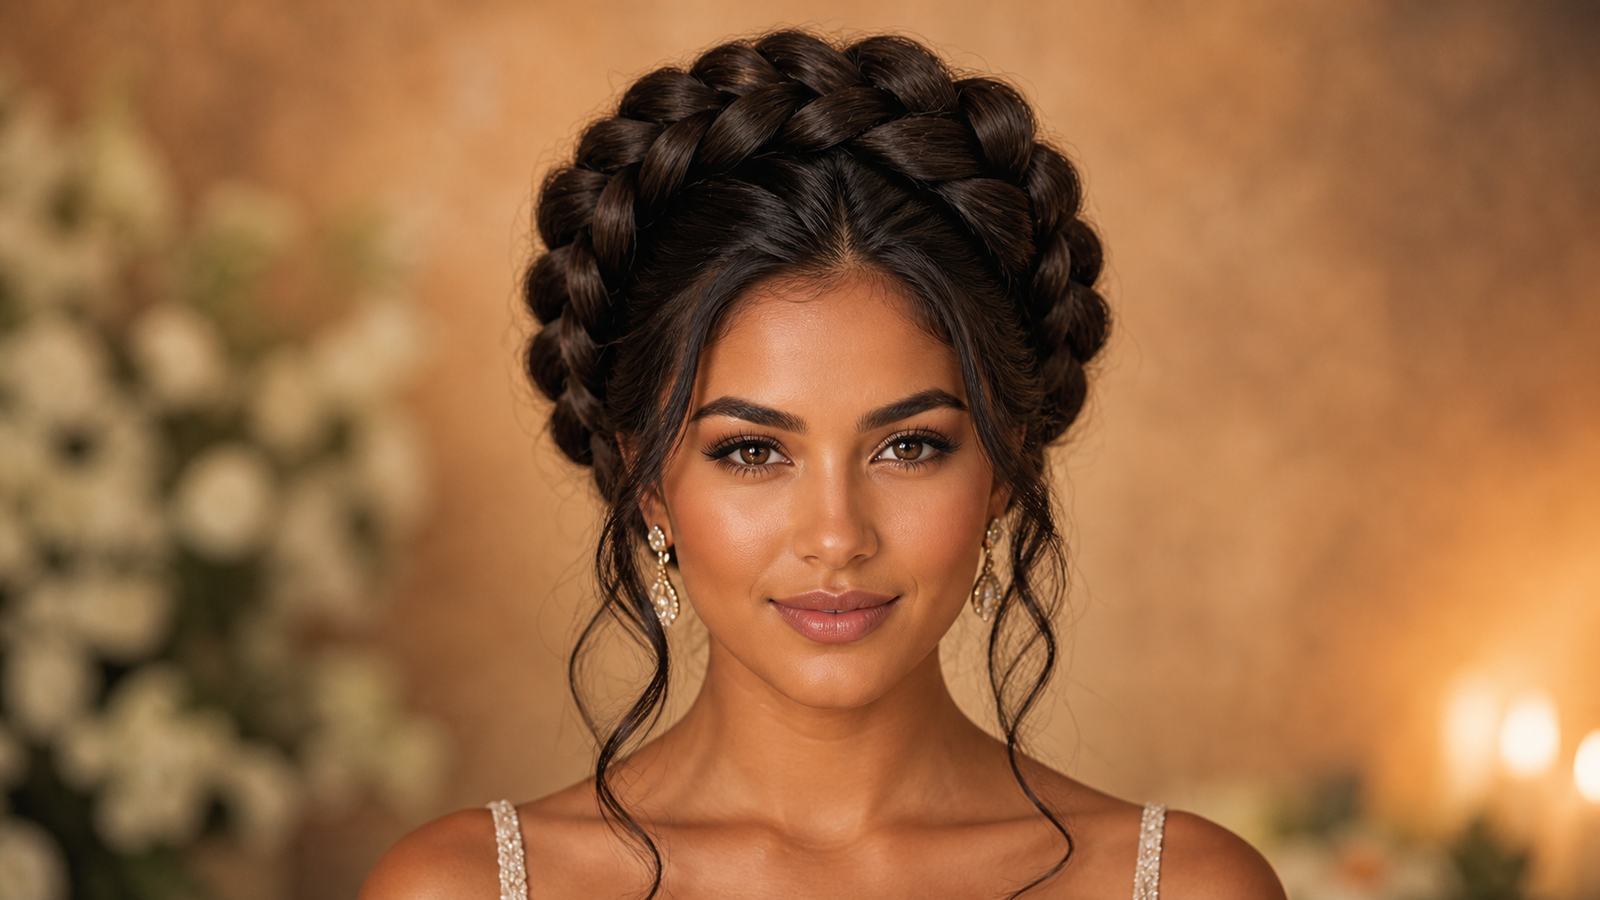
Dutch braid halo updo
For long, thick hair that can support extra volume, a Dutch braid halo updo builds a fuller, more dramatic ring around the head than the standard crown style. It takes about fifteen minutes, needs medium maintenance through a long event, and tends to flatter square and heart face shapes by softening strong jawlines and adding width near the temples. Reach for this one when you want a formal look with real presence from every angle.
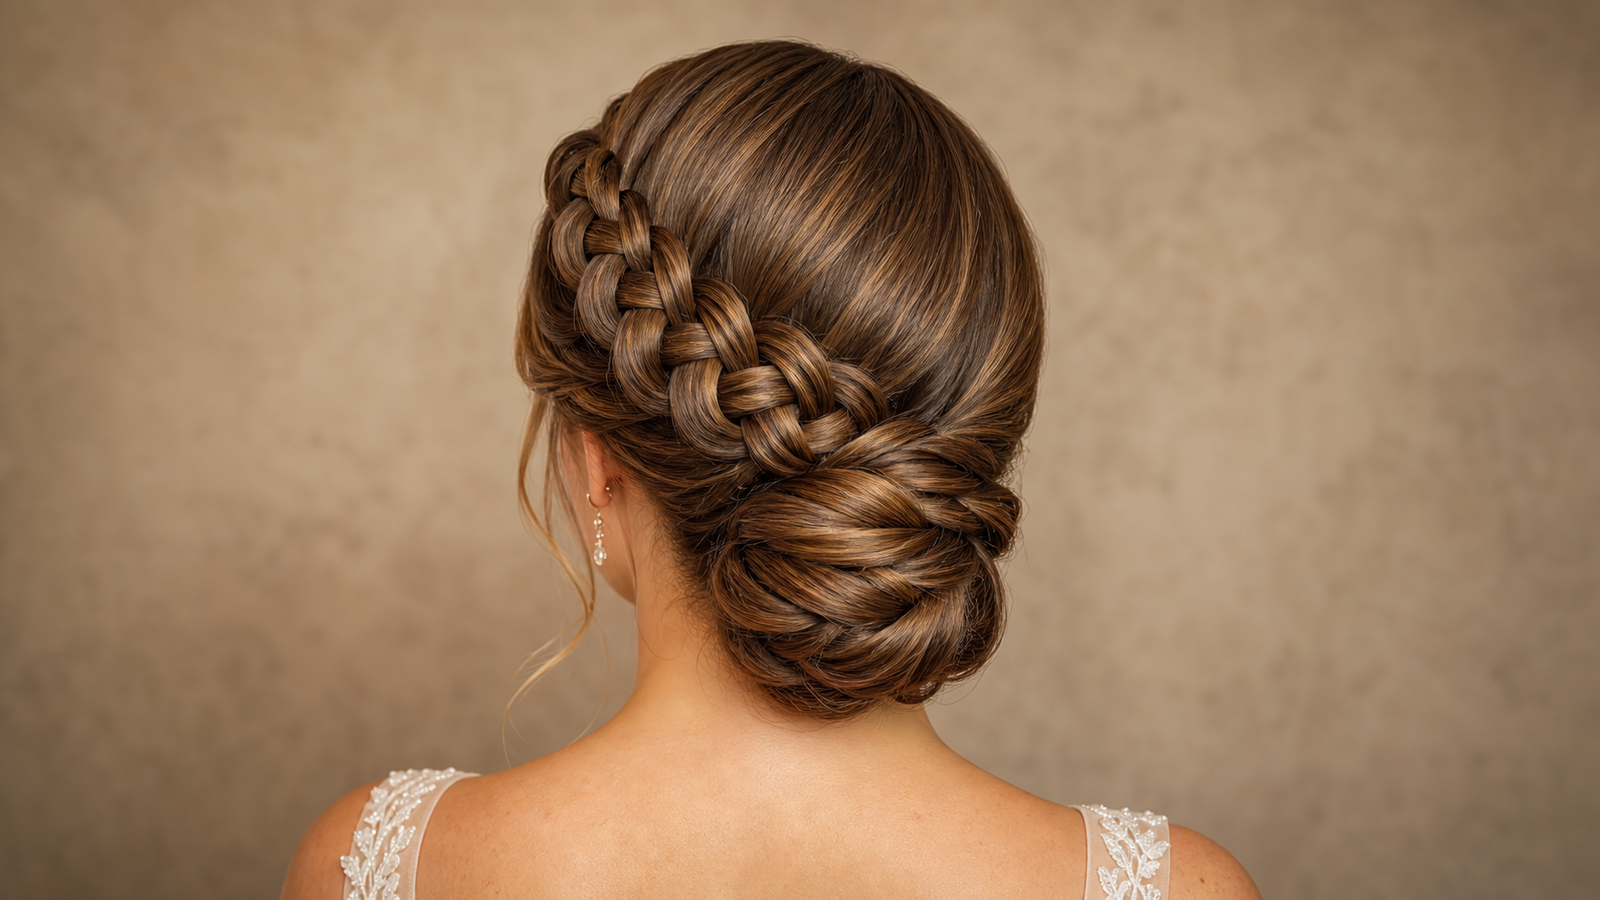
Formal dutch braid chignon
A chignon built around a Dutch braid base gives you a classic, low-key elegant option that works on straight-to-wavy long hair without demanding a lot of technical skill. It takes fifteen to twenty minutes to build but needs almost no maintenance once it is pinned, holding cleanly through an entire evening of dancing or dinner. Ask your stylist for a Dutch braid wrapped into a low chignon if you want a timeless, photograph-ready finish.
Dutch Braid Hairstyles for the Gym and Active Days
Dutch Braid Hairstyles for the Gym and Active Days
These dutch braid hairstyles are built to survive sweat, movement, and a full workout without falling apart halfway through a set, something most gallery-style articles never address. Each option here favors durability over polish, though a couple of them still look put-together enough to wear straight from the gym to errands. All five hold up through cardio, weights, and everything in between.
Double dutch braids for workouts
Two tight Dutch braids running from the crown to the nape are the gold standard for active days because they work on nearly any hair length or texture and stay secure through high-movement exercise. The style takes about ten minutes to create, needs low maintenance, and holds through a full cardio session without loosening at the crown. Reach for this one when you want zero mid-workout hair adjustments.
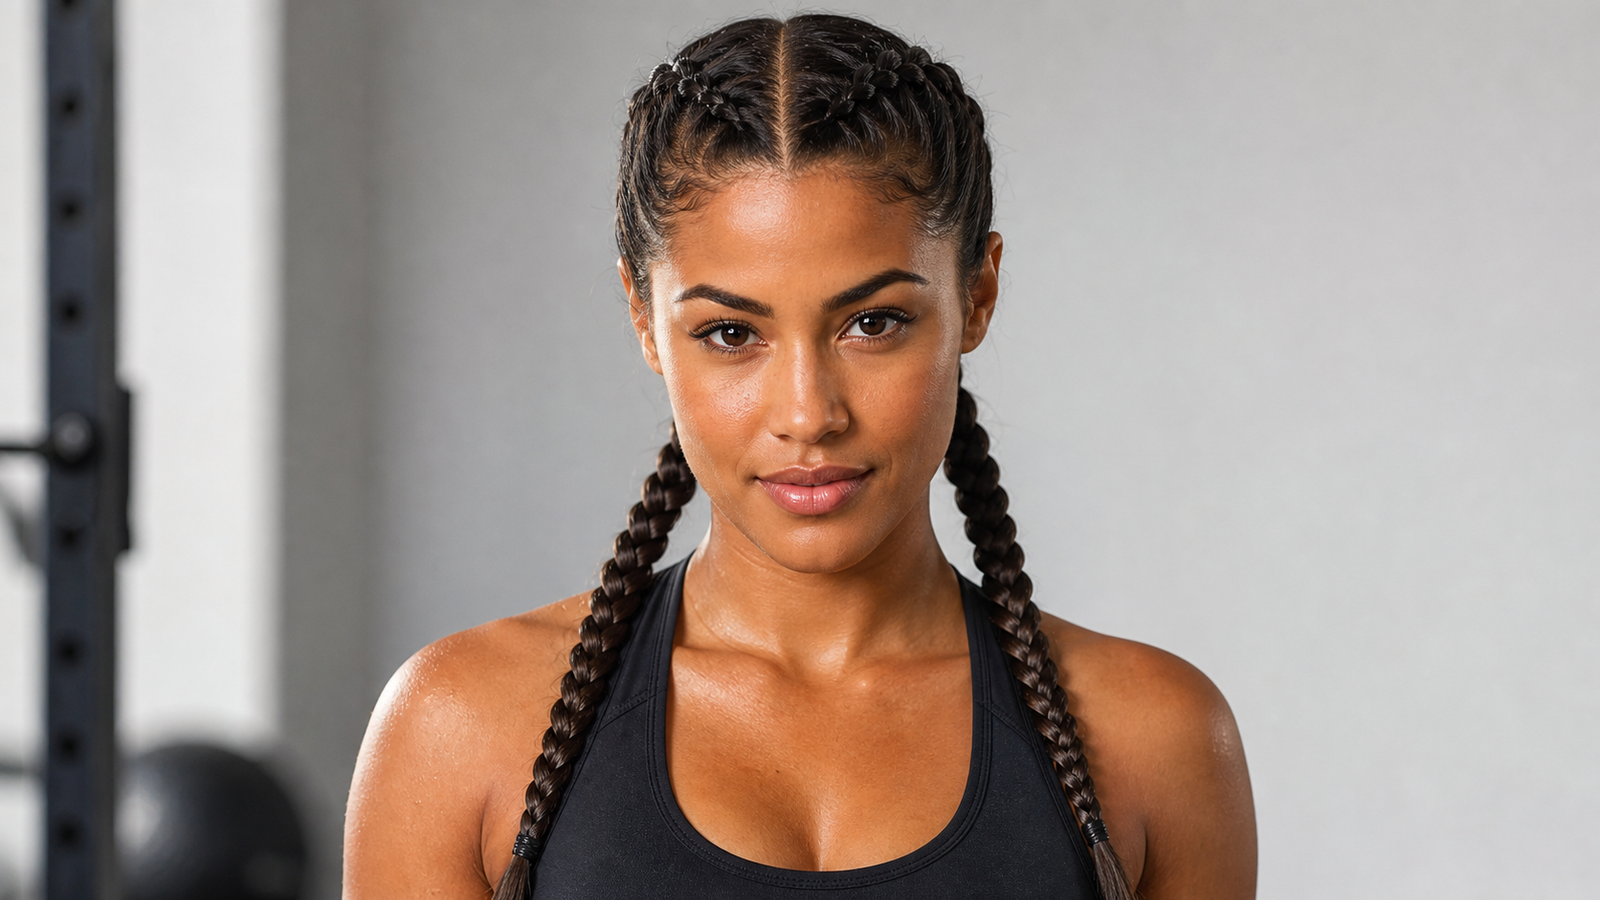
Dutch braid high ponytail
A single Dutch braid feeding into a high ponytail keeps hair fully off the neck, which makes it ideal for medium-to-long hair on hot or sweaty training days. It takes about five minutes, needs low maintenance, and the height of the ponytail keeps flyaways from sticking to your neck the way a lower style sometimes does. It is also one of the fastest options in this entire guide when you are already running late for a class.
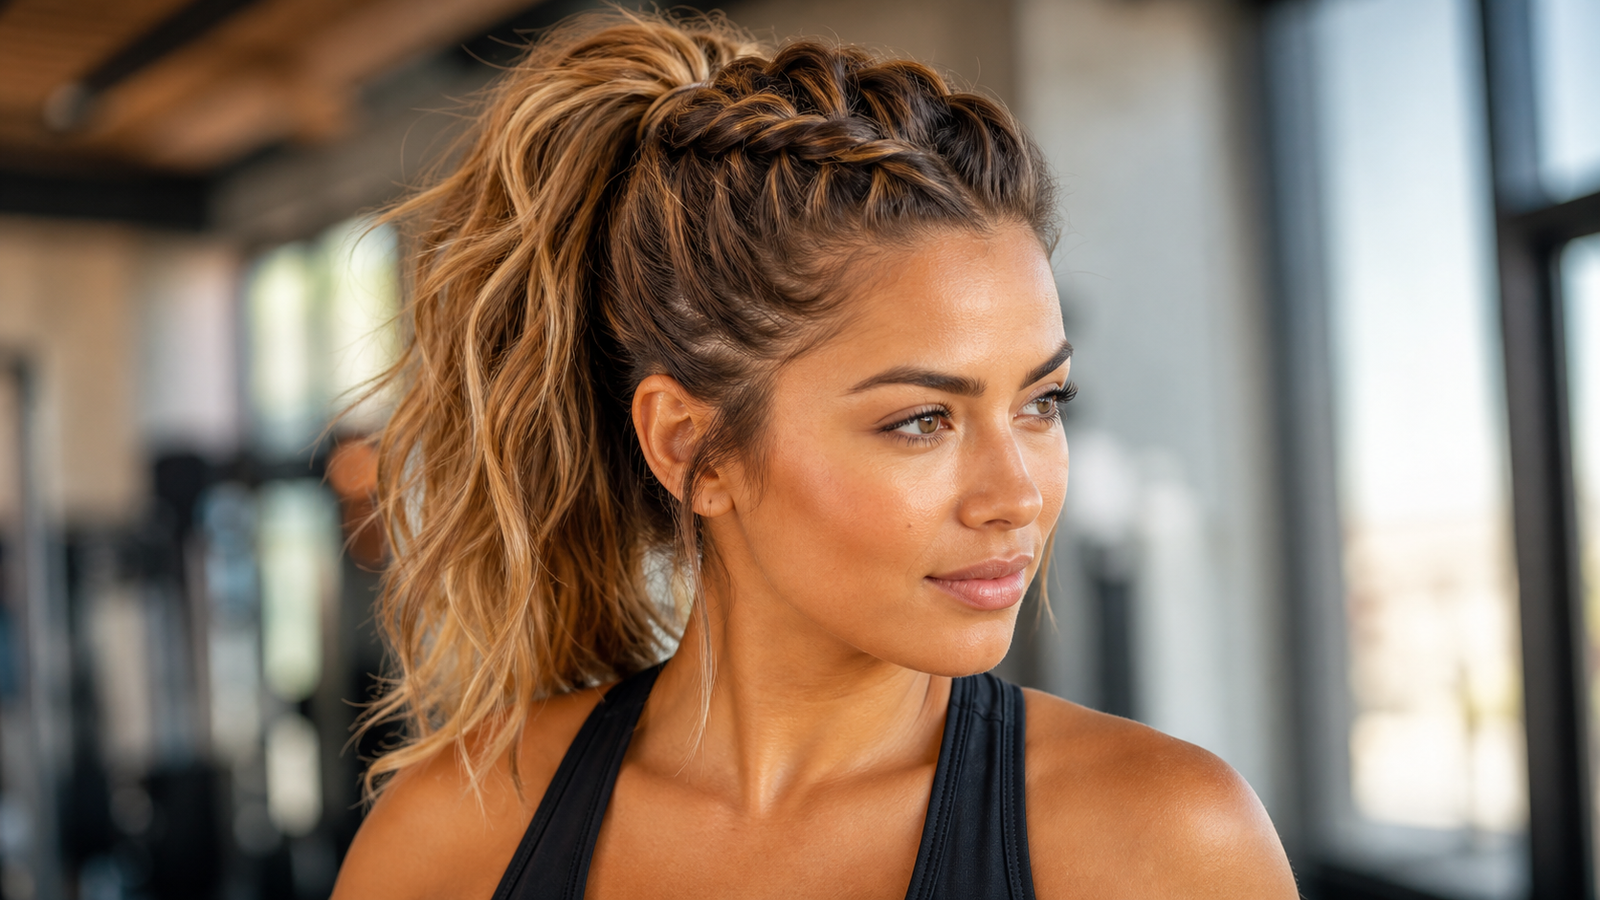
Dutch braid cornrow hybrid
Blending Dutch braiding with cornrow technique creates maximum hold for coily or curly textures, and this hybrid really does cross over into protective-style territory since it can last several days rather than just one workout. Plan on fifteen to twenty minutes for the initial styling, but maintenance stays low afterward since the braid does not need to be redone daily. This is one of the best dutch braid options on this list for anyone who works out multiple times a week and wants their hair handled once instead of every single day.
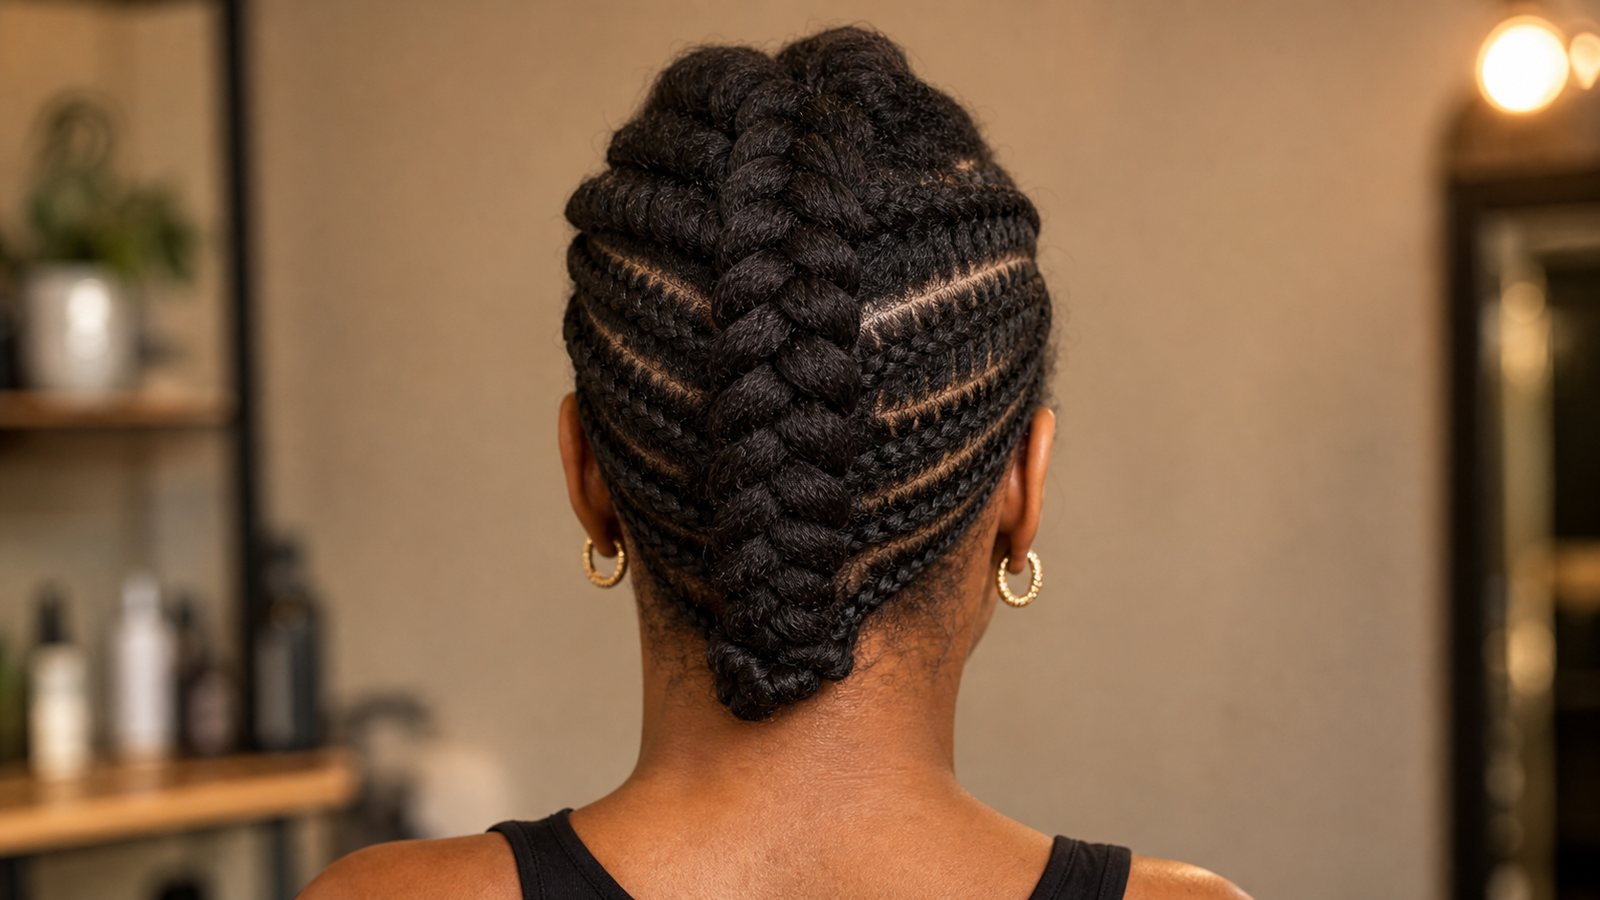
Sporty side dutch braids
Shorter or layered hair can still get in on active-day braiding through this side-swept version, which keeps shorter pieces tucked and secure even when hair does not reach past the shoulders. It takes five to eight minutes and needs low maintenance, since the side placement naturally hides where shorter layers end. It's a reliable option for anyone who assumed a Dutch braid needed long hair to work.
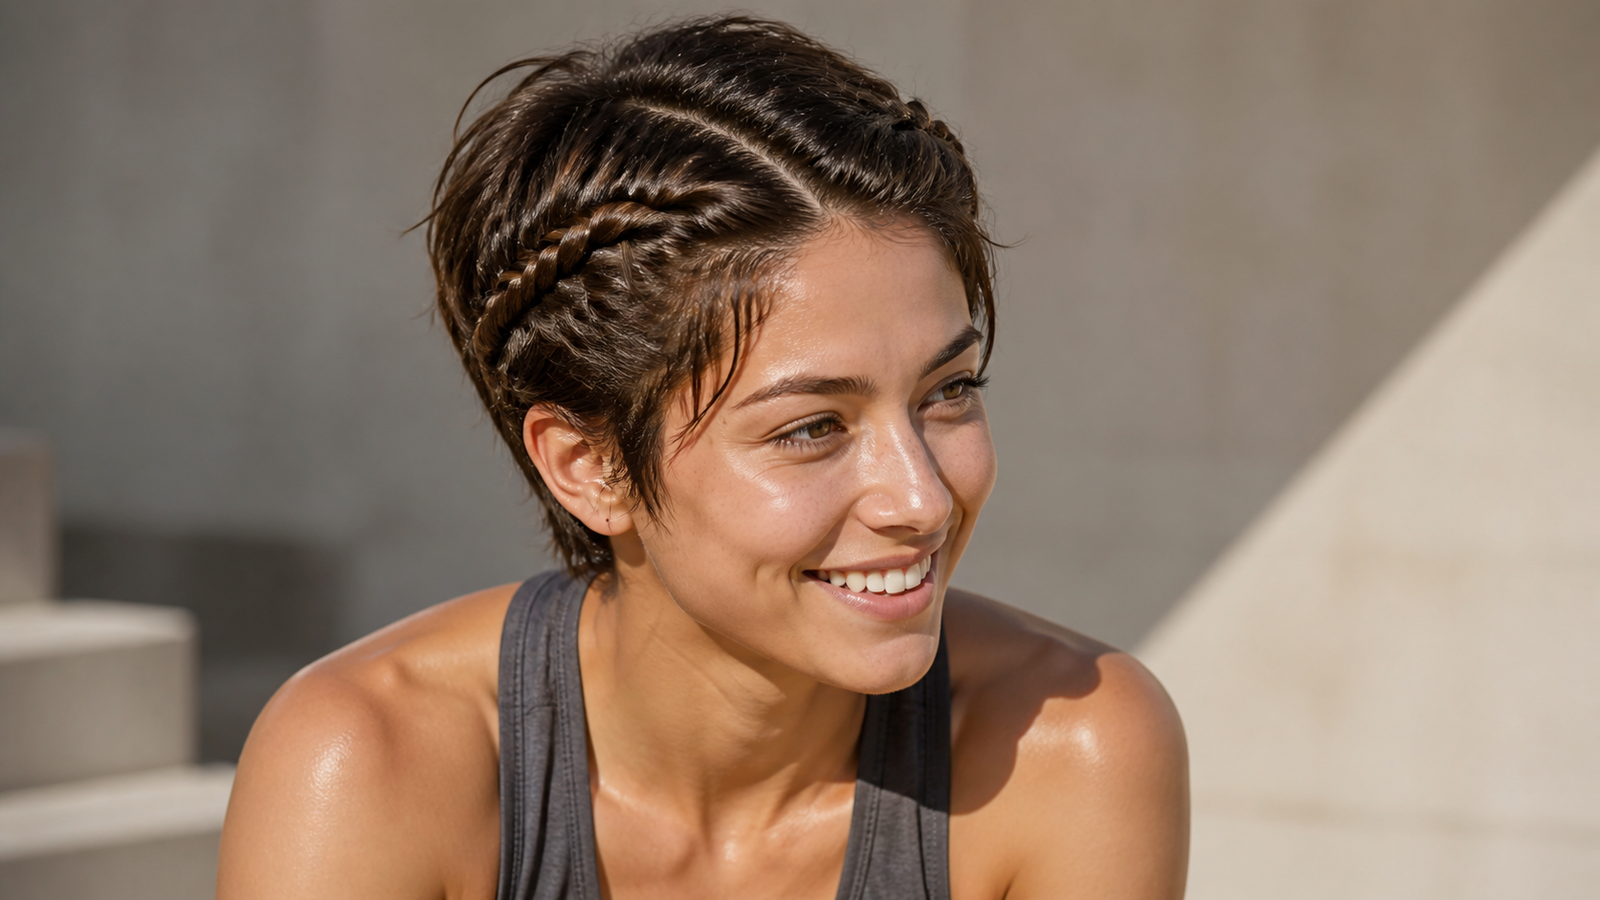
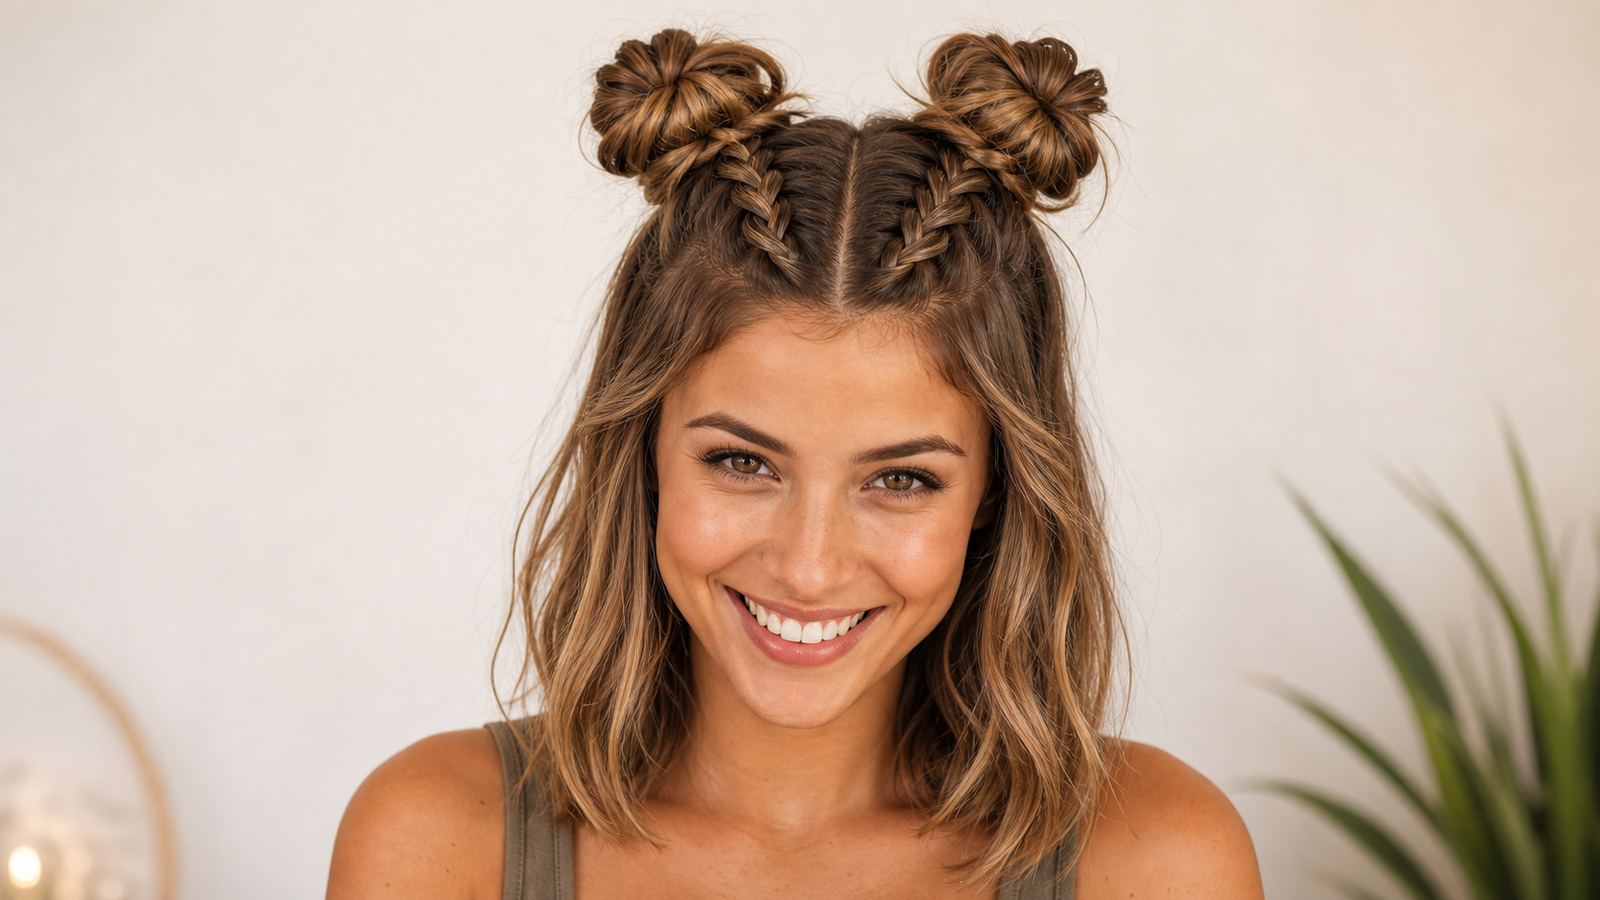
Dutch braid space buns
For a fun, high-energy look on active or festival-adjacent days, two small Dutch braids that each feed into their own space bun keep everything secured while still looking playful. It takes about ten minutes on medium-length hair and needs low maintenance through most activity levels. Great pick when you want a workout style that also photographs well for a post-gym selfie.
Dutch Braid Hairstyles for Festivals and Boho Days
Dutch Braid Hairstyles for Festivals and Boho Days
Boho dutch braid hairstyles trade polish for a loose, undone feel, and this occasion bucket is one that almost no competing gallery organizes around even though it is one of the most searched styling moods online. Every style here works best when you actively pull sections looser and resist the urge to smooth every flyaway back into place. These five options are meant to look effortless, even though a few small techniques go into getting that "just woke up like this" texture on purpose.
Boho dutch braid with face-framing pieces
A single loose Dutch braid paired with a few face-framing pieces pulled forward is one of the simplest ways to get a festival-ready look, and it works especially well on wavy or textured long hair. It takes about ten minutes and needs low maintenance, since the whole point of the style is that a little movement and loosening throughout the day only improves it. If you are used to tighter, more polished braids, this is an easy first boho style to try.
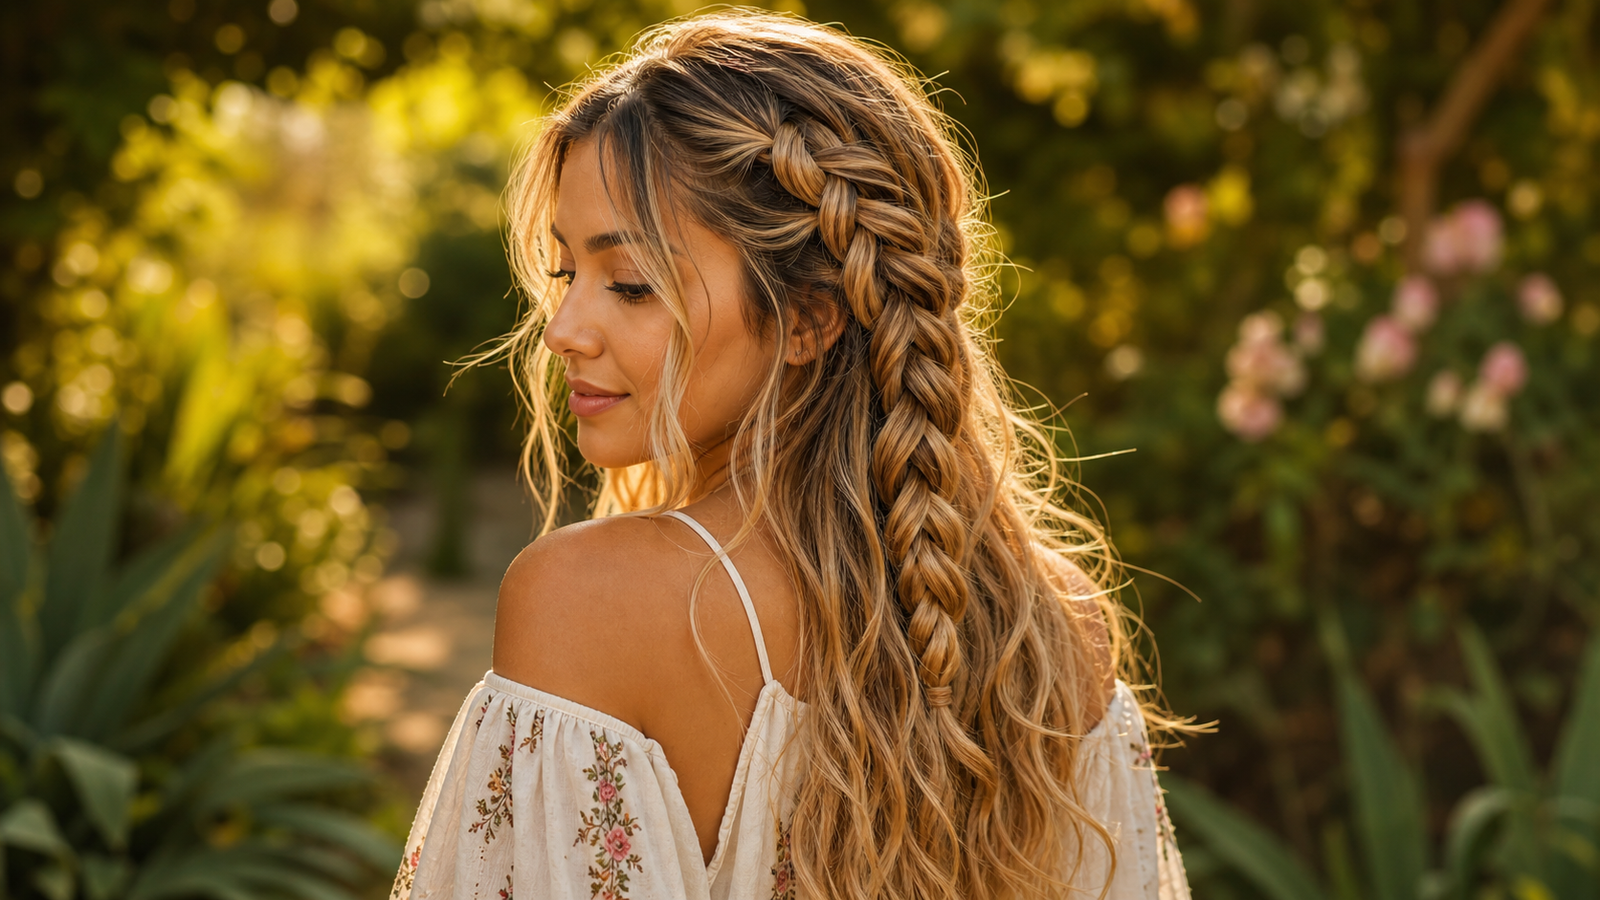
Dutch braid flower crown
Weaving small flowers or floral clips into a Dutch braid crown gives you a look built specifically for festivals, and it still relies on the same basic braiding skill from earlier in this guide. It suits medium-to-long hair, takes about fifteen minutes since positioning the flowers takes a bit of extra care, and sits at medium maintenance since pins may need resetting after a few hours of movement and dancing. This is one of the most photographed dutch braid looks for outdoor festival settings for good reason.
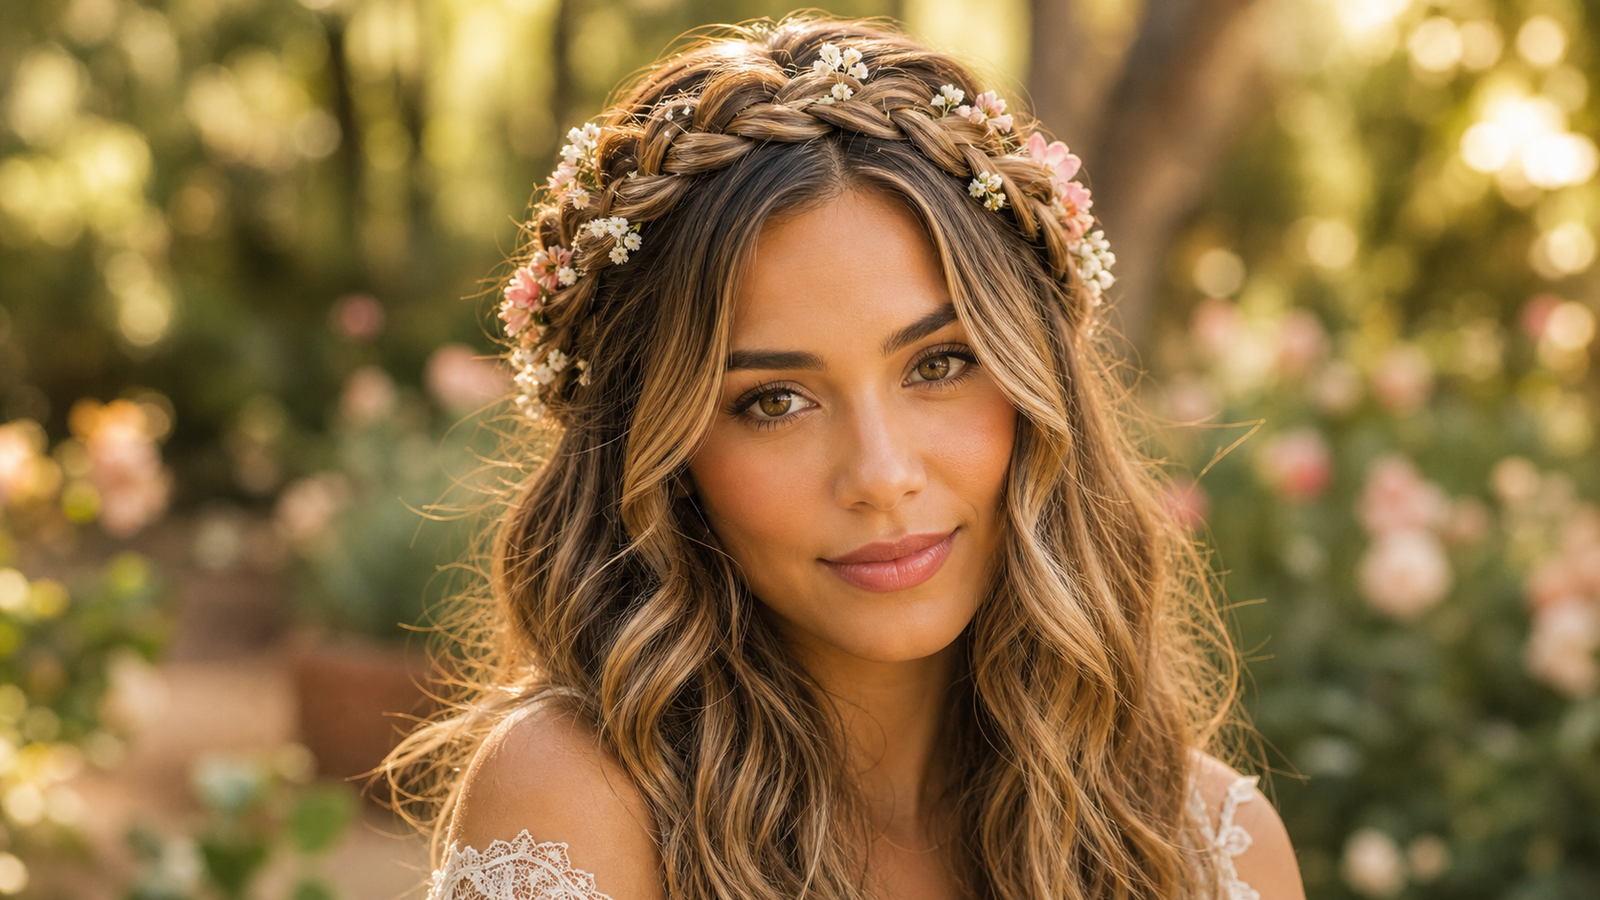
Loose dutch braid waterfall
A waterfall braid technique combined with the Dutch under-cross creates a cascading effect that looks complicated but is really just a variation on the basic pattern you already learned above. It works best on long, layered hair, takes ten to fifteen minutes, and needs medium maintenance since the waterfall sections can loosen faster than a standard braid. The payoff is a style that looks far harder in photos than it is to create.
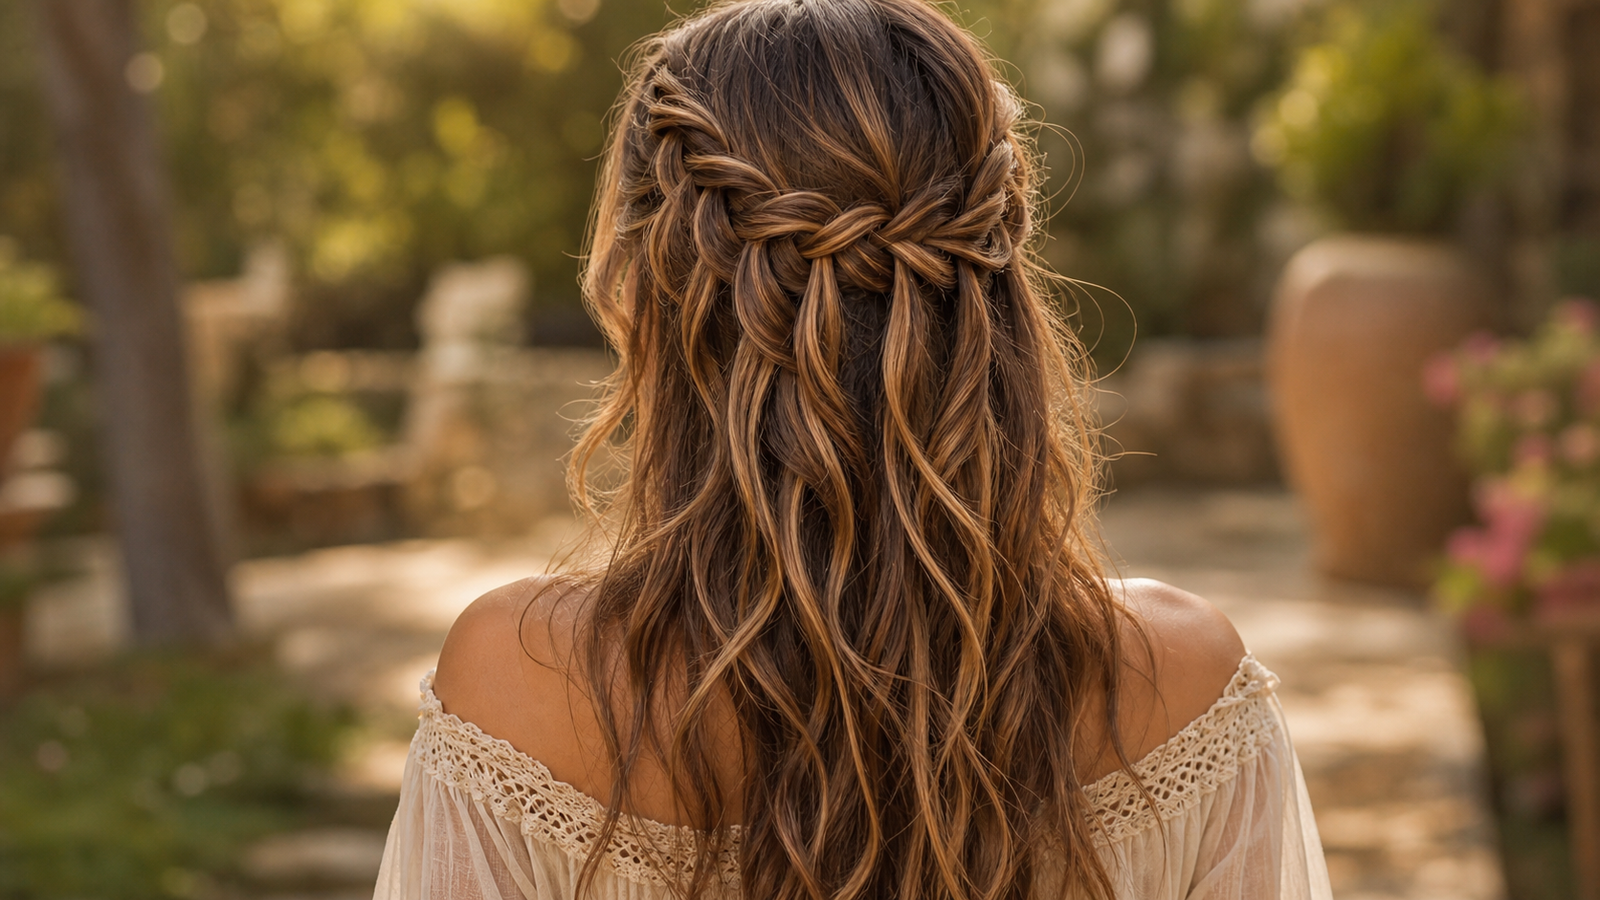
Dutch braid with ribbon wraps
Weaving a thin ribbon into the braid as you go, or wrapping it around a finished Dutch braid, adds a boho detail that works on any hair length past the shoulders. It takes about ten minutes and needs low maintenance, since the ribbon itself helps hold the shape rather than adding extra upkeep. This is a simple way to make a familiar braid feel occasion-specific without learning a new technique.

Undone double dutch braids
Two Dutch braids braided loosely on purpose, with sections gently pulled apart afterward, add real texture and body to fine or straight hair that often struggles to hold shape on its own. It takes about ten minutes and needs low maintenance, and the deliberately undone finish looks better as the day goes on rather than worse. Good pick if your hair is usually too slippery for a tight, defined braid to last.
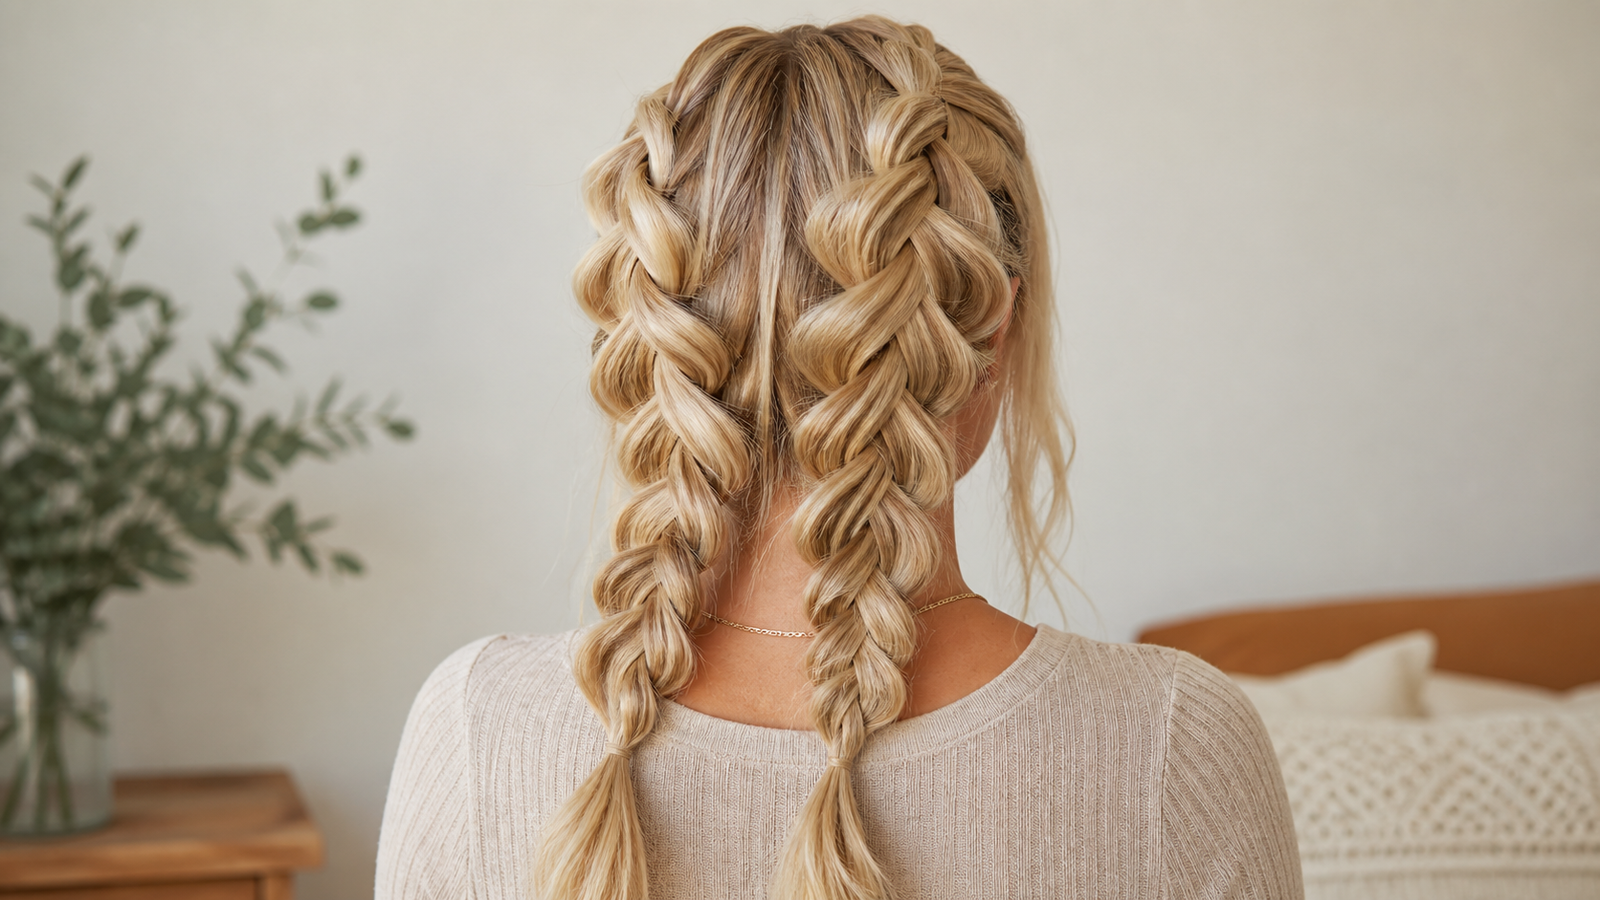
Everyday and Protective Dutch Braid Hairstyles
Everyday and Protective Dutch Braid Hairstyles
This final group answers the question most competing articles never address directly: does a Dutch braid really work on short, curly, thin, or coily hair? The honest answer is yes, with a few small adjustments per texture, and the five styles below show exactly how to make that happen.
As with any braided style worn for multiple days in a row, it is worth keeping tension gentle rather than pulled painfully tight. Pulling any braid too tight at the roots can contribute to traction alopecia, a documented form of hair loss discussed by the American Academy of Dermatology. Most stylists recommend a snug, comfortable braid over a punishingly tight one, since gentle tension is more comfortable and holds just as well over time.
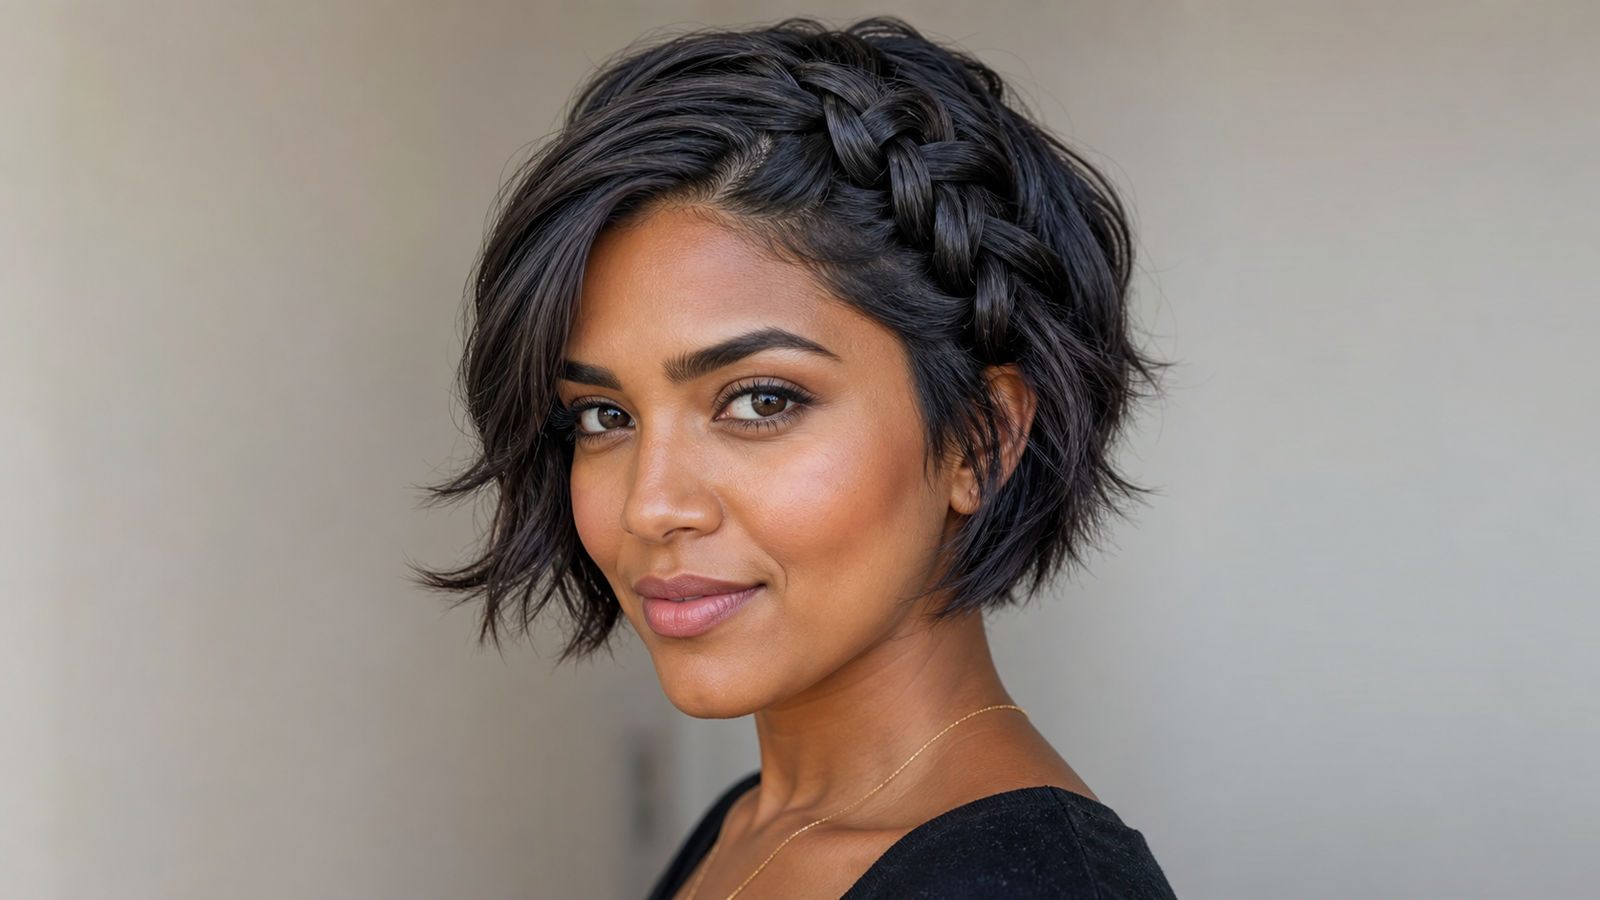
Dutch braid for short hair
Short hair can absolutely handle a Dutch braid: simply braid down to wherever your hair naturally ends and secure it there, or stop the braid mid-length and let the remaining shorter pieces fall loose for a soft, undone finish. It takes about five to eight minutes and needs low maintenance, making it one of the most underrated dutch braid options for anyone who assumed short hair could not join the trend. Do not force the braid past your natural length, since fighting shorter layers usually looks less clean than simply stopping where your hair is.
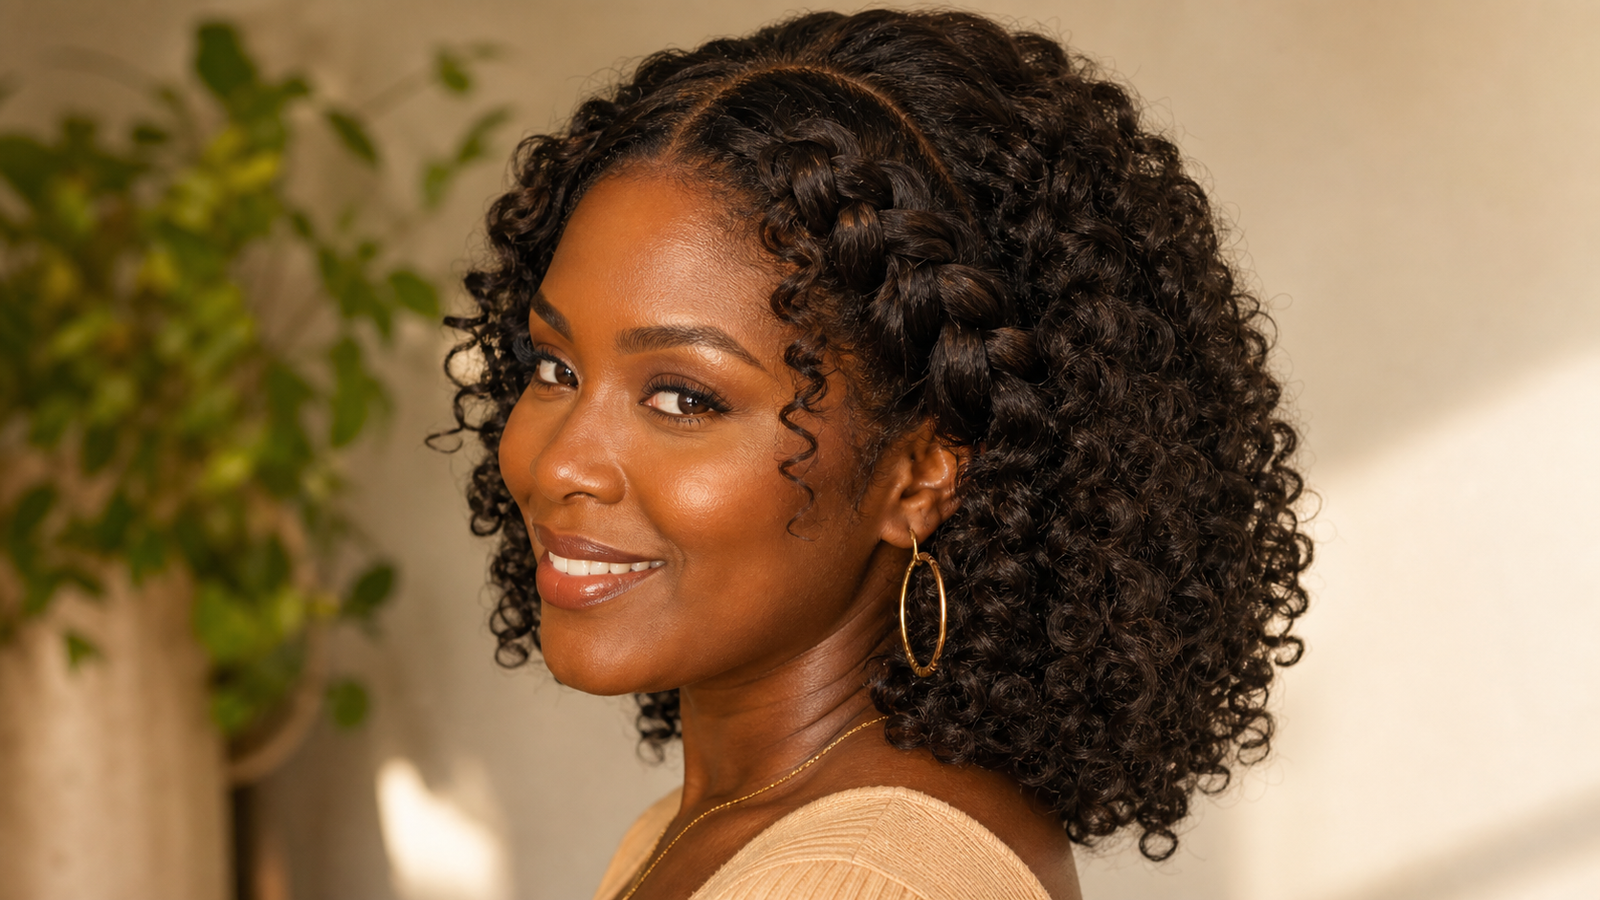
Dutch braid for curly hair
Curly hair braids beautifully with the Dutch method, though it helps to detangle and gently stretch the hair first so you can see a clean, defined part while you work. Rather than fighting for a sleek, flat finish that curly texture naturally resists, lean into a fuller, more textured braid instead, since that fullness is part of what makes this style look good on curls. It takes about ten minutes, needs low maintenance, and works well as a two-to-three-day protective option that keeps curls tucked away from daily manipulation.
Dutch braid extensions style
Adding extensions before braiding is the move for anyone chasing extra length, volume, or a more dramatic finished look for a special occasion. It takes fifteen to twenty minutes depending on how much extra hair is being blended in, and it needs medium maintenance since the join between natural hair and extensions benefits from a light check partway through the day. This is best treated as an occasional statement style rather than an everyday habit, simply because of the extra prep time involved.
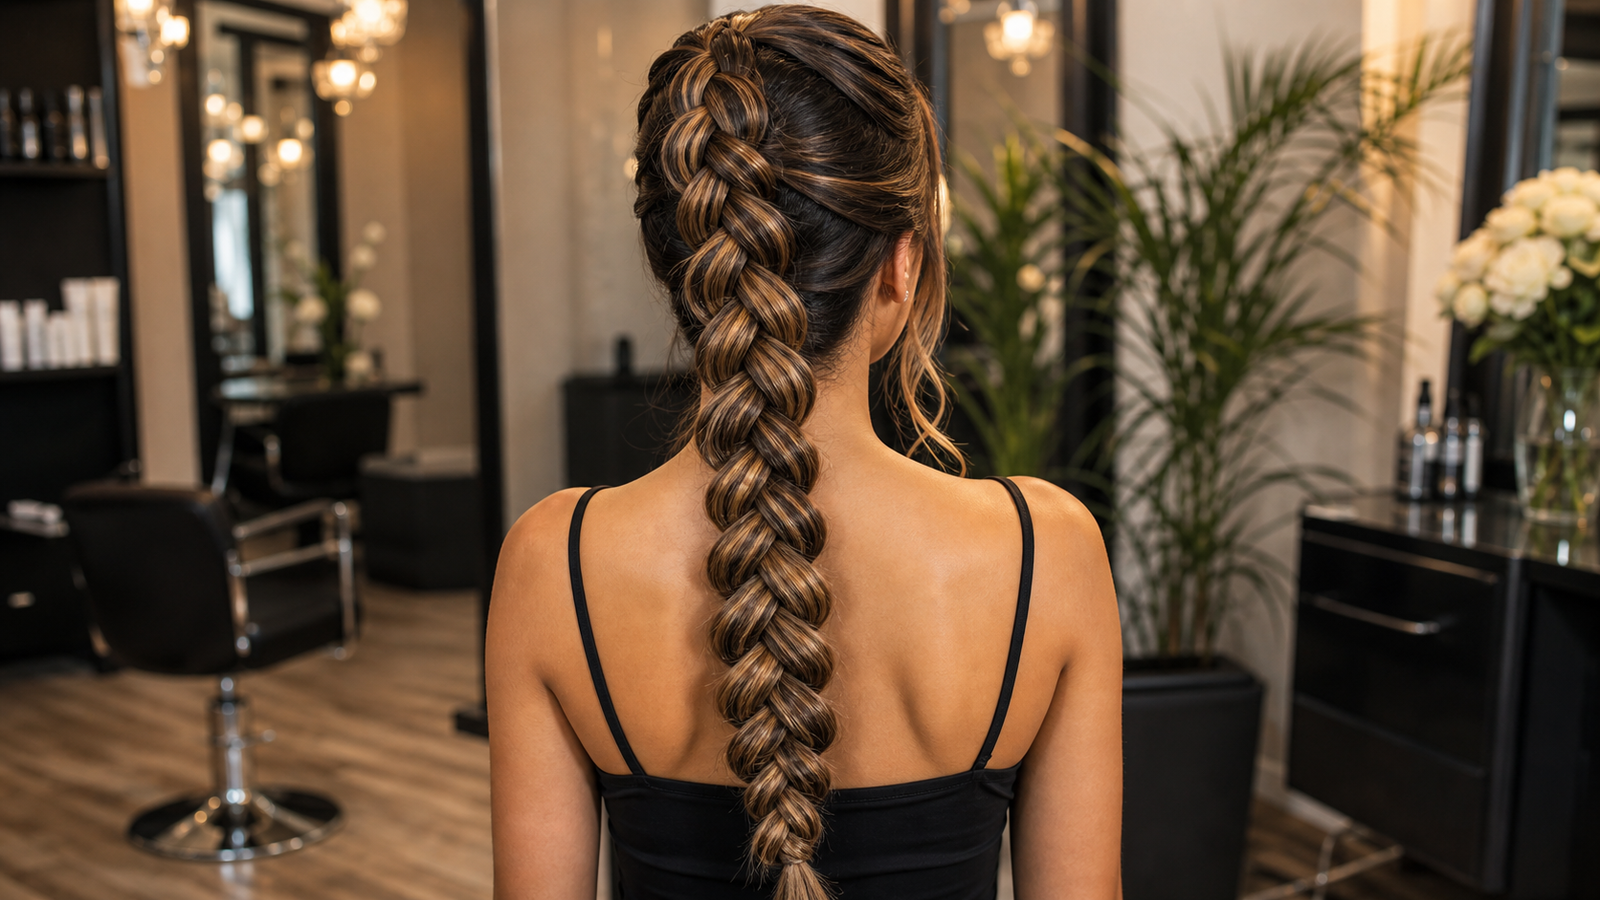
Simple everyday dutch braid
This is the lowest-effort entry in the entire roundup: one straightforward Dutch braid, no accessories, no combination techniques, just a clean braid for any hair length past the chin. It takes about five minutes and needs low maintenance, making it the style to default to on mornings when you want hair handled and out of your face with zero extra thought. If you only try one style from this whole guide on a busy weekday, this is the one to start with.
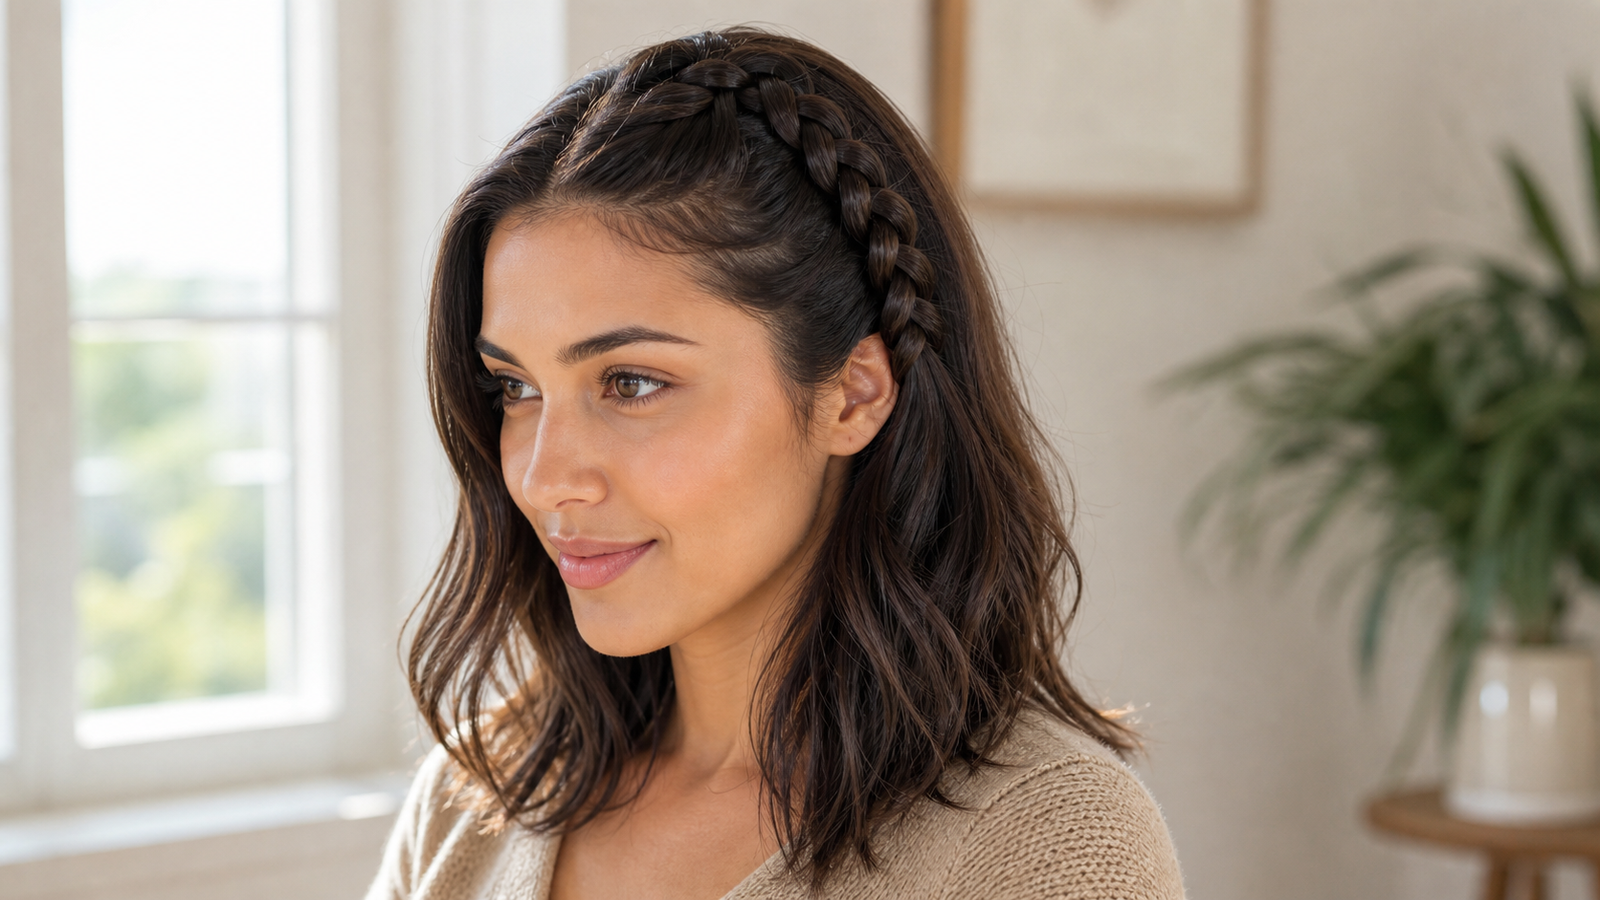
Dutch braid for fine or thin hair
Fine or thin hair benefits from a lightweight texturizing spray applied before braiding, which gives the hair enough grip for the braid to hold shape through the day. As you cross each section under, gently pull the braid slightly looser at every cross rather than keeping it tight against the scalp, since that small adjustment creates the visual appearance of noticeably more volume and density. It takes about eight minutes and needs low maintenance, and it pairs well as a longer-wear option alongside our guide to protective styles if you are exploring more styles built around gentler, lower-manipulation wear.
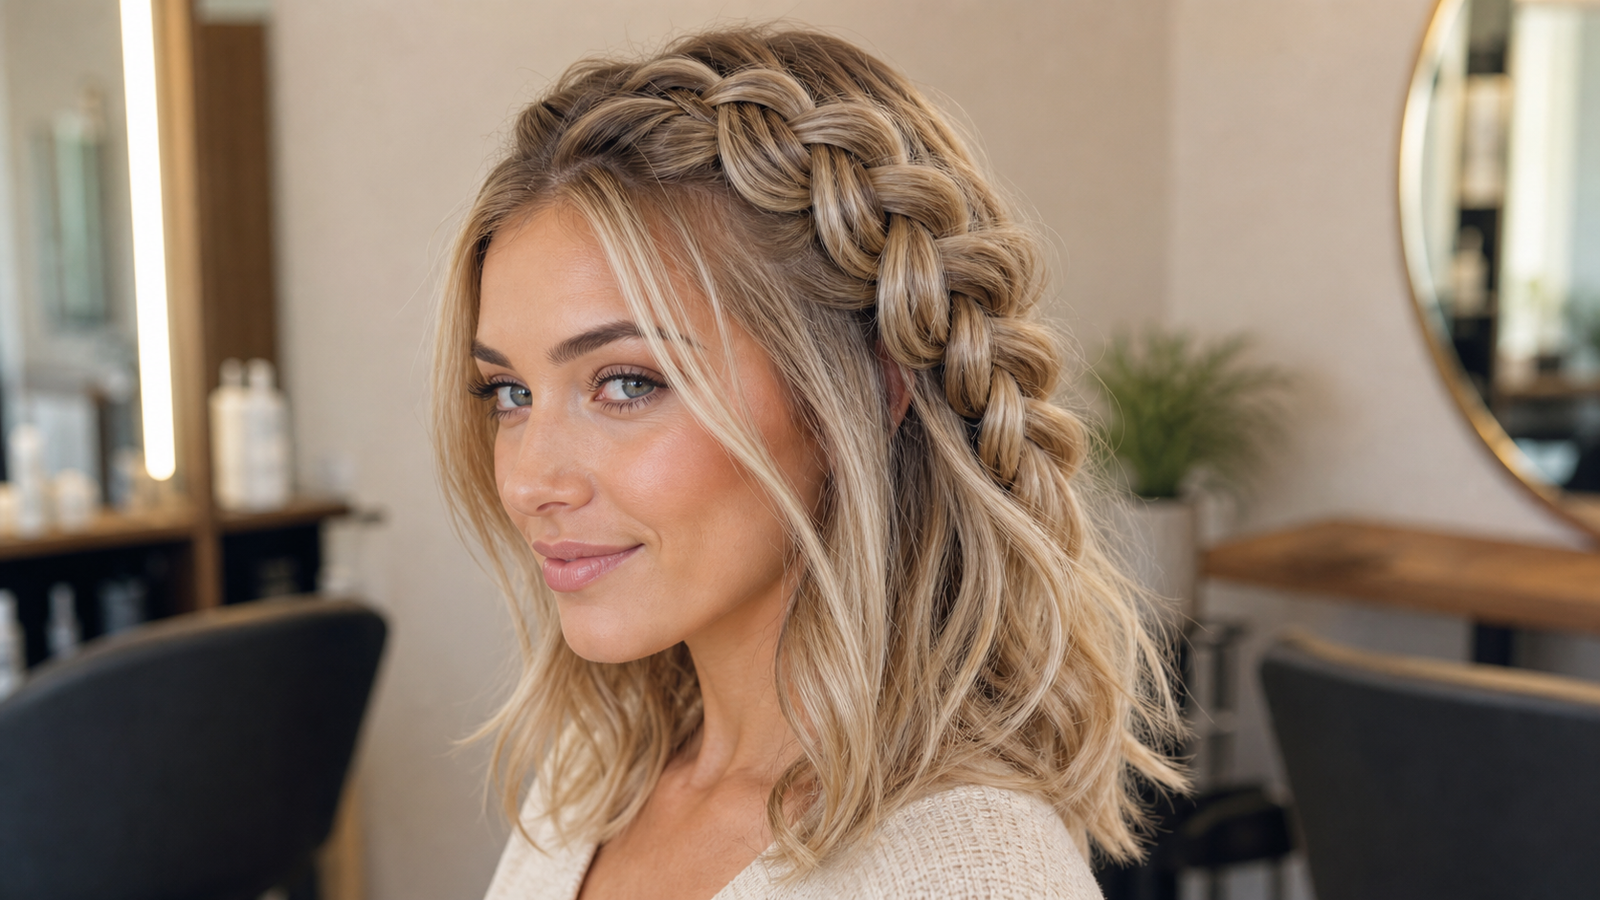
If you like the idea of a longer-wear braided style beyond just Dutch braids, our knotless braids guide is worth a look for a protective option that can realistically last several weeks between installs.
Dutch Braid Hairstyles FAQ
Dutch Braid Hairstyles FAQ
What's the real difference between a Dutch braid and a French braid? A Dutch braid crosses the outer strands under the middle section, which is what gives it that raised, three-dimensional look sitting slightly above the scalp. A French braid does the opposite, crossing strands over the top, which pulls the finished braid flat against the head for a smoother, sleeker result. Both are similar in difficulty for a beginner, so the choice really comes down to whether you want a raised or a flat finish.
Does a Dutch braid work on short or curly hair? Yes, and both textures are covered in detail in the Everyday and Protective section above with specific adjustments for each. Short hair simply braids to wherever it naturally ends, while curly hair benefits from detangling first and embracing a fuller, more textured braid rather than fighting for sleekness. Neither texture needs to be forced into a style built for long, straight hair to get a good result.
How long does a Dutch braid last? Most Dutch braids hold up well for one to three days depending on hair texture and how tightly the braid was created, with looser braids loosening faster and tighter ones holding longer. On coily or very curly hair, a Dutch braid can realistically last even longer as a protective style, since the natural texture helps the braid grip and stay intact between wears. Straight or fine hair tends to loosen fastest, so plan on refreshing those styles closer to the one-day mark.
Is a Dutch braid hard to learn? No, and most people feel noticeably more comfortable after just a few practice attempts following the four-step primer earlier in this guide. The under-cross motion feels unfamiliar at first if you are used to a standard braid, but muscle memory builds quickly once you have tried it a handful of times in front of a mirror. Give yourself permission for the first couple of attempts to look a little uneven, since that is completely normal on the way to a clean, consistent braid.
How do I stop a Dutch braid from getting frizzy by the end of the day? Start with a light gel or edge control smoothed over dry hair before you begin braiding, since this reduces flyaways from the very first cross. Once the braid is finished, a small spritz of hairspray over the surface helps lock everything in place without making the braid feel stiff or overly product-heavy. Touching up just the crown area midway through the day, rather than the whole braid, is usually enough to keep things looking fresh until evening.
Twenty-five dutch braid hairstyles is a lot to scroll through, but you really only need one or two that fit your week: pick a low-maintenance option for busy days and save one of the formal styles for your next event. Screenshot your favorite look, or describe it using the exact stylist scripts above, so your next salon visit gets you the precise braid you had in mind. Save this guide for later, and if you want even more braid inspiration beyond Dutch styles, browse our full braid roundup for dozens of additional looks to try.



Your email address will not be published. Required fields are marked *