
Breakage from daily manipulation, not slow growth, is usually why natural hair stalls at the same length for years. Protective hairstyles for natural hair fix that by tucking your ends away and giving your strands weeks of rest between styling sessions, though they cannot make hair grow faster, only help you keep the length you're already growing. This guide covers 15 real protective styles, who each one suits, exact salon wording, realistic timelines, and a night-care habit for each, so you can choose based on your texture, density, face shape, and how much upkeep you're willing to do.
What Are Protective Hairstyles for Natural Hair (and Do They Really Help Hair Grow)?
What Are Protective Hairstyles for Natural Hair (and Do They Really Help Hair Grow)?
A protective style is any hairstyle, braids, twists, updos, cornrows, or buns, that tucks your natural ends away from friction, heat, and daily manipulation. Instead of restyling your hair every day, you install one look and leave it mostly untouched for weeks. That reduction in handling is what protects your hair from split ends and the breakage that makes length feel impossible to hold onto.
Protective hairstyles for natural hair do not make your hair grow faster from the scalp. According to the American Academy of Dermatology, hair grows at a fairly consistent rate regardless of styling method, and what changes is how much of that growth you get to keep. Every texture from 2a to 4c benefits from reduced manipulation, and these styles also help if you're transitioning from relaxed to natural hair, since they hide the demarcation line and guard it from breakage.
How to Prep Your Hair Before Installing a Protective Style
How to Prep Your Hair Before Installing a Protective Style
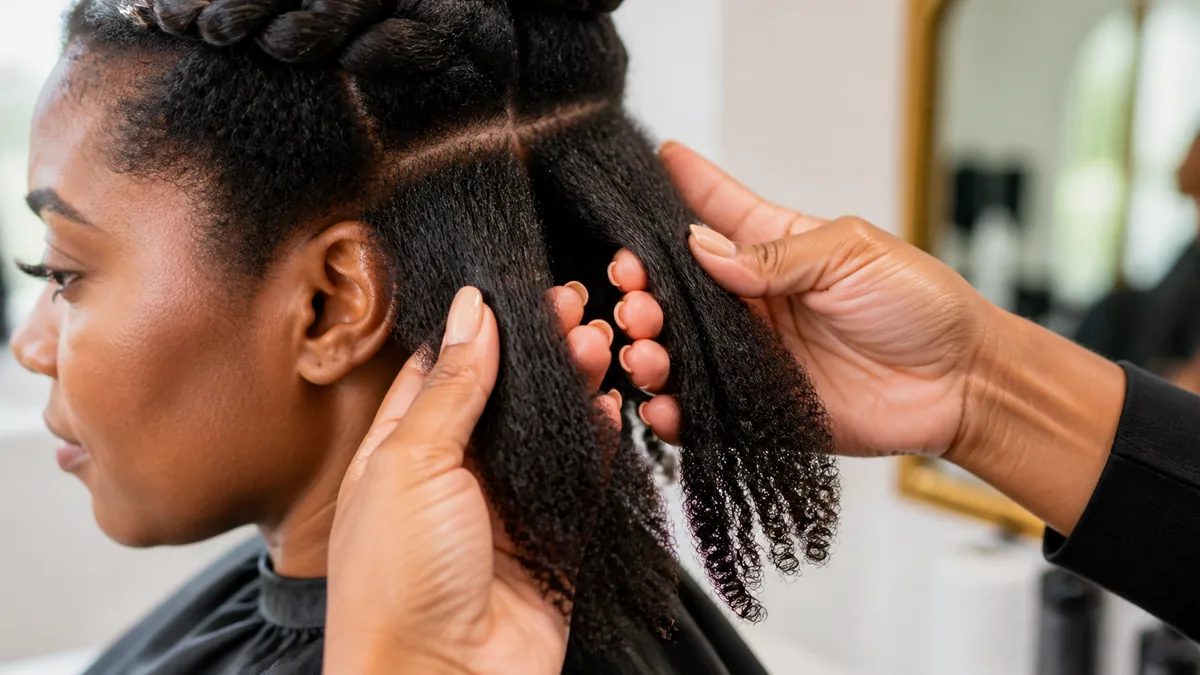
Protective hairstyles for natural hair only work if you prep properly first, so never install one on hair that's dirty, dry, or under-moisturized, since whatever condition it's in going into braids or twists is roughly the condition it stays in for weeks. Wash and deep-condition two to three days before your appointment, detangle with a leave-in conditioner, and stretch your hair with a low-heat blow-dry or banding method so your stylist can work through clean sections. Trim split ends beforehand too, since they catch on braiding hair and travel further up the strand once installed.
Ask for looser tension at your hairline and nape to help prevent traction alopecia, a hair loss risk from consistent pulling at the roots that the American Academy of Dermatology flags with tight braids and twists. Mention thin edges upfront, and pair your prep routine with tips from our curly haircuts guide. Moisturize beforehand with a leave-in and natural oil, and skip heavy protein treatments, since overly stiff strands feel brittle under braiding hair's added weight.
15 Best Protective Hairstyles for Natural Hair (Right Now)
15 Best Protective Hairstyles for Natural Hair (Right Now)
Every style below covers who it suits, exact stylist wording, a realistic install and wear-time estimate, and one night-care habit. Match the notes to your density, edges, and schedule rather than whatever is trending this week. A style that looks great on a friend with different hair can still leave your edges sore if it does not actually fit your texture.
Knotless box braids
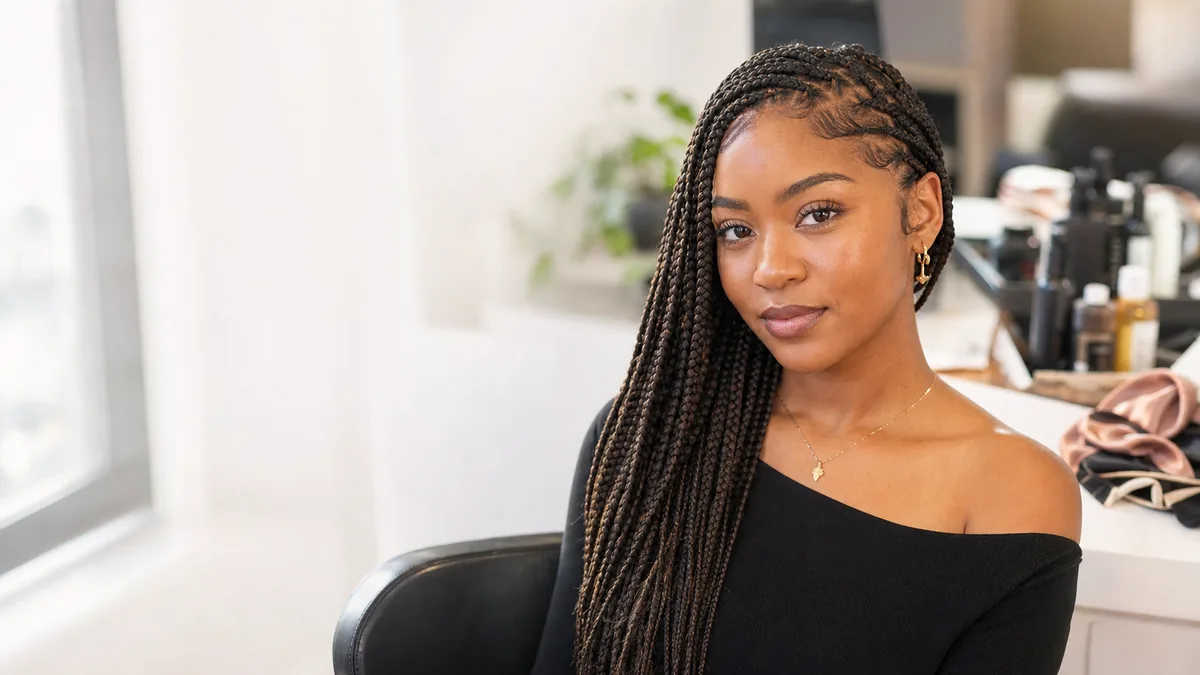
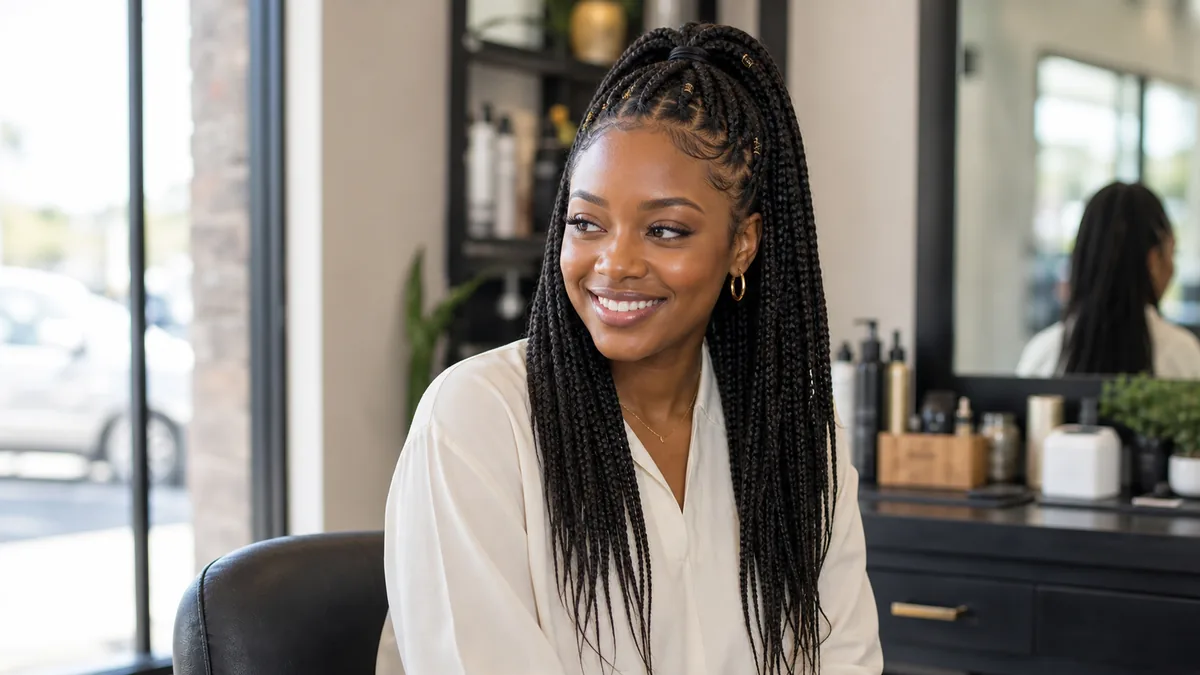
Knotless box braids feed in hair gradually with no tight knot at the scalp, comfortable for medium to thick density and nearly any face shape. Ask your stylist for medium-size knotless box braids with a slight face-framing layer, feed-in method. Expect a four to seven hour install, six to eight weeks of wear, and a satin bonnet at night with hair pineappled loosely at the crown.
Classic box braids
Classic box braids use a small root knot for a more secure hold, holding up best on thick or coarse density from micro to jumbo sizes. Jumbo versions restyle easily into buns or ponytails, and our box braids roundup shows more ways to wear the same set. Ask for jumbo braids with a small knot and medium tension, expect a five to eight hour install for six to ten weeks, and retie loosening edges in silk before bed.
Flat twists (two-strand, scalp-adjacent)
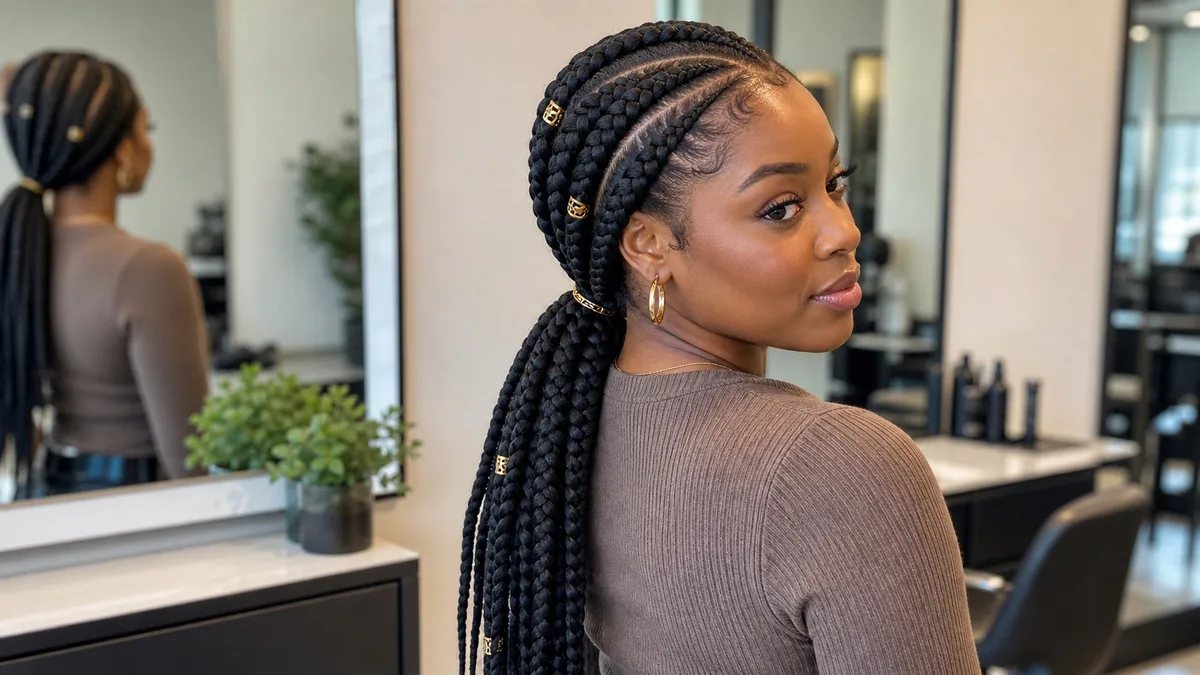
Flat twists twist two strands of your own hair flat against the scalp, so there's no extra pulling at the root, which suits thin edges and 4c texture well. Ask for scalp-adjacent two-strand flat twists, no added hair, kept loose at the hairline. Expect a one to two hour install, one to three weeks of wear, and a silk scarf tied gently over the twists at night.
Senegalese twists
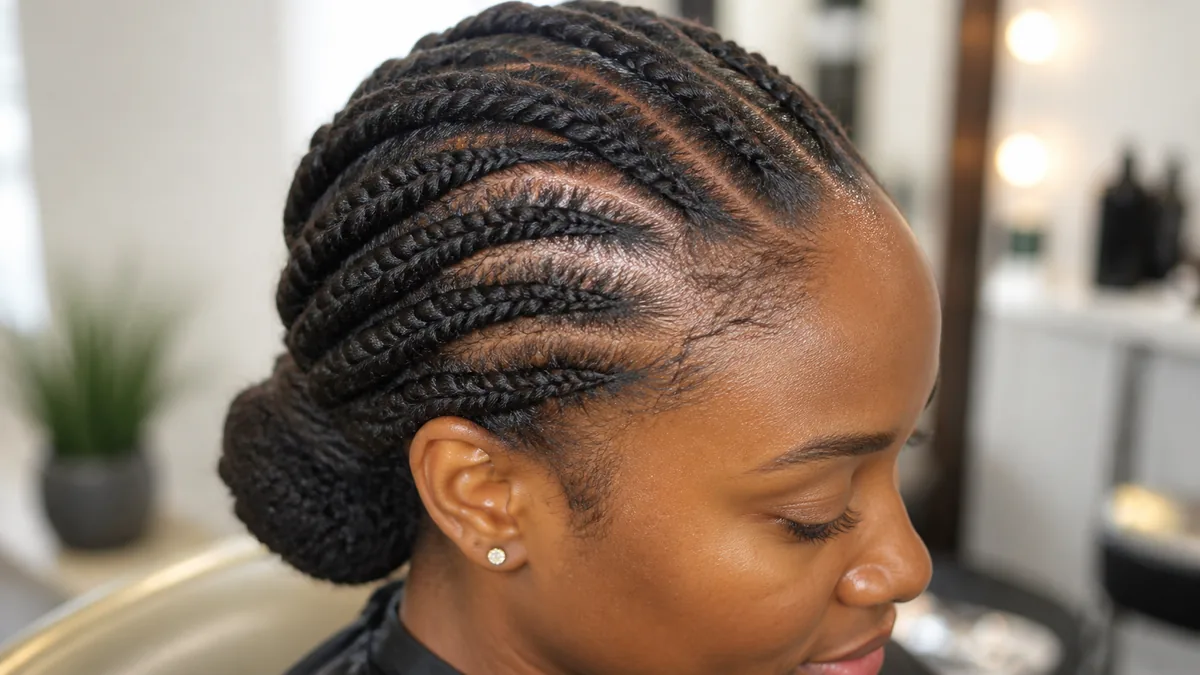
Senegalese twists are rope-like extension twists with less bulk than same-size box braids, suiting medium density and looking polished on oval or heart faces parted off-center. Ask for medium Senegalese twists, rope method, natural-looking part. Expect a four to six hour install, six to eight weeks of wear, and a loose pineapple under a satin bonnet at night.
Passion twists
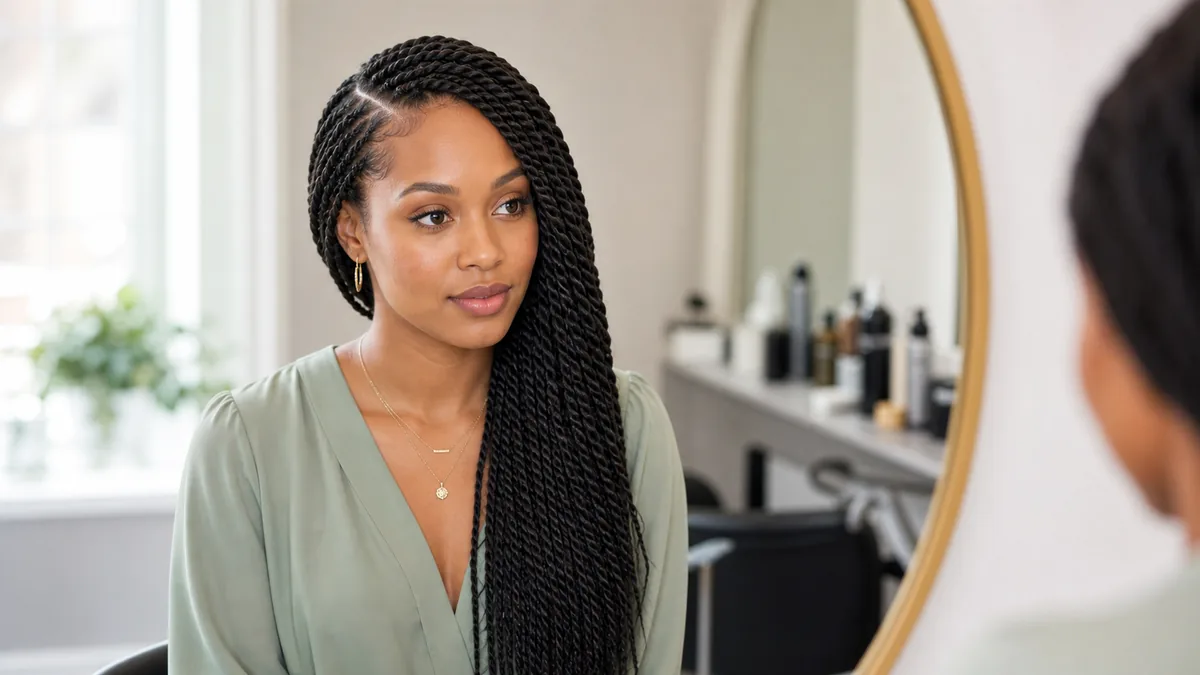
Passion twists use curlier extension hair that mimics a natural curl pattern, giving the low manipulation of a twist with extra bounce that flatters round or square faces. Ask for medium passion twists, curly extension hair, side-swept part. Expect a five to seven hour install, five to seven weeks of wear, and a gentle scrunch under a satin bonnet at night.
Cornrows (straight-back or feed-in)
For a full breakdown of patterns and placements, see our dedicated cornrow hairstyles guide with 22 styles.
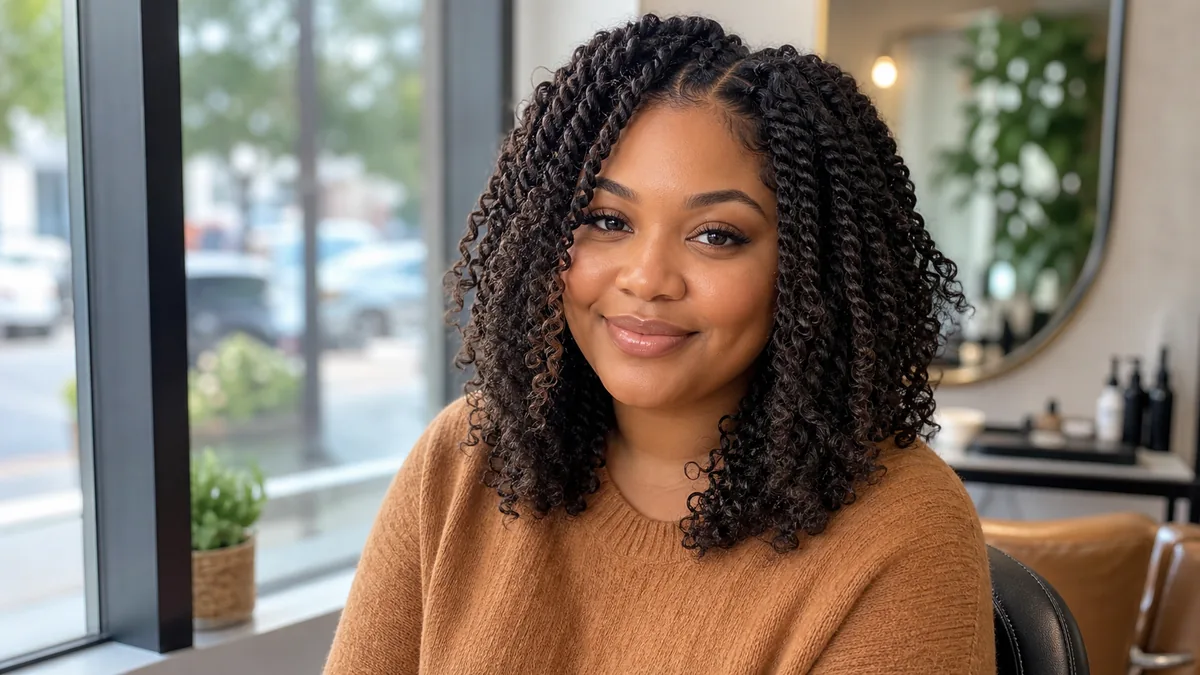
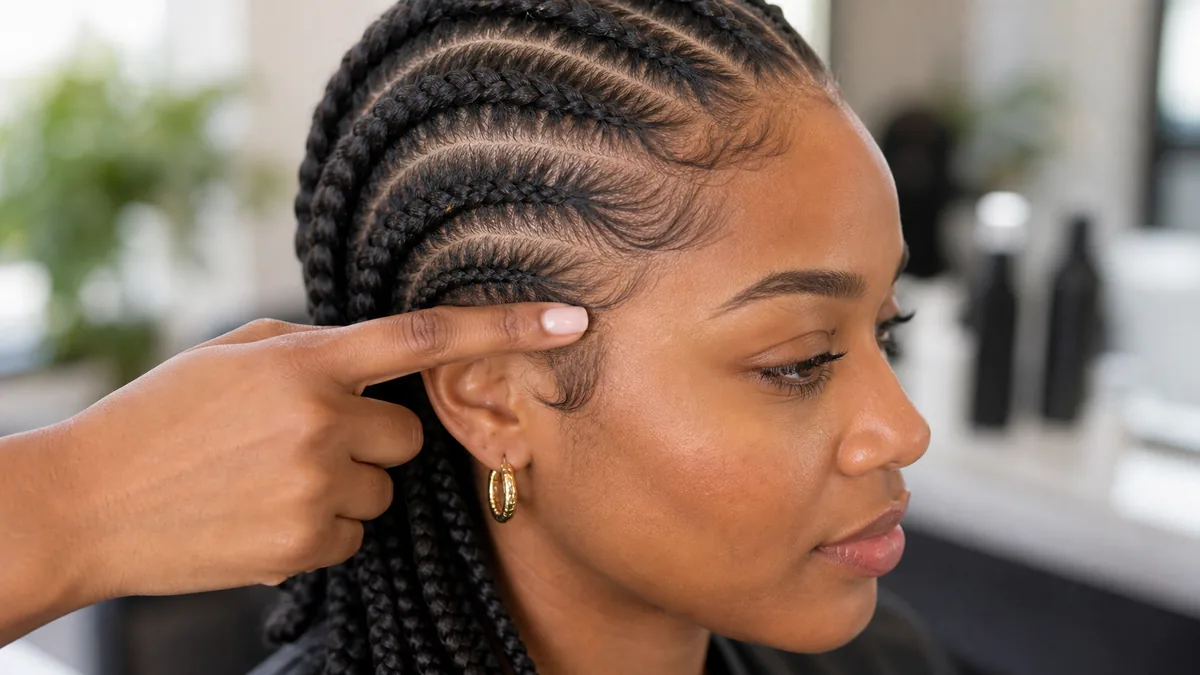
Cornrows braid your natural hair flat against the scalp, straight back or feed-in to frame your face, staying budget-friendly and gentle on thin edges when tension stays light. Ask for feed-in cornrows curved to frame the face, loose at the hairline. Expect a one to three hour install, two to four weeks of wear, and a snug satin scarf at night with light scalp moisturizing.
Bantu knots
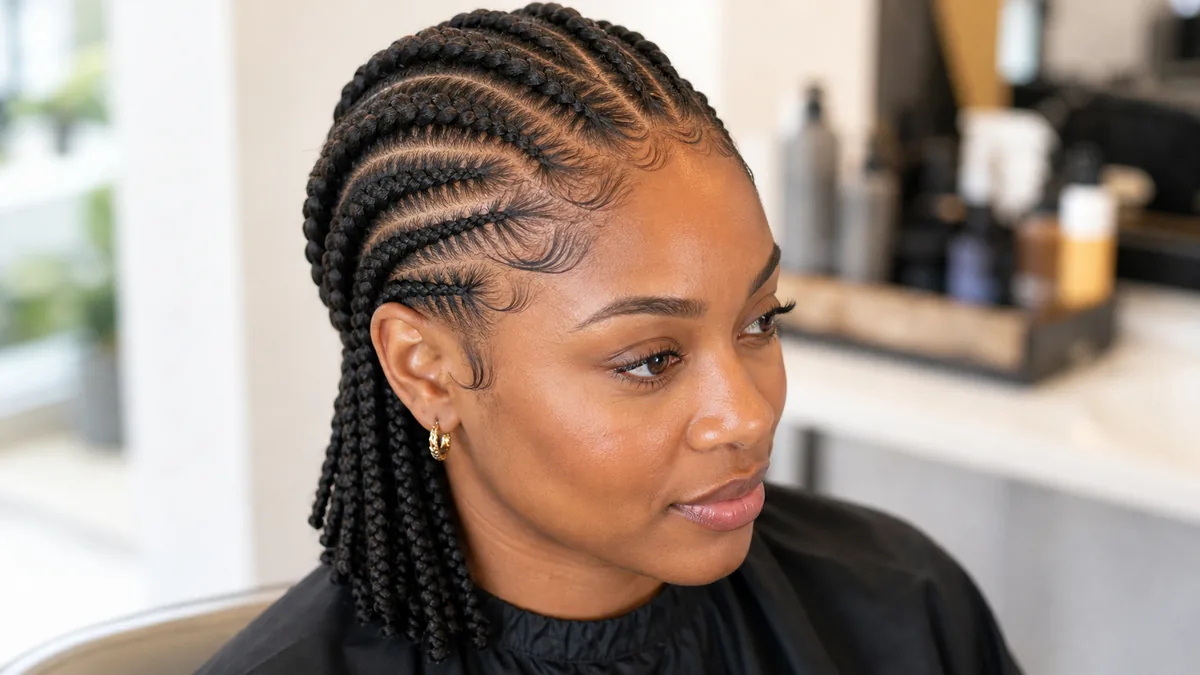
Bantu knots are small coiled sections wrapped tight against the scalp, worn as a finished style or unraveled into a knot-out, working well on shorter, finer density hair and round face shapes. Ask for medium bantu knots, no added hair, asymmetrical placement. Expect a one to two hour install worn three to seven days, longer as a knot-out, and a silk scarf at night.
Crochet braids
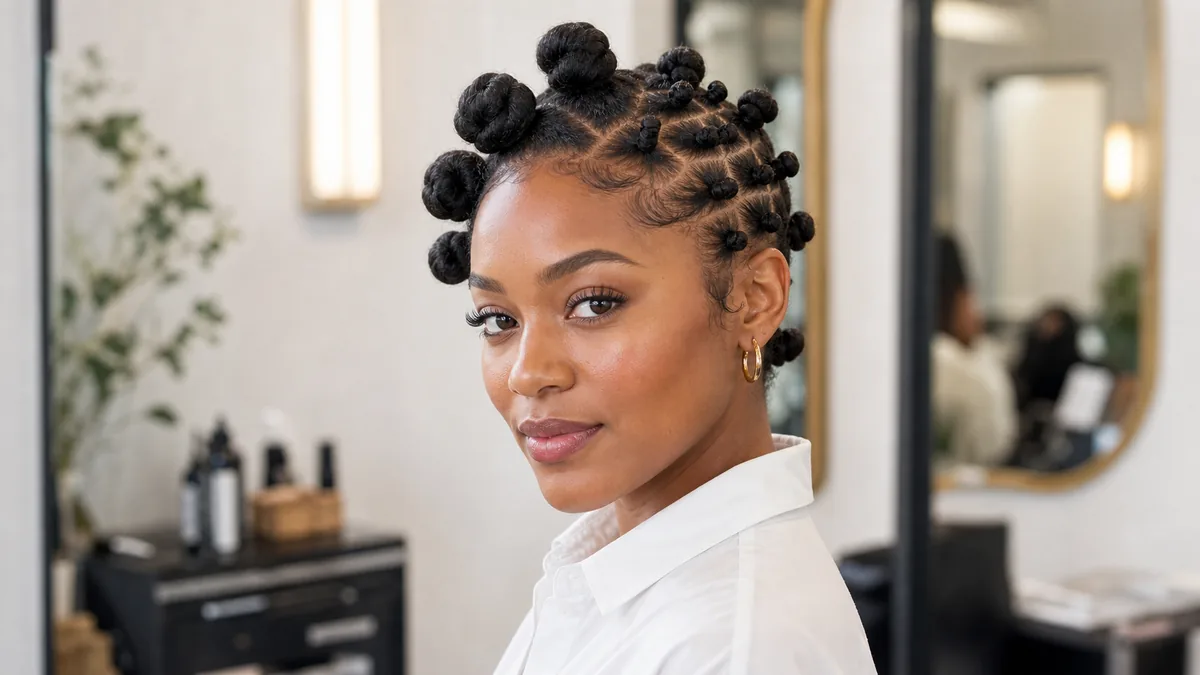
Crochet braids cornrow your natural hair as a base, then loop pre-styled extension hair through with a hook, making the install fast and keeping tension low. Ask for crochet braids over a cornrow base, curl pattern to match your natural texture. Expect a two to three hour install, four to six weeks of wear, and a loose pineapple under a roomy satin bonnet.
Faux locs
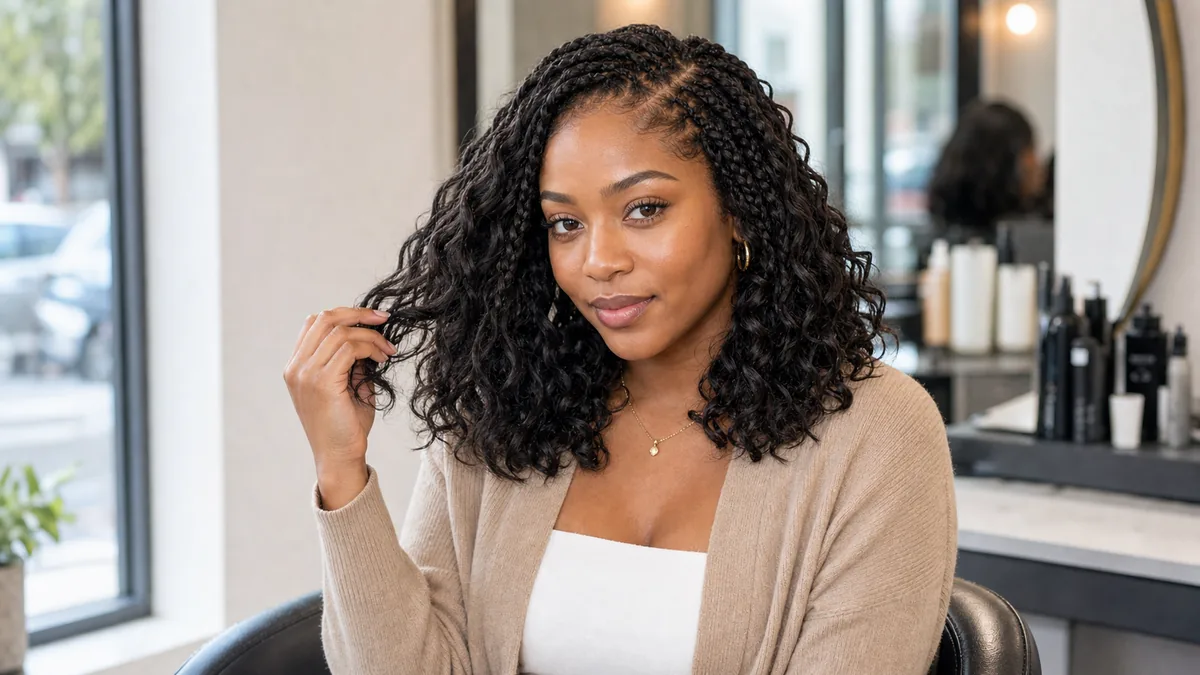
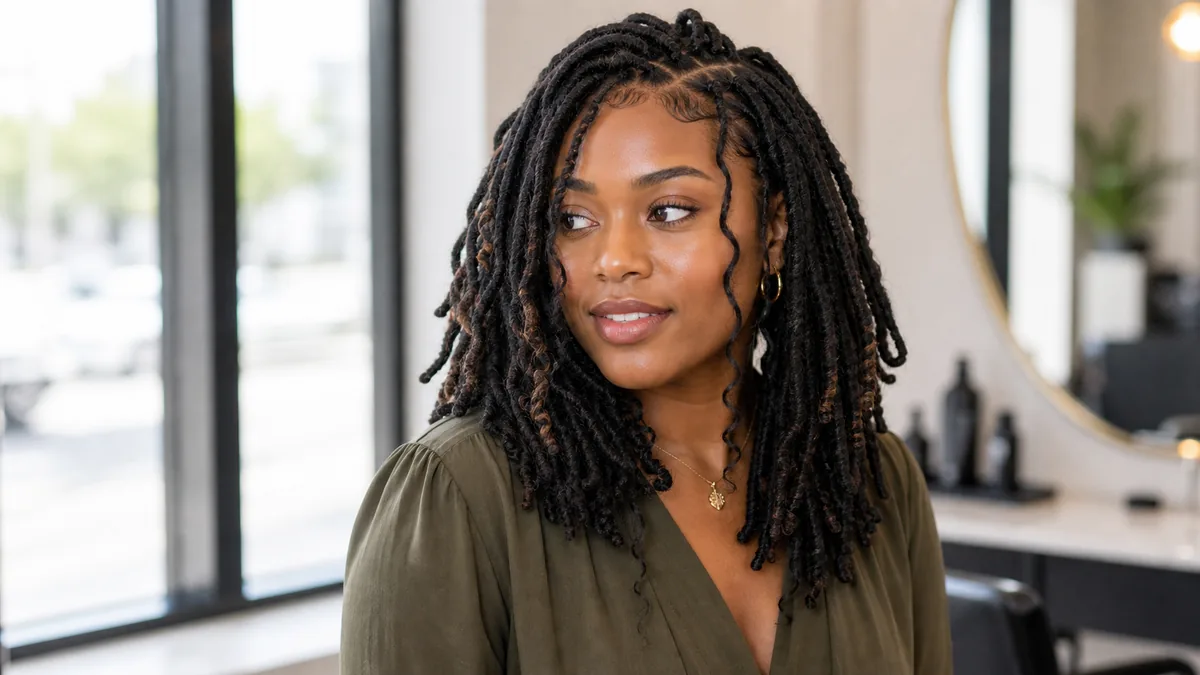
Faux locs wrap extension hair around a twisted base to mimic mature locs without months of commitment, suiting thick to medium density and flattering long or oval face shapes. Ask for soft faux locs, medium size, wrapped not glued, with loose face-framing pieces. Expect a six to nine hour install, six to eight weeks of wear, and a satin bonnet with a touch of oil on frizzing ends.
Goddess braids
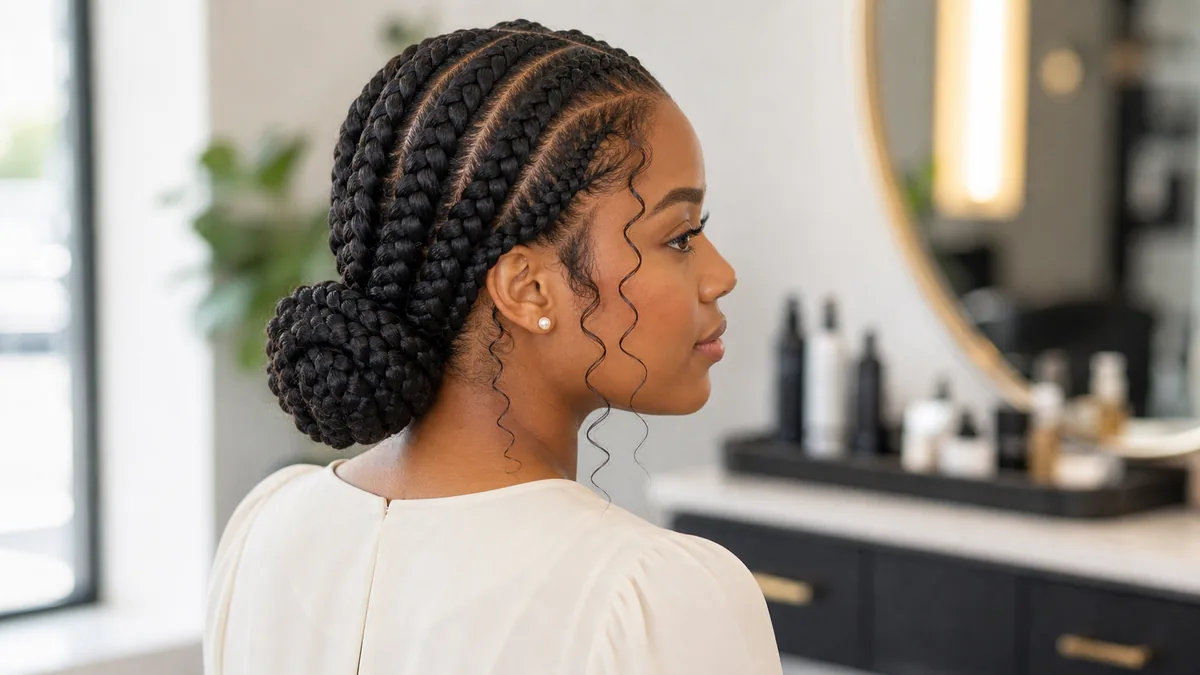
Goddess braids are thick, raised cornrows often paired with a bun or ponytail, and the raised braid softens an angular jawline by drawing the eye upward. Once installed, browse our braided style ideas guide for ways to dress them up. Ask for thick goddess braids, raised pattern, low bun. Expect a two to four hour install, three to five weeks of wear, and a satin scarf around the hairline at night.
Twist-out updo (short natural hair)
Prefer a sleeker, vintage-inspired look? Our guide to finger wave hairstyles for short hair covers 20 styles.
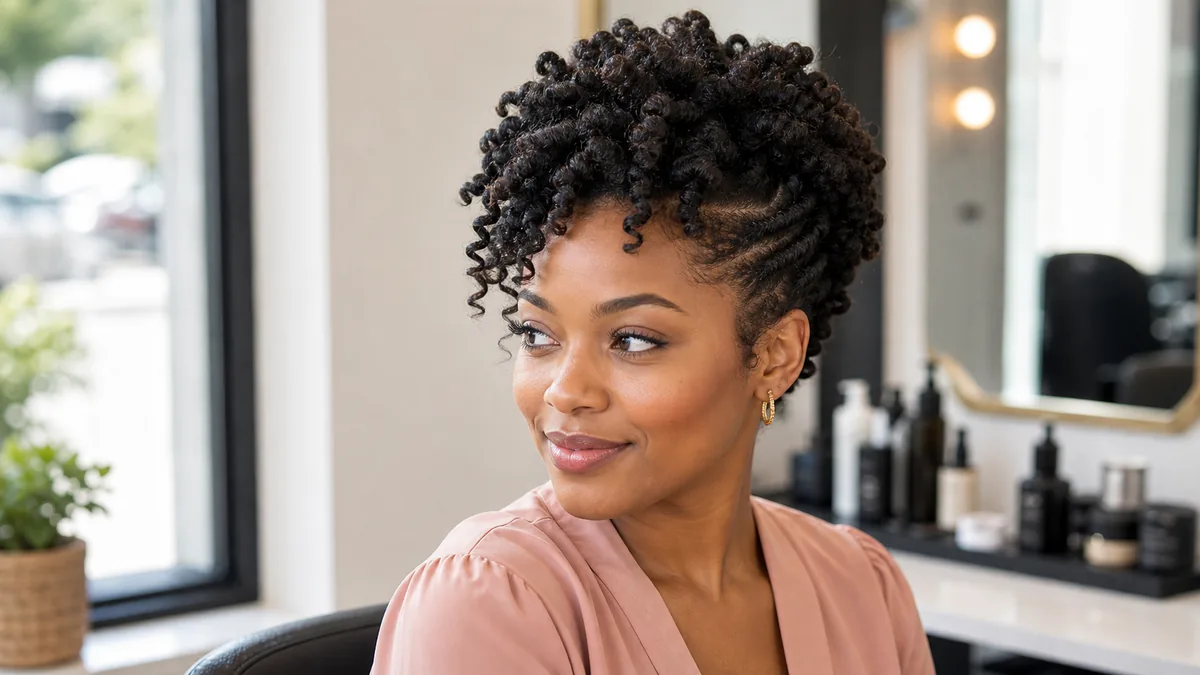
A twist-out updo uses zero added hair, ideal if you're growing out a big chop, and our big chop guide walks through this growth stage. Twist small sections of freshly moisturized hair, let them set, then gather into a loose updo or bun. This DIY style takes thirty to sixty minutes, refreshed every three to five days, with a gentle pineapple or bonnet before sleep.
French braid updo
A French braid updo braids your natural hair close to the scalp from the crown into one or two braids, then pins it into a bun at the nape for a polished, work-appropriate look. This quick DIY style, or a salon request for a French braid into a low bun, takes fifteen to thirty minutes and wears two to five days. Loosen the braid under a silk scarf before bed.
Braided bun (low manipulation)
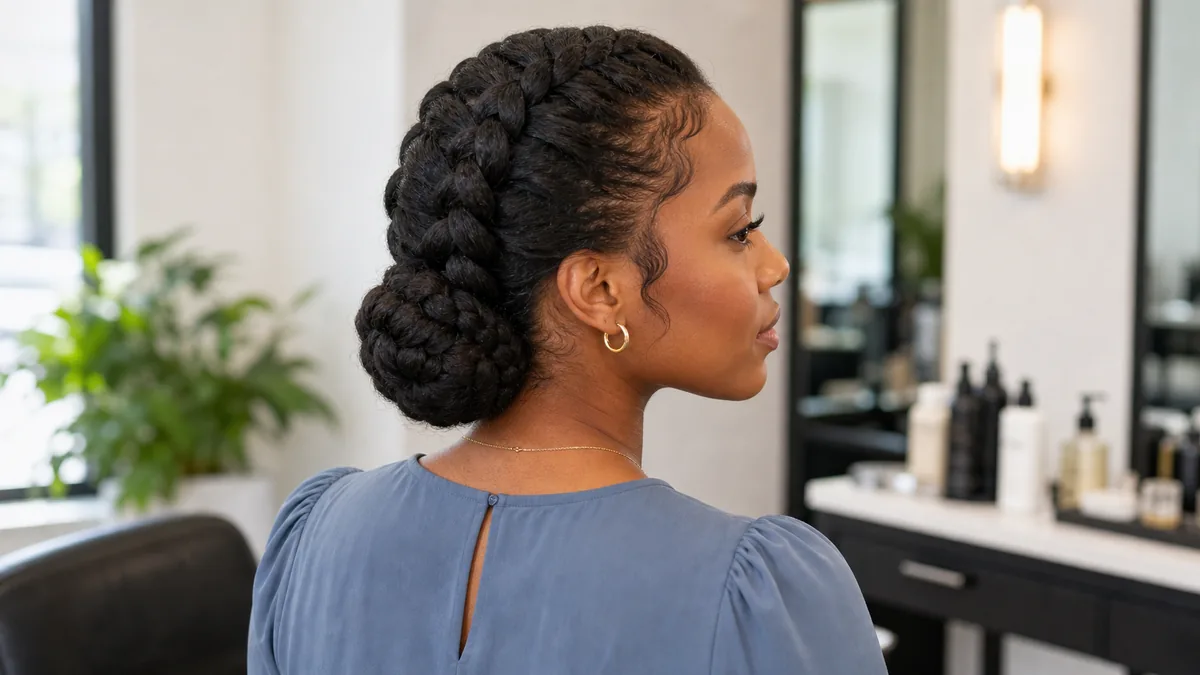
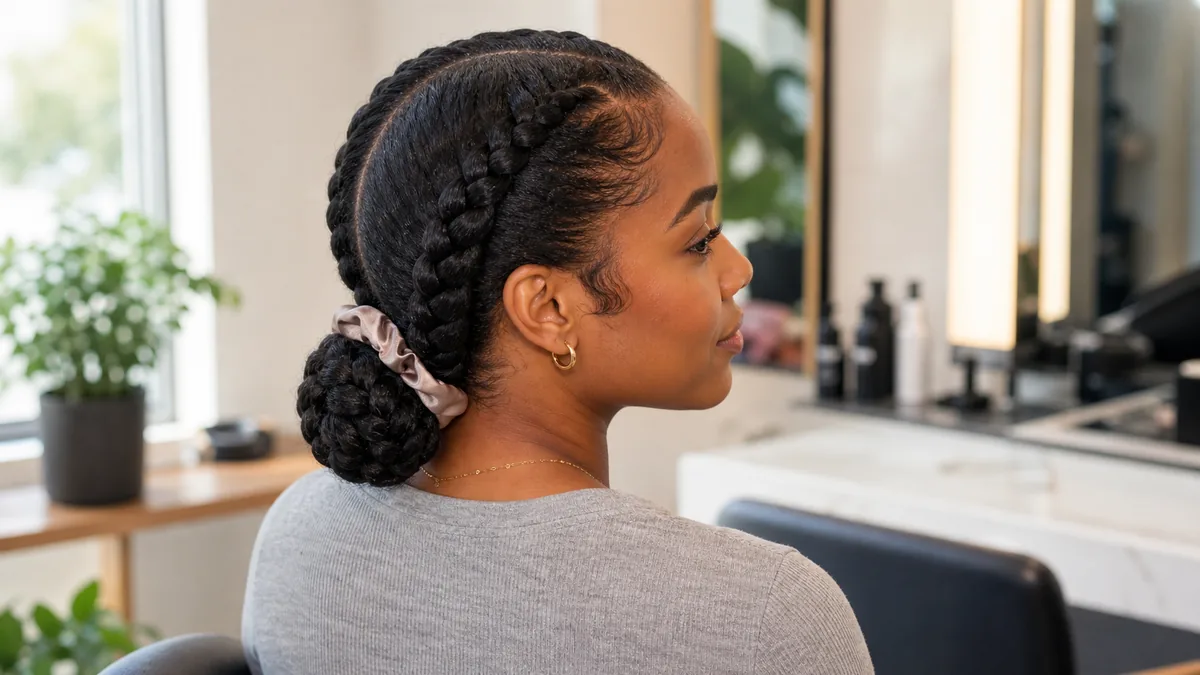
A braided bun braids your natural hair into one or two sections, then coils it into a low bun secured with pins or a soft tie rather than a tight elastic, staying about as low maintenance as protective styling gets. Braid loosely and coil gently, avoiding tight elastics at the base. Expect ten to twenty minutes to style, one to three days of wear, and a silk scarf or bonnet at night.
Marley twists
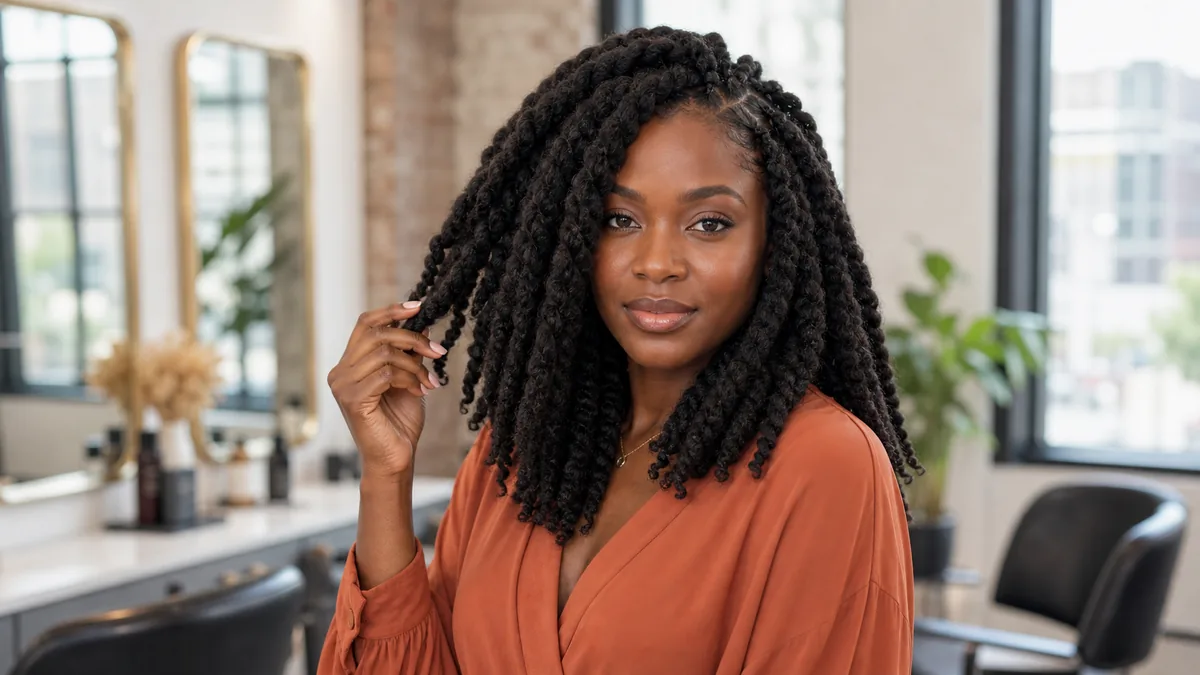
Marley twists use coarser extension hair that mimics natural 4b to 4c texture, giving a fuller twist that flatters long or narrow faces and grips natural hair with less slipping. Ask for medium Marley twists, natural texture blend, no added heat. Expect a four to six hour install, five to seven weeks of wear, and a loose pineapple under a satin bonnet at night.
Halo braid
See more ways to style it in our halo braid styles guide.
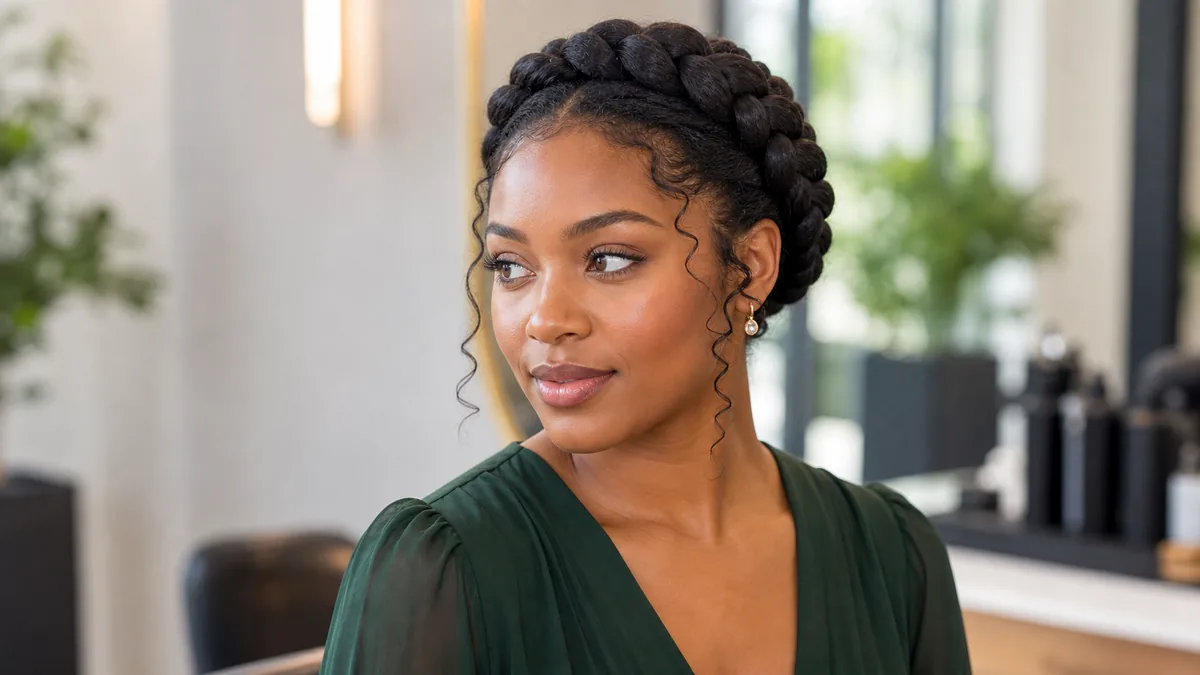
A halo braid wraps a single braid around the head like a crown, tucking every end away from friction and working on both short and long hair for weddings or special occasions. Ask for a halo braid wrapped snugly but not tight, pinned securely around the crown. Expect thirty to forty five minutes to style, three to five days of wear, and a loosened front hairline under a silk scarf before bed.
How to Maintain and Care for Your Protective Style
How to Maintain and Care for Your Protective Style
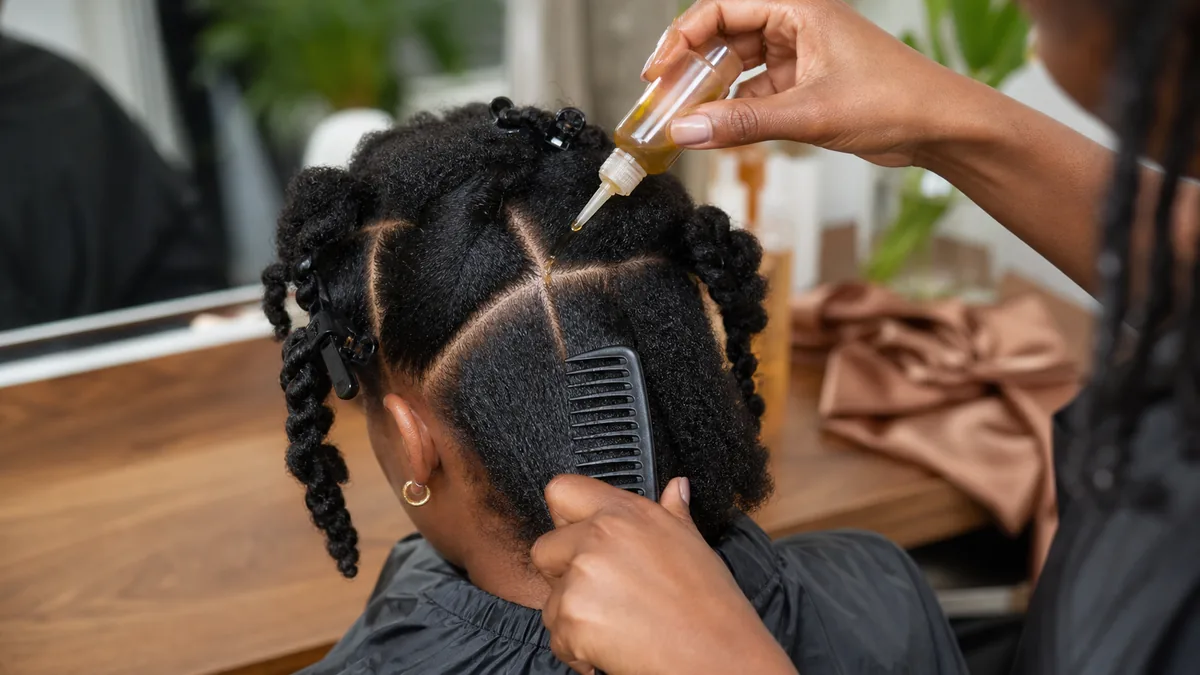
Keep your scalp calm with a lightweight oil at the roots and a diluted witch hazel or rosewater spray when it itches. Avoid washing every few days just because your scalp feels dry, since over-washing loosens styles faster and shortens the install. Aim for a light cleanse every one to two weeks with diluted shampoo on the scalp, then let your style air dry before covering it again.
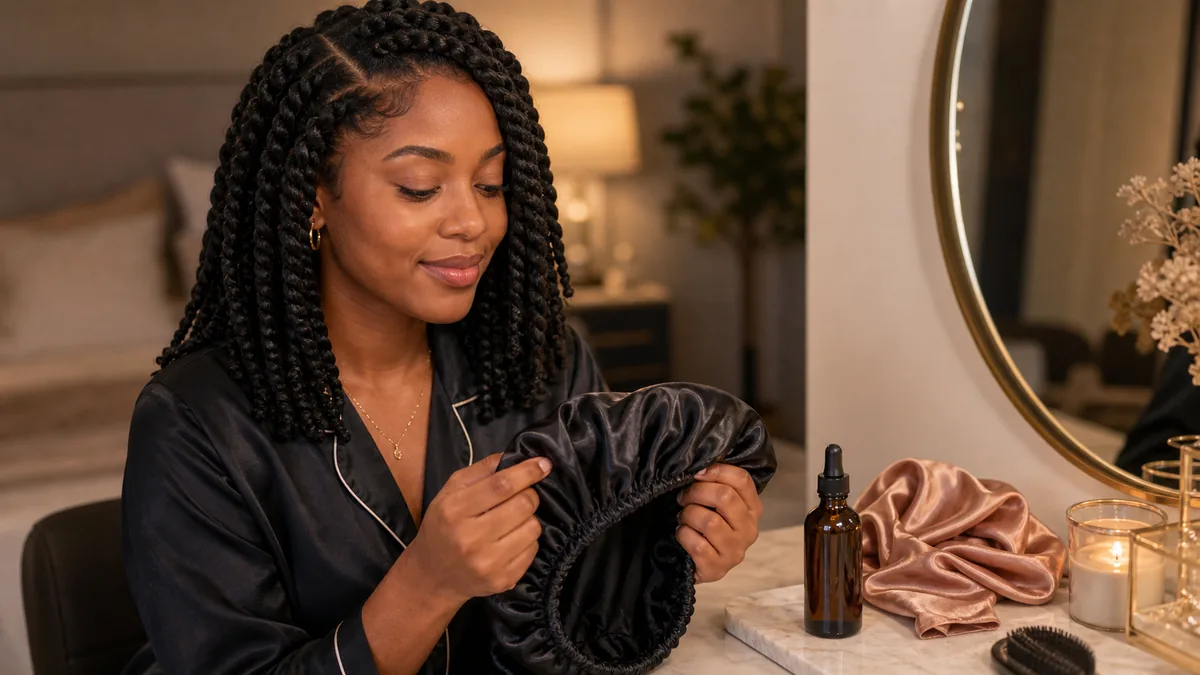
Every style lasts longer with a consistent night routine: wrap your hair in a satin or silk bonnet, since cotton pulls moisture out and causes friction overnight. For looser twists or curly styles, gather your hair loosely at the crown before covering it to prevent flattening. Give your scalp real rest between installs too, since ongoing tenderness or thinning means it needs longer to recover.
Common Protective Style Mistakes to Avoid
Common Protective Style Mistakes to Avoid
Installing protective hairstyles for natural hair too tight is the most common cause of hair loss, and the easiest to prevent if you catch it early. The American Academy of Dermatology flags persistent tenderness, small bumps, and a receding hairline as signs of traction alopecia, so ask your stylist to loosen or redo affected sections. Waiting it out rarely helps, since tension damage compounds the longer it stays in place.
Leaving a style in past its recommended wear time, or skipping wash days entirely, leads to buildup, matting, and sometimes odor, so set a reminder for your realistic removal date. Installing on hair that wasn't clean or properly stretched beforehand sets your style up to fail, and skipping a trim lets split ends tangle in ways that are harder to fix later. A few extra minutes of prep upfront almost always saves a longer, more damaging takedown later on.
Frequently Asked Questions
Frequently Asked Questions
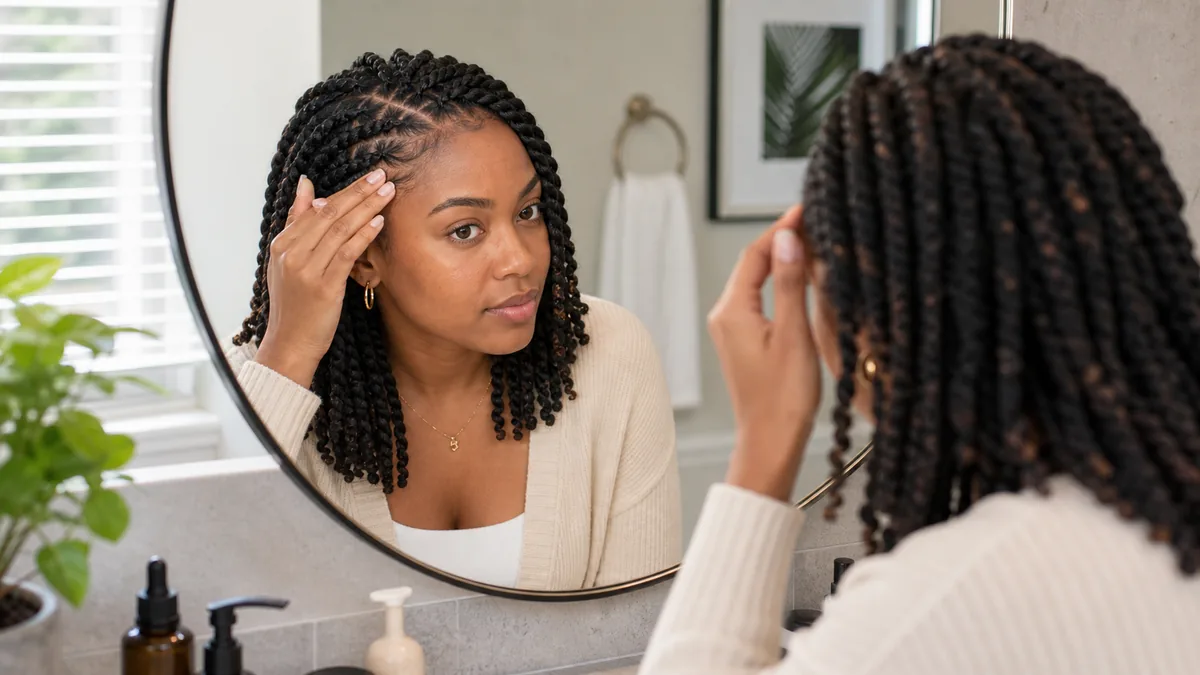
How long should you leave a protective style in? Most protective styles look best worn for four to eight weeks, depending on the style and how fast your edges show new growth. Lower manipulation styles like flat twists or a braided bun can be refreshed more often, while fuller installs like knotless box braids reach the longer end. If your scalp itches heavily or your edges feel tender before then, take the style down early rather than push through it.
Are protective styles good for 4c hair? Yes. Protective hairstyles for natural hair benefit 4c texture most, since its tight coil pattern is prone to breakage and single-strand knots from daily manipulation. Flat twists, cornrows, and bantu knots use that coil's grip to hold a shape without much root tension.
Do protective styles really make hair grow faster? No. They reduce the manipulation and breakage that keeps you from noticing the length your hair already grows, but styling method does not change your hair's actual growth rate. Think of these styles as a length-retention tool rather than a growth accelerator, and be skeptical of any post that promises otherwise.
What is the best low-manipulation protective style for beginners? Knotless box braids or a simple braided bun work well for first-time wearers of protective hairstyles for natural hair. Knotless braids feel less tight than classic braids from day one, and a braided bun needs no added hair or salon visit at all. Both let you get comfortable with lower tension before trying something more involved, like faux locs or Senegalese twists.
Can protective styles cause hair loss? Yes, if installed too tight or worn without breaks between styles, since consistent pulling at the follicle can lead to traction alopecia. Watch for tenderness, bumps, or a receding hairline, and ask your stylist to loosen tension right away. Giving your scalp a real rest period between installs is the simplest way to avoid this altogether.
Finding the right protective hairstyles for natural hair comes down to matching your texture, density, and lifestyle to a look you can actually maintain, not chasing whatever is trending on your feed this month. Save this list for your next salon visit and screenshot your favorite pick along with its exact stylist wording. For more inspiration once it's installed, browse our braided styles for fresh ways to wear it.
Your email address will not be published. Required fields are marked *