
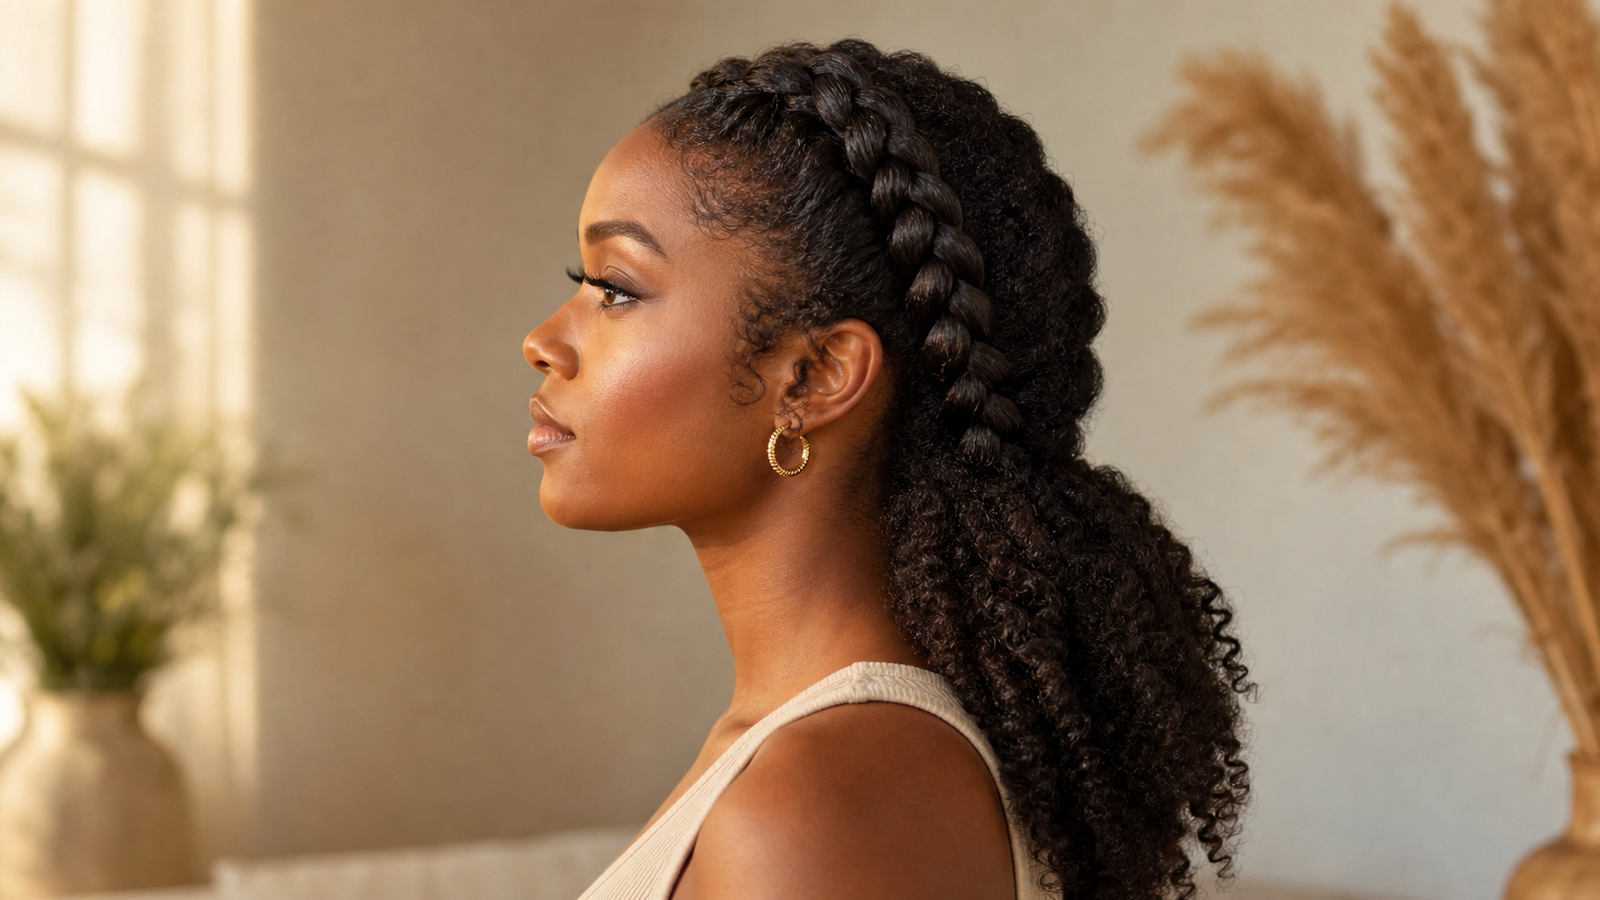

Braiding your own hair is a different skill than braiding someone else’s, and if your first attempt looked more like a knot than a braid, that is completely normal. You are working blind, using your hands at an awkward angle, without the benefit of someone standing behind you guiding each cross. This guide picks easy braid styles for beginners for that reality: real numbered steps, no video links standing in for instructions, and honest notes about what will trip you up the first time.
By the end of this guide you will have at least one braid you can do on yourself with realistic expectations, not a Pinterest photo you cannot recreate. Every style below comes with a difficulty label, a real time estimate, and a texture note so you know before you start whether it will work with your hair. Use the quick-scan version below to pick your starting point before you pick up a comb.
| Braid Style | Difficulty | Time | Best For |
|---|---|---|---|
| Three-Strand Braid | Easiest | 3–5 minutes | All hair types, first-timers, fine or short hair |
| Dutch Braid | Easy | 8–10 minutes | Thick or long hair, second-day hair, workouts |
| French Braid | Easy to Beginner Stretch | 8–12 minutes | Medium to long hair, school or work |
| Fishtail Braid | Beginner Stretch | 10–15 minutes | Long hair, special occasions, second-day hair |
| Pull-Through Braid | Easy (no true braiding) | 5–8 minutes | Any hair type, gym or errands |
Three-Strand Braid (the Classic Braid)
Three-Strand Braid (the Classic Braid)
| Difficulty | Time | Best For |
|---|---|---|
| Easiest | 3–5 minutes | All hair types, especially first-timers, fine hair, and short or shoulder-length hair |
Among the easy braid styles for beginners in this guide, the three-strand braid is the most forgiving place to start, and it is likely the one you learned as a kid. It remains the best possible starting point if you have never braided your own hair before. It uses only three sections and one repeating motion, which means your hands only need to memorize a single pattern instead of juggling multiple moving parts. Master this one first and every other braid on this list will make far more sense.
- Gather the section of hair you want to braid (a full ponytail, a side section, or a small piece near your face) and split it into three even parts.
- Cross the right section over the middle section, so the right piece is now in the middle.
- Cross the left section over the new middle section, so the left piece is now in the middle.
- Repeat steps 2 and 3, alternating sides, working your way down toward the ends.
- Secure the end with a clear elastic once you run out of hair to cross.
The most common mistake beginners make with this braid is grabbing uneven sections, which makes the finished braid lean to one side instead of sitting straight down the middle. Comb through each of the three sections before you start crossing, and try to keep the tension consistent every time you cross a strand, rather than pulling tight on some crosses and loose on others. If your hair is curly or thick, work in slightly smaller sections than you think you need, since curl pattern naturally makes each section look fuller once it is braided. On fine hair, a light mist of texturizing spray before you start gives the strands enough grip to hold the shape instead of slipping loose within an hour.
Dutch Braid
Dutch Braid
| Difficulty | Time | Best For |
|---|---|---|
| Easy | 8–10 minutes | Thick or long hair, second-day hair, and workout-proof styling |
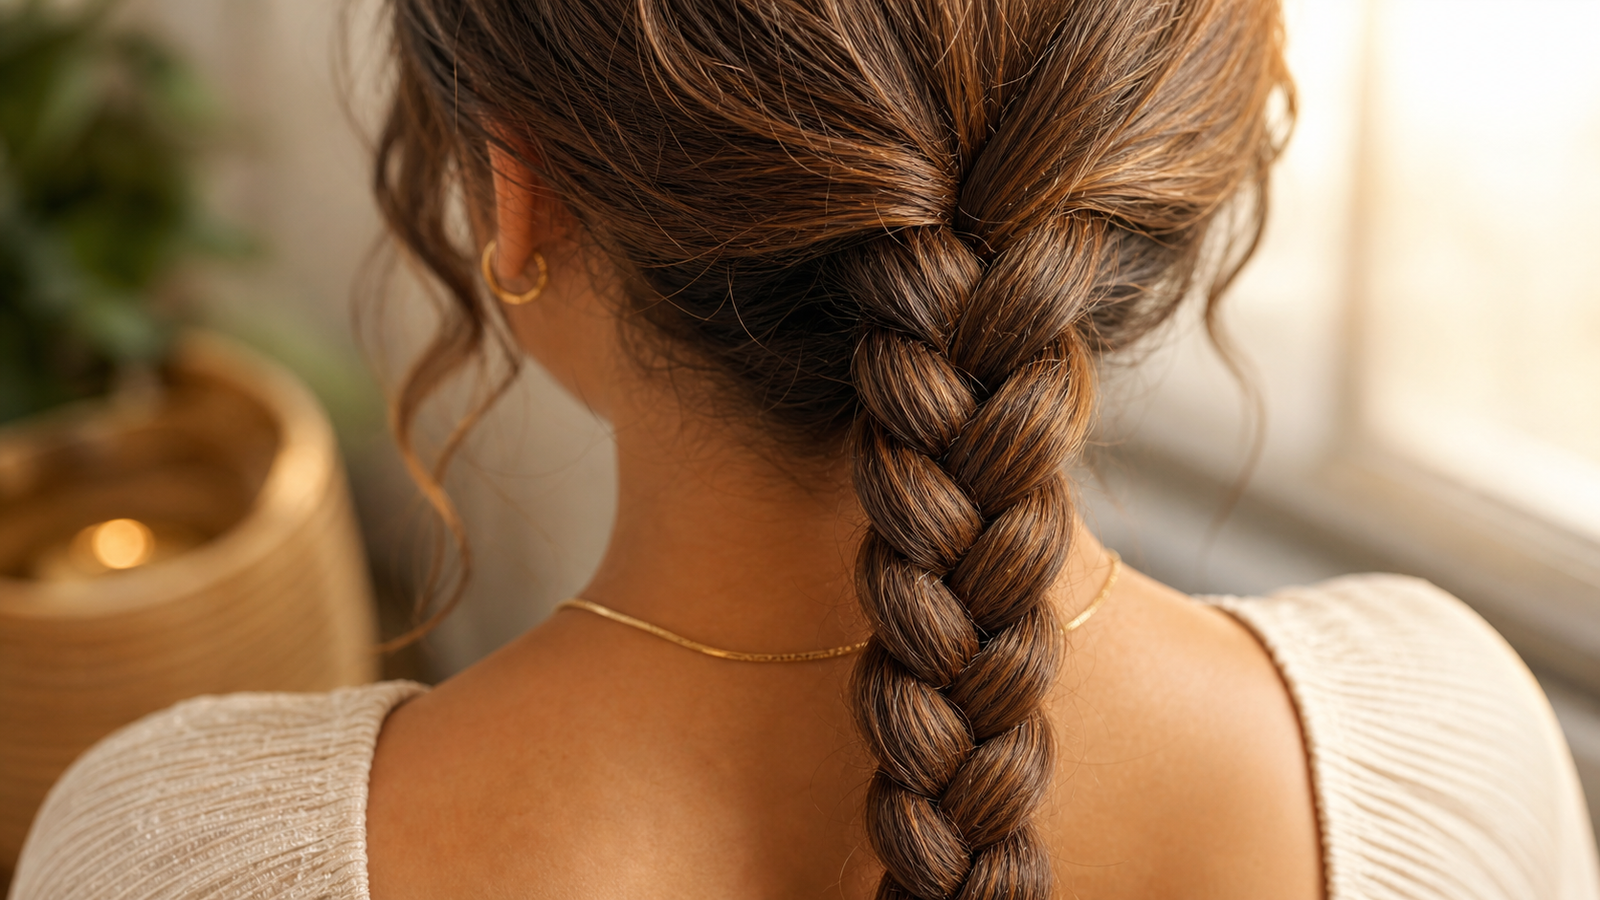
Once the three-strand braid feels natural, the Dutch braid is the logical next step, since it uses the exact same crossing motion but flips the direction. Instead of crossing strands over the middle, you cross them under, which is why this style is sometimes called an inverted or underhand braid. The result sits on top of the hair rather than blending into it, which is exactly why it holds up so well through a workout or a second day without washing.
- Start at the crown of your head and section off a small piece of hair, splitting it into three even parts.
- Cross the right section under the middle, then the left section under the middle, the same alternating pattern as a three-strand braid but underneath instead of on top.
- Before each cross, pick up a small new section of hair from the side closest to that strand and combine it in.
- Continue down toward the nape of your neck, picking up hair from each side as you go.
- Once you run out of new hair to add, finish the remaining length with a regular three-strand braid and secure with an elastic.
Not pulling the crown section tight enough at the very start almost always causes a braid that falls flat instead of sitting raised and defined. Focus on pulling firmly right at the top of the braid and keep each new section you pick up small and consistent, since larger sections make the braid look chunky and uneven by the time you reach the bottom. Fine hair can make a Dutch braid look thin along the crown, so gently teasing the roots before you begin adds volume that holds the shape better. Curly hair, on the other hand, tends to hold this braid especially well and works beautifully as a protective style you can leave in for several days.
If you like how long this braid holds up, box braid ideas use that same raised, structured look but last for weeks instead of a day.
French Braid
French Braid
| Difficulty | Time | Best For |
|---|---|---|
| Easy to Beginner Stretch | 8–12 minutes | Medium to long hair, school runs, and work-appropriate looks |
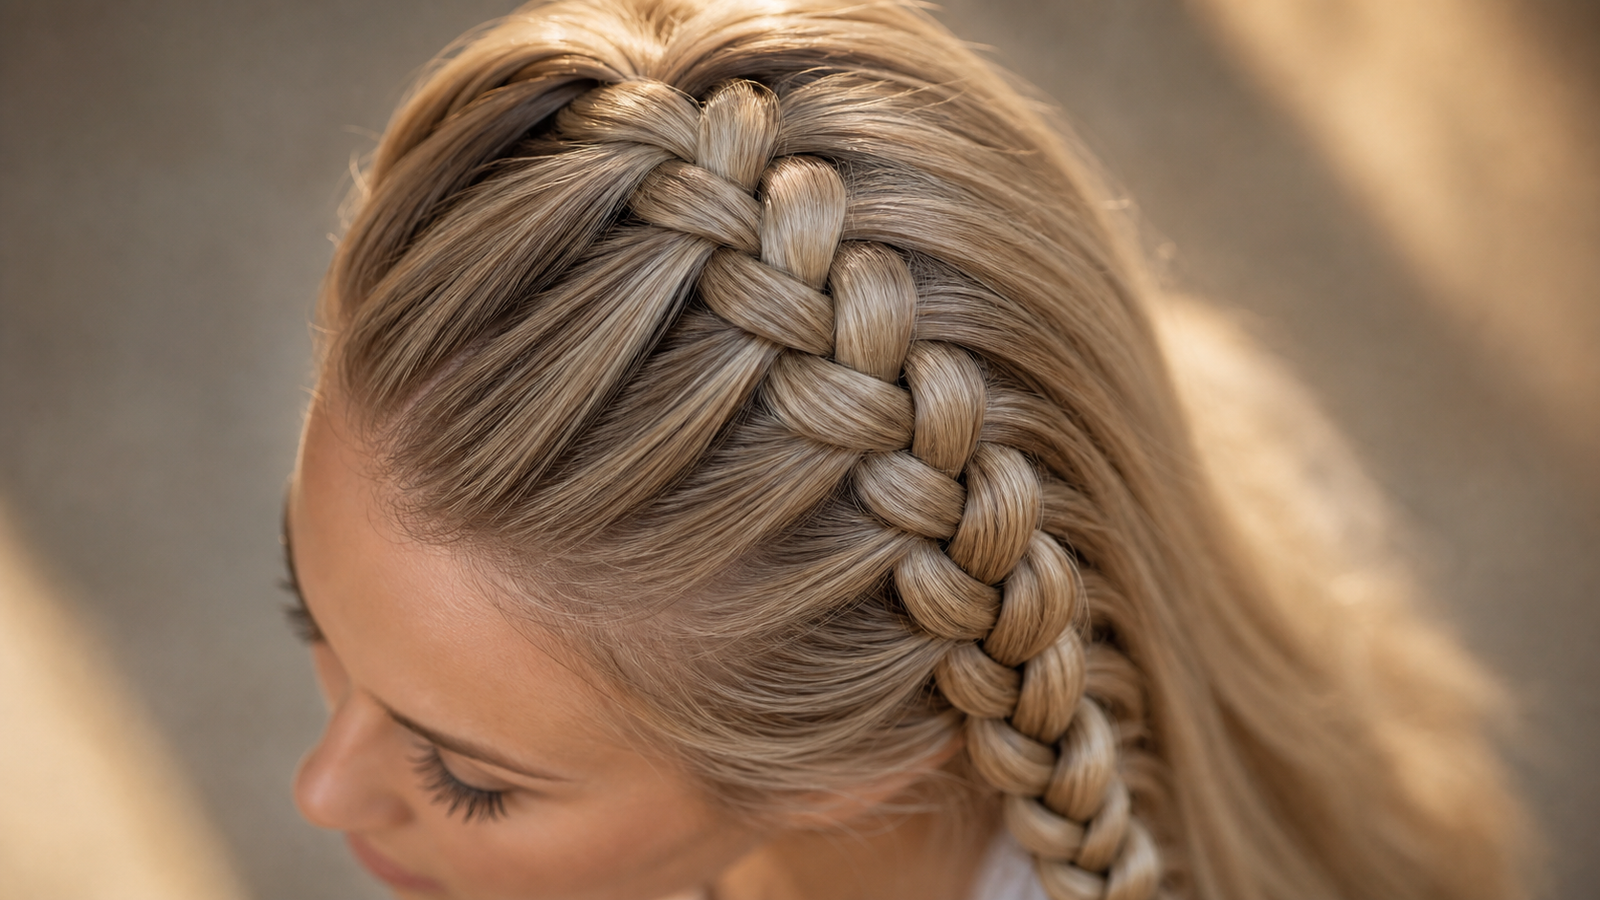
The French braid is one of the most popular braid styles for a reason: it looks polished enough for the office yet is genuinely learnable once you understand what separates it from a Dutch braid. Where the Dutch braid crosses strands underneath, the French braid crosses them over the top, which is the entire technical difference between the two styles. Everything else, including picking up new sections as you move down the head, works exactly the same way.
- Section a piece of hair at the crown and split it into three even parts, keeping the part centered between your eyebrows as a guide.
- Cross the right section over the middle, then the left section over the middle, just like a classic three-strand braid.
- Before each new cross, gather a small section of hair from the side you are about to cross and blend it into the strand.
- Keep working down the back of your head, checking in a mirror every few crosses to confirm the part is staying centered.
- Once you reach the nape, finish with a plain three-strand braid to the ends and secure with an elastic.
The braid drifting to one side of your head is the single most common French braid mistake, and it happens gradually enough that you often will not notice until you are halfway down. Checking your progress in a mirror every three or four crosses catches the drift early, before it becomes a full slant you have to redo. If your hair has layers, expect some flyaways to pop loose along your hairline as you braid, so smoothing a small amount of edge control through the front section before you start will keep the finished look tidy for longer.
Once you have some length to work with, long hairstyles shows more ways to build on a simple French braid.
Fishtail Braid
Fishtail Braid
| Difficulty | Time | Best For |
|---|---|---|
| Beginner Stretch | 10–15 minutes | Long hair, special occasions, and second-day hair that needs texture |
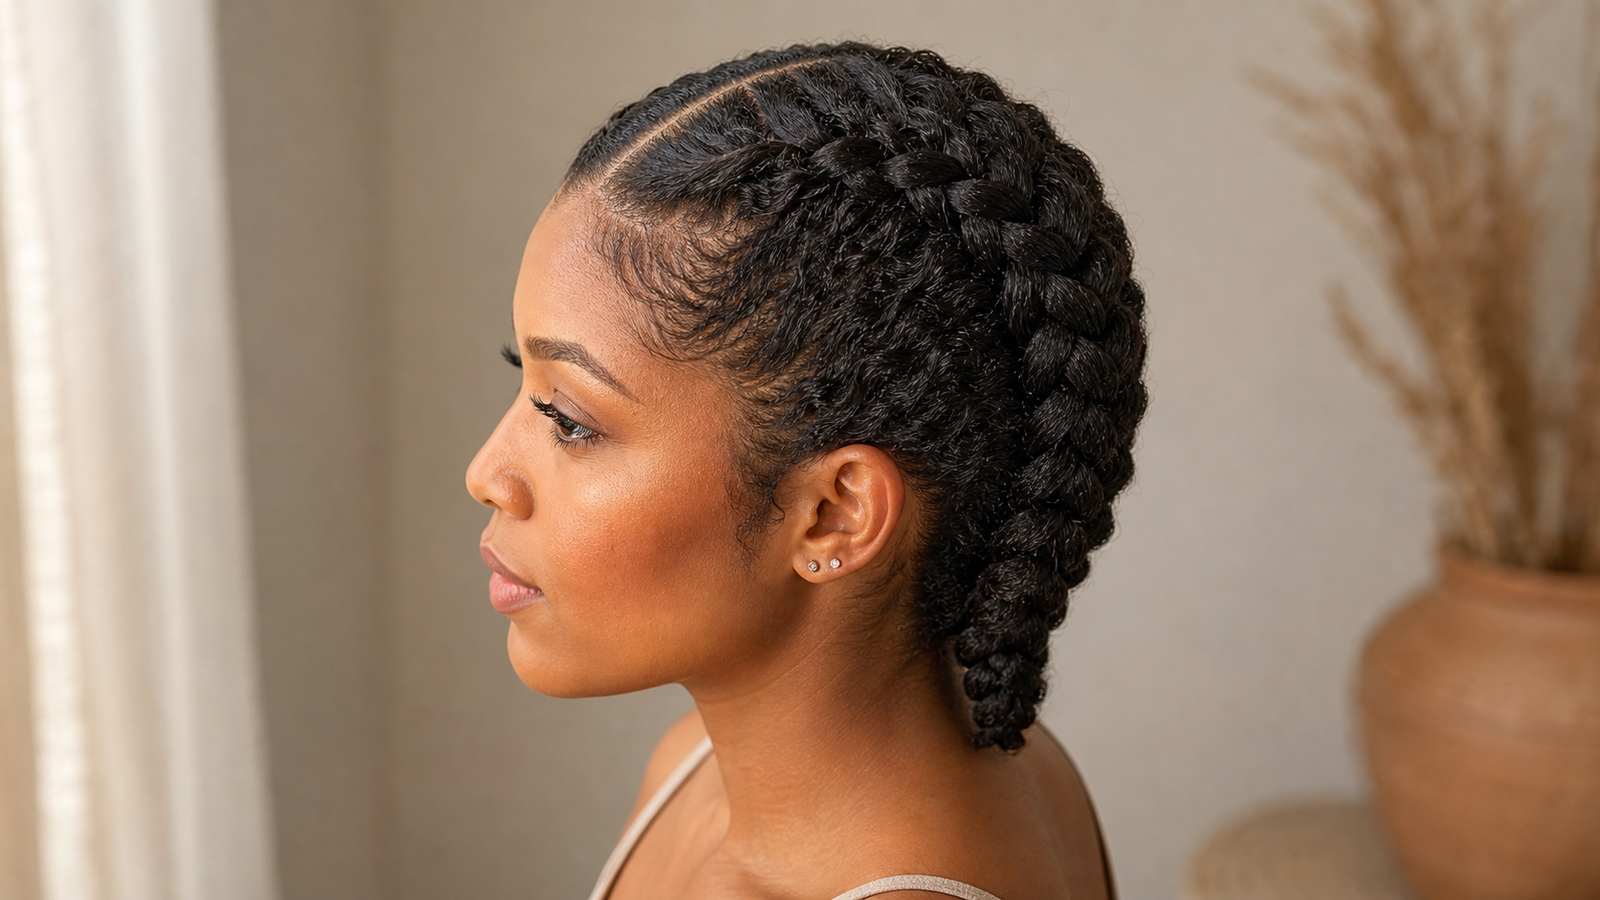
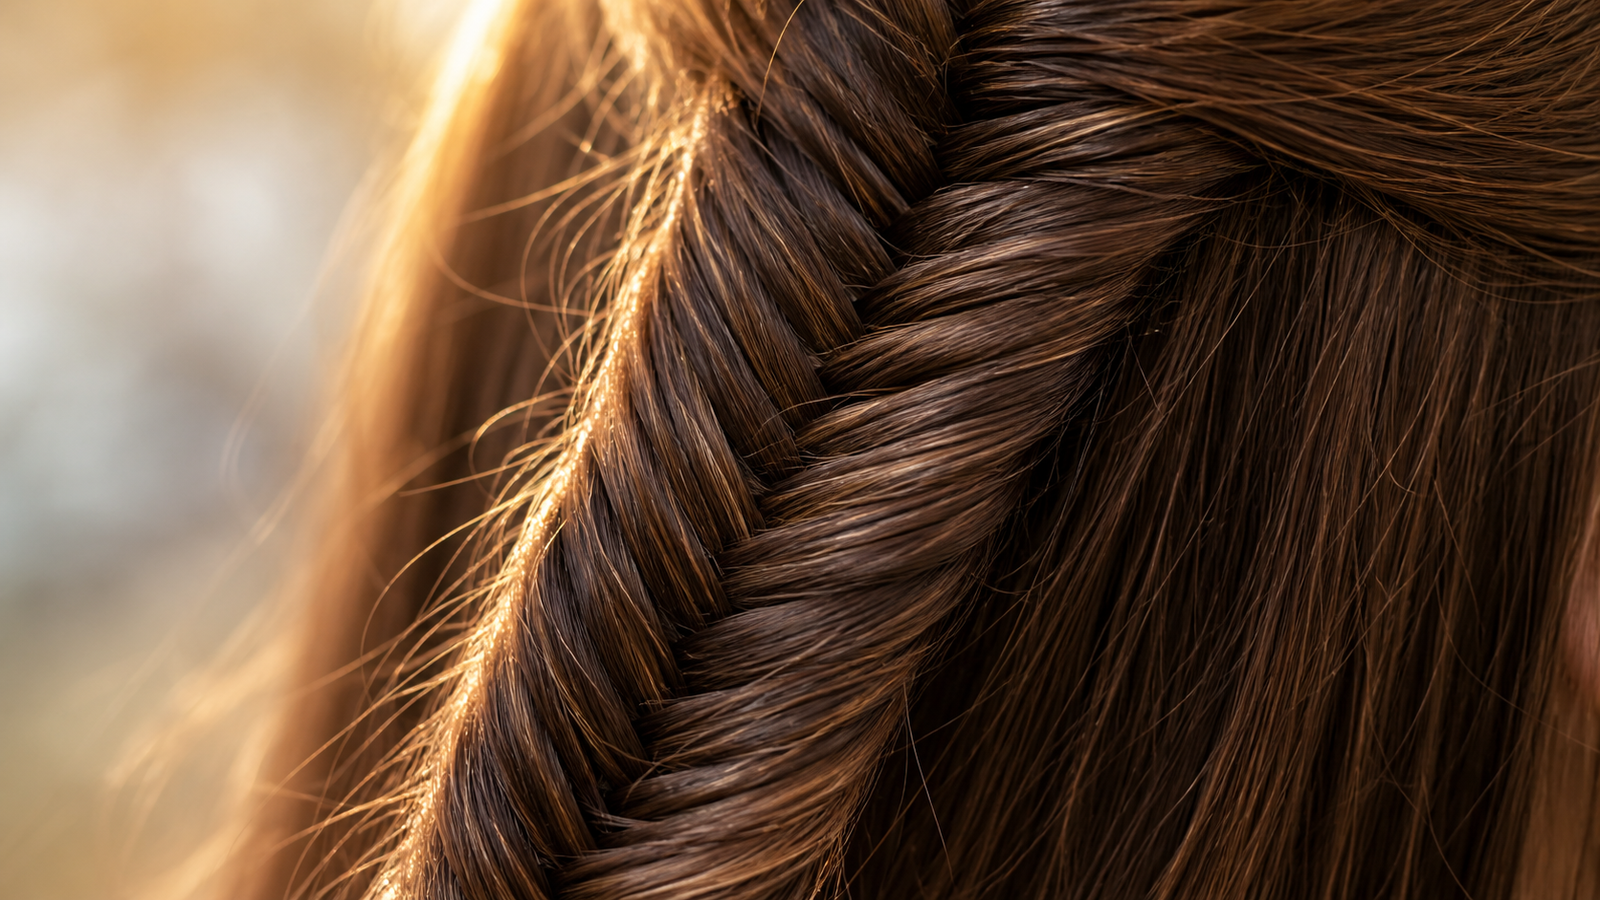
The fishtail braid looks like the most complicated style on this list, with its tight herringbone pattern, but it is actually built on a simpler two-section structure than the braids above it. Most galleries skip real instructions for this one because the finished look intimidates people, yet once you understand the thin-piece rule below, it becomes one of the more meditative braids to do on yourself. The extra few minutes are worth it for how elegant the finished braid looks.
- Split your hair into two even sections instead of three, holding one section in each hand.
- Take a thin, pencil-width piece of hair from the outer edge of the right section and cross it over to join the left section.
- Take a thin piece from the outer edge of the left section and cross it over to join the right section.
- Repeat this pattern, alternating sides, always pulling from the outer edge of whichever section you just added hair to.
- Continue down to the ends and secure with an elastic, then gently tug the edges of the braid to loosen it for a fuller, more textured finish.
The mistake nearly every beginner makes here is grabbing pieces that are too thick, which turns the delicate herringbone pattern into a lumpy, undefined braid by the time you reach the bottom. Stay disciplined about keeping each piece thin and consistent, even if it feels slower than you would like, since the payoff is a much cleaner weave. Curly hair actually has an advantage with this braid, since the natural texture adds a bulkier, more intentional-looking finish without any extra effort, while fine hair benefits from a light mist of texturizing spray so the thin pieces do not slip loose mid-braid.
Pull-Through Braid
Pull-Through Braid
| Difficulty | Time | Best For |
|---|---|---|
| Easy (no true braiding required) | 5–8 minutes | Any hair type, gym days, errands, and quick five-minute hairstyles |
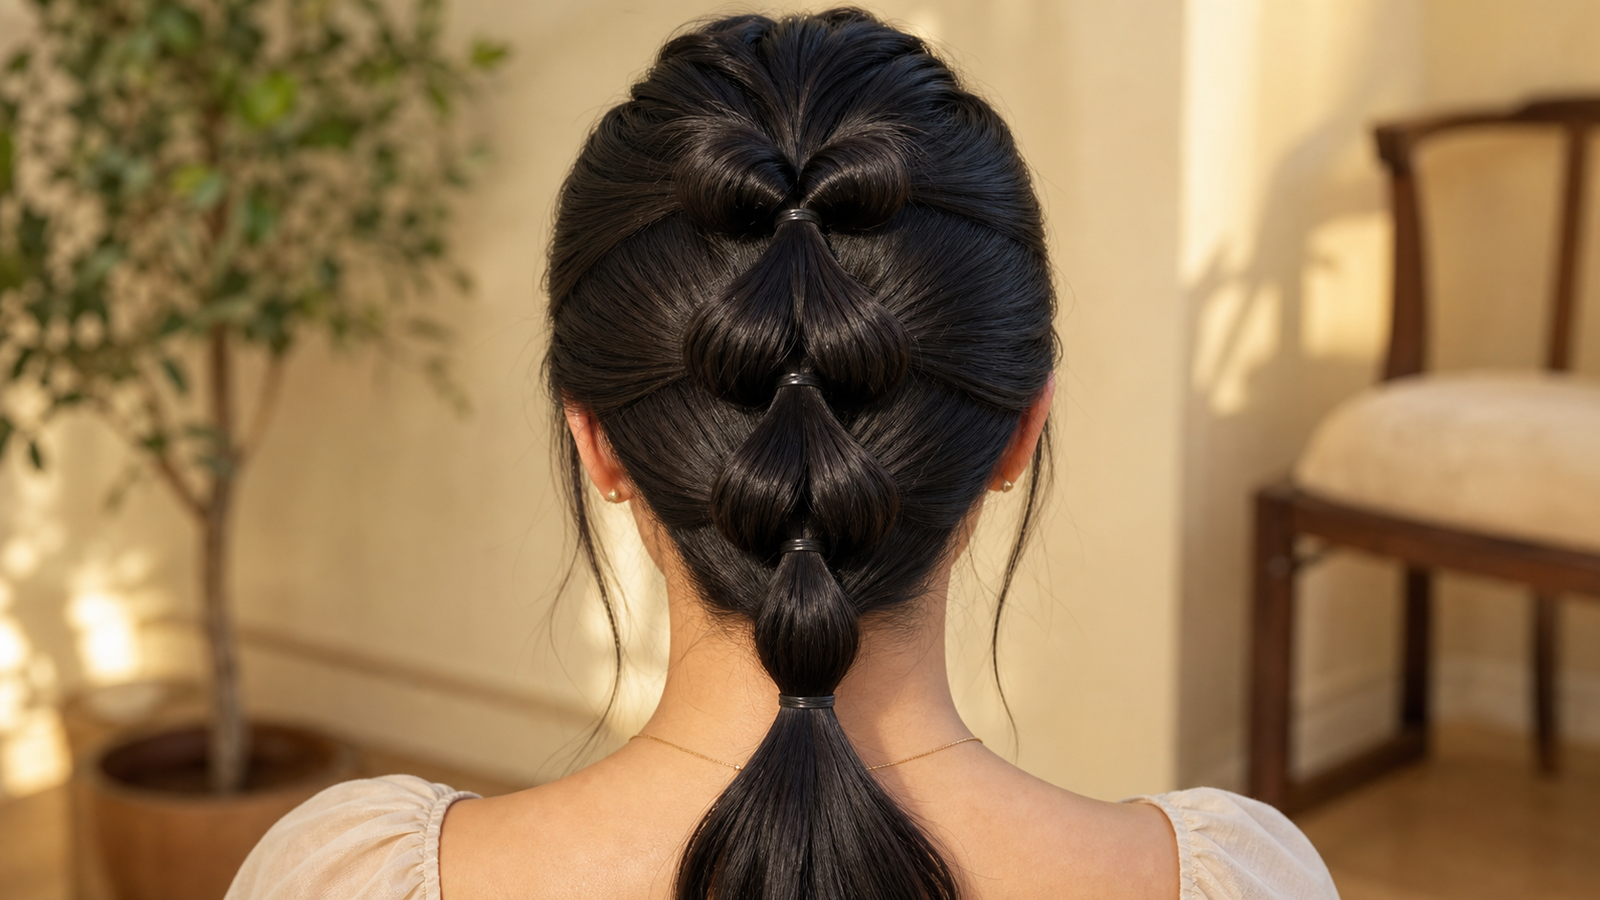
If the three-strand braid still feels tricky to your hands, the pull-through braid is the style that will finally click, because it does not use traditional braiding at all. Instead, it relies on small ponytail sections that you pull through one another, which mimics the look of a braid without requiring the crossing motion your fingers have been struggling to coordinate. It is one of the most forgiving styles here and a genuinely good starting point for anyone who found the classic braid frustrating.
- Gather a small ponytail near your crown and secure it loosely with a small elastic.
- Split that ponytail into two even sections, creating a small gap between them.
- Gather a new section of hair just below your first ponytail, combine it with one of the two split sections, and secure with another elastic.
- Split this new combined ponytail into two sections and pull it through the gap in the ponytail above it.
- Repeat down the head, gathering new hair and pulling through the gap each time, until you reach the point where you want the braid to end.
A pull-through braid that looks loose or “pulled apart” instead of neat almost always comes down to not keeping each section snug before adding the next one. Pull each section through firmly and check that there is no visible gap before you move on to gathering the next piece of hair. This style is one of the most forgiving options for thick hair specifically, since the ponytail sections hide any unevenness that would show up clearly in a true braid, making it a smart fallback if the three-strand braid at the top of this list still feels out of reach.
Frequently Asked Questions About Easy Braid Styles for Beginners
Frequently Asked Questions About Easy Braid Styles for Beginners
How do I braid my own hair when I can’t see the back? Two mirrors set up facing each other, one on a dresser and one held or propped behind you, will show you a reflection of the back of your head that a single mirror cannot. Your phone’s front-facing camera propped against a stable surface works just as well and lets you glance down rather than straining your neck to look up at a mirror. Most beginners find that after a few tries, their hands start to remember the pattern well enough that they need to check the mirror less often.
Which braid is easiest for absolute beginners? Among all the easy braid styles for beginners covered here, the three-strand braid is the easiest starting point, since it uses only one repeating motion and does not require you to pick up new sections of hair as you go. If you find even that tricky, the pull-through braid is a strong alternative because it swaps true braiding for a simpler ponytail-and-pull technique that still creates a braided look. Start with whichever of these two feels less intimidating and build confidence there before moving on to Dutch or French braids.
How do I keep my braid from falling apart by the end of the day? Braids loosen fastest at the roots, so make sure you are pulling firmly right where the braid begins, especially for Dutch and French styles that start at the crown. A light hold hairspray applied to the crown before you start, and again once the braid is finished, helps flyaways stay put through a full day. Be careful not to braid so tightly that you feel constant tension on your scalp, since the American Academy of Dermatology warns that excessively tight braiding can lead to traction alopecia and lasting hair loss over time.
How short can my hair be and still hold a braid? Most braids need at least two to three inches of hair to anchor properly, though thicker or curlier textures can sometimes hold a braid at the shorter end of that range since the natural volume adds grip. Straight or fine hair usually needs closer to three or four inches before a three-strand or Dutch braid stays put without unraveling. If your length is right at that edge, the pull-through braid in this guide is the most forgiving option, since it relies on ponytail sections rather than true crossing.
How long does it take to get good at braiding? Most people notice a real improvement by their third or fourth attempt at the same braid, simply because their hands start to recognize the pattern without conscious thought. Give yourself a week of casual practice, even just five minutes a day on a ponytail, before you judge your progress against a photo online. Speed comes after neatness, so focus on getting the pattern right first and the faster, more confident hands will follow naturally.
These easy braid styles for beginners are a skill you build with repetition, not a talent you either have or do not. Pick the braid from this list that matches your hair type and the amount of time you actually have this week, and give yourself permission to let your first attempt look rougher than your fifth. For more ways to wear your hair up or protected, braid style guide is a good next stop, and pinning this guide now means you will have the steps ready the next time you want to try one.


Your email address will not be published. Required fields are marked *